简介
Hi everyone, here I am with a new guide (teardown/replacement)
Again, you will find little mistakes in my english, but as you know my native language is dutch ...
I hope you will like the guide.
Good luck!
你所需要的
-
-
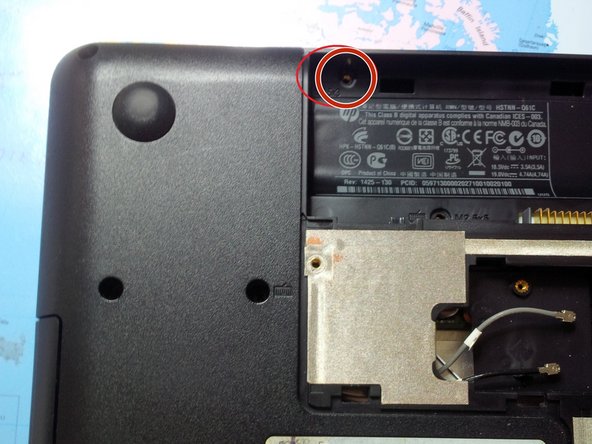
Remove the 2 panels and the battery at the bottom of the laptop.
-
After removing these panels, you'll see the RAM, HDD, and Wi-Fi module.
-
-
-
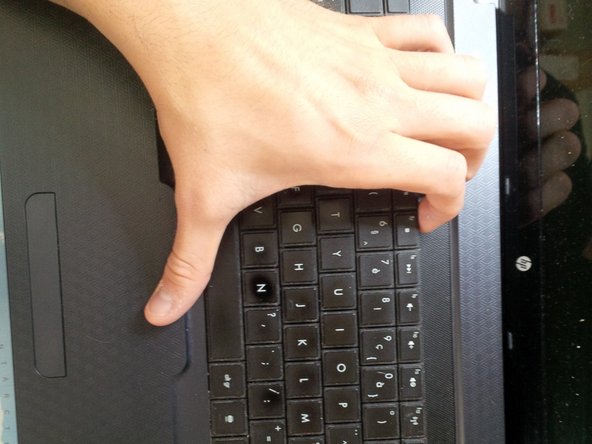
Remove the DVD drive bay by prying a little spudger between the case and the drive cover. Then gently pull it out.
-
-
-
Next, we will remove the screws from the rest of the case.
-
Start by removing the screws hidden in the battery compartment (M2.5x3).
-
-
-
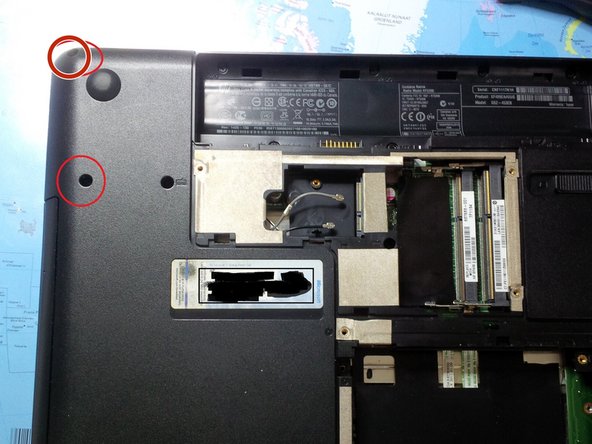
Now remove the 10 remaining case screws (M2.5x6.5).
-
There are 2 hidden screws in the HDD compartment (see last picture).
-
-
-
-
after removing all the cables/ wires and screws, we can remove the screws from the screen hinges.
-
after removing the screws from the hinges, put the entire screen apart.
-
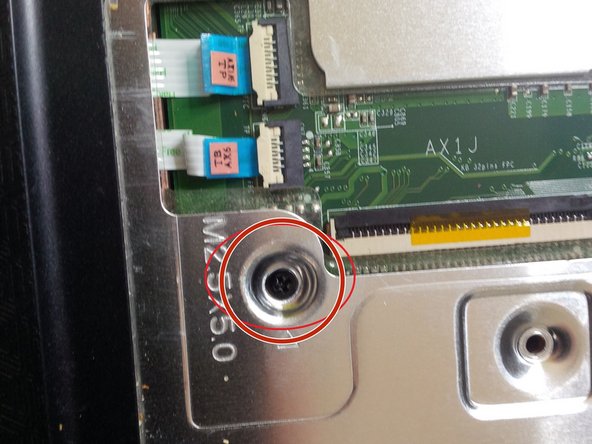
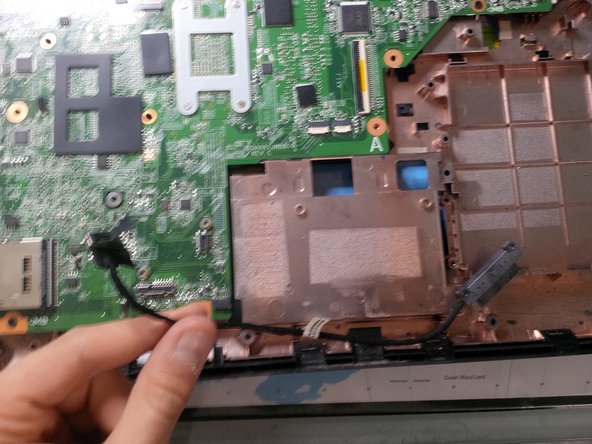
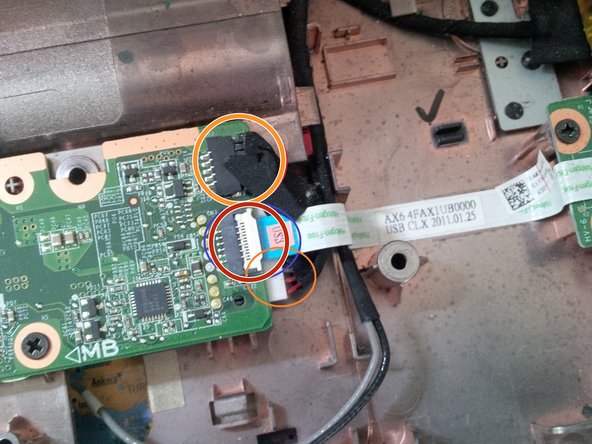
we will remove the motherboard first. see picture 3. you can remove the motherboard by pulling it up and sliding it to the right.
-
-
-
after removing the case. this is the screen internal.
-
above you will see the camera, the wifi antenna's . under you'll see the hinges and at the left the lcd connector.
-
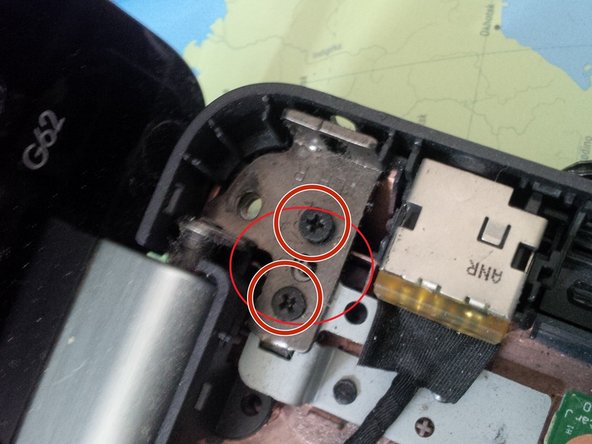
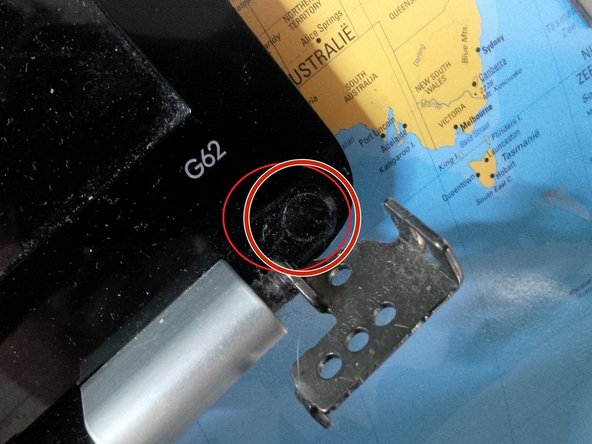
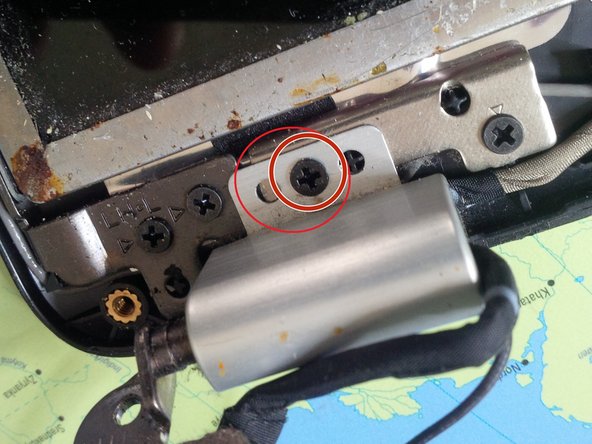
you can remove the grey plastic caps by removing the screw(s), under the plastic cap you will find the cables running trough..
-
-
-
you do the same thing at the other side.
-
At the second picture you see the wires after removing the plastic grey cap. if you have problems with screen failure ( like a black screen or bad connection) its best to check this cable first before buying a new one. The wires are sliding to the cap and sometimes they get cut.
-
-
-
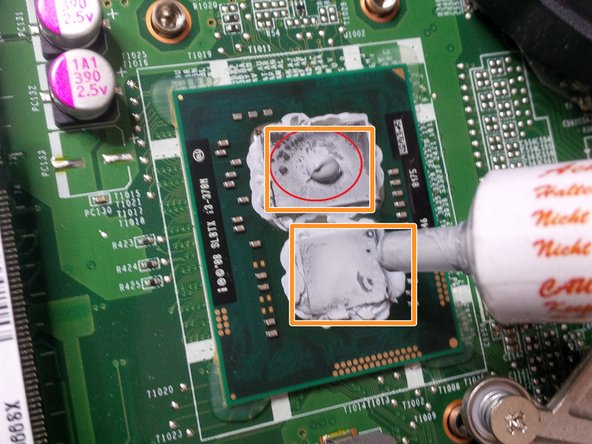
Now the last steps.. we will put some new coolpaste to the soldered CPU and GPU
-
first remove the 4 screws of the cooling socket.
-
remove the socket, be carefull for the little power socket attached at the motherboard, running to the cooling fan.
-
and than put some drop of cooling paste on the CPU/GPU
-


To reassemble your device, follow these instructions in reverse order.
To reassemble your device, follow these instructions in reverse order.
13等其他人完成本指南。

16条评论
Would it be beneficial to remove old CPU and GPU thermal paste?
Show reverse for HP56 Cq notebook
Ray Walker - 回复
Please put together cq 56 notebookPc
Ray Walker - 回复
Great instructions thank you!
I reassembled mine but now I cannot turn on the WiFi via the function button.
Everything else works.
I checked the two antenna cable are attached to the correct ones but still cannot turn on WiFi. Any suggestions appreciated