跳转到主内容

这个拆解是不是维修指南。 要维修你的的Geek Bar Pulse,请使用我们的维修手册

  1. Geek Bar Pulse Teardown, Loosen clear cover: 步骤 1 中的图像 1,1
    • Use a wood chisel (~1 inch) along the seam to break loose the clear cover. The cover snaps into place but may be lightly glued.

  2. Geek Bar Pulse Teardown, Pull out the internals: 步骤 2 中的图像 1,1
    • Pull out the internals. You will need to push in the on/off switch at bottom of unit to get the insides to slide out.

  3. Geek Bar Pulse Teardown, Detach tank: 步骤 3 中的图像 1,1
    • Detach tank. Note location of wiring if you are going to reassemble unit.

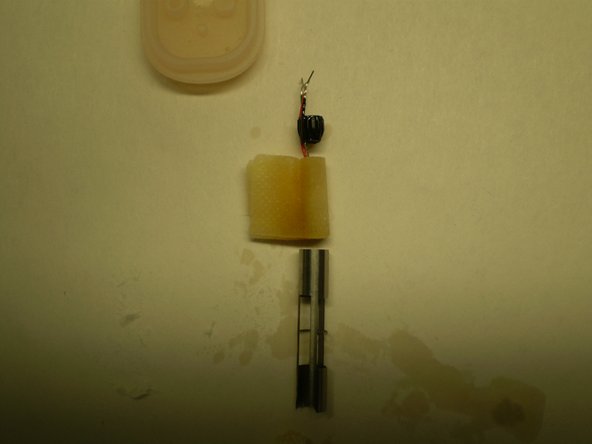
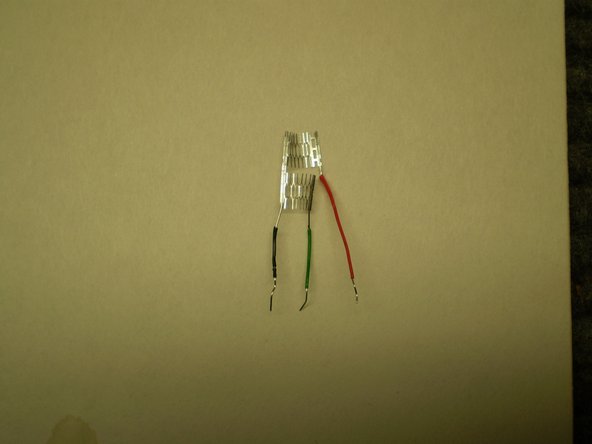
  4. Geek Bar Pulse Teardown, Disassemble tank: 步骤 4 中的图像 1,3 Geek Bar Pulse Teardown, Disassemble tank: 步骤 4 中的图像 2,3 Geek Bar Pulse Teardown, Disassemble tank: 步骤 4 中的图像 3,3
    • Pull off top of tank.

    • Pull heater unit out of steel sleeve.

    • Remove flat wick from heater

    • Observe basket style heater unit. Resistance readings: blk-grn: 1.1 ohms; blk-red: 1.1 ohms; red-grn: 2.2 ohms

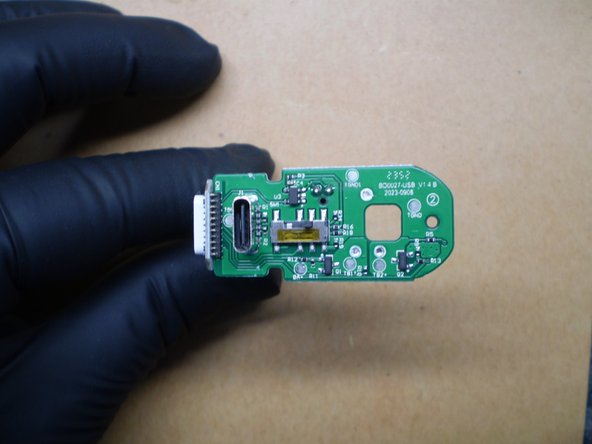
  5. Geek Bar Pulse Teardown, Disassemble electronics: 步骤 5 中的图像 1,2 Geek Bar Pulse Teardown, Disassemble electronics: 步骤 5 中的图像 2,2
    • Unsnap the circuit board from the L-shaped plastic holder.

    • View board.

  6. Geek Bar Pulse Teardown, Remove lip piece: 步骤 6 中的图像 1,1
    • The lip piece can be unsnapped from the inside, pulled out from the top and disassembled as shown.

Greg

于08/23/20注册

235 声望

创作了2篇指南

0条评论

添加评论

浏览统计数据:

过去 24 小时: 5

过去 7 天: 43

过去 30 天: 119

总计 119