简介
All screws shown are T4 Torx screws.
Note on waterproofing: it appears that Garmin has used rubber gaskets to waterproof the watch, instead of adhesives or other one-time-use seals. In theory, this means that your device should retain its waterproofing if re-assembled correctly. However, without official guidance from Garmin, this is not guaranteed.
Proceed at your own risk
你所需要的
-
-
Turn off the watch and remove the wrist band before proceeding.
-
Unscrew the four indicated screws.
-
-
-
Unscrew the four screws holding the screen on.
-
To avoid damaging the screen ribbon cables, carefully lift the screen off the body and angle it slightly to the left to expose the ribbon cables.
-
-
-
Detach the indicated ribbon cables which connect to the screen.
-
A plastic spudger may make this step easier and help prevent damage.
-
The screen should now be completely detached from the body. Lift the screen completely away from the body and set it aside with the ribbon cables facing up.
-
-
-
Remove the final ribbon cable from the circuit board.
-
Unscrew the four indicated screws.
-
-
-
-
Use a spudger to lift up the circuit board from the bottom until it loosens from the body.
-
Use the thin end of a spudger to lift up the back of the indicated connector until it comes free. The connector pivots at the tip so it's necessary to lift it from the back.
-
The circuit board should now be completely detach from the body. Set it aside.
-
-
-
Unscrew the retaining clip for the speaker.
-
Remove the retaining clip. Tweezers may be helpful here.
-
-
-
Use a spudger to pry the speaker free of the body.
-
Brace your fingers on the back of the lugs and use your thumbs to press down on the battery until the back plate comes free.
-
-
-
Before re-installing the back plate, re-install the back plate gasket.
-
It's possible for the gasket to stick to the back plate during the removal of the back plate. If this occurs, remove the gasket from the back plate.
-
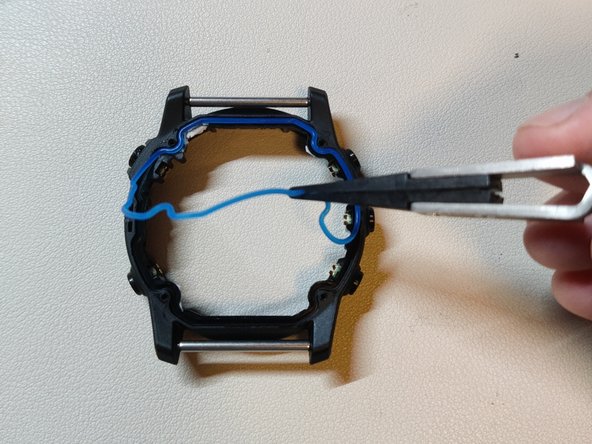
Locate the groove on the bottom of the watch body and press the gasket into it. The gasket and groove are not symmetrical so be sure to orient the gasket correctly.
-
-
-
If the screen assembly gasket came loose during removal of the assembly, press it back into the groove on the underside of the screen assembly.
-


4条评论
Thanks for the teardown! How is the battery connected (if one needs to replace it)? And does the Epix Gen 2 follow the same teardown?
it uses a connector, no soldering required. You can see in step 5 that the white battery connector is being removed. The connector is also visible at the photos with the battery from step 6, 7 and 9.
It seems Garmin has made some model changes. My Saphire Pro Fenix 6 (titan) from December 2019 has a battery connector already and the replacement battery fits perfectly despite the cables being about 4mm longer.
Joerg -