简介
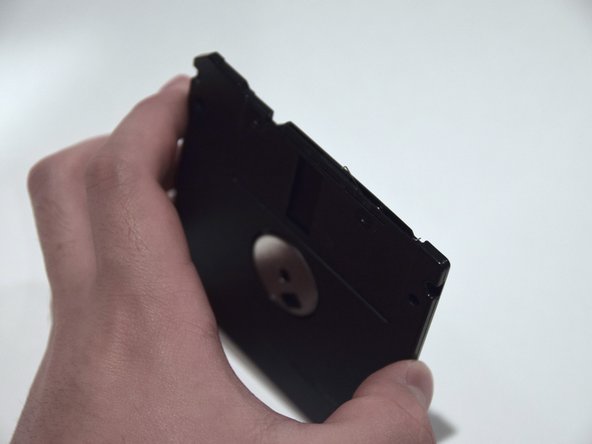
Facts about floppy disks
- The casings are hard
- The disks are floppy
- Once opened, they don't go back together
- They're old.
你所需要的
-
-
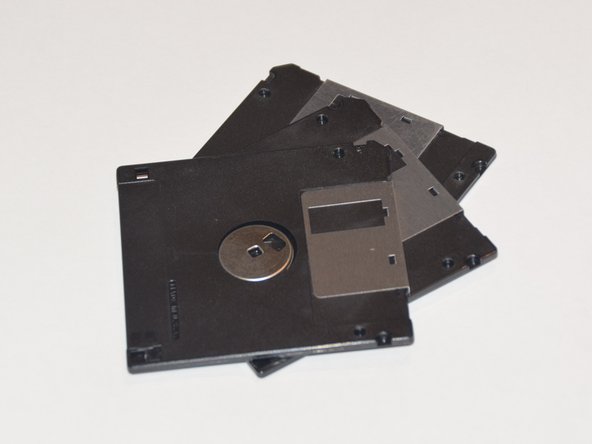
The floppy disk has gone the way of the dinosaur.
-
Except for Google's lovable jumping dinosaur.
-
These disks might hold one or two photos at best; they probably won't hold much more though at only 2MB.
-
It's worth noting that today's photos taken can be upwards of 10MB on their own!
-
-
-
Thin metal pieces are good places to start.
-
This one's so thin that you can bend it with a finger.
-
This one wasn't too hard, but if you're having trouble getting it up, a Jimmy comes in handy.
-
-
-
With some careful prying, the entire lid pops right off.
-
You may need a spudger, metal spudger, Jimmy, or a combination of the three to get into the crack where the metal piece once was.
-
There are little pushpins holding the two halves together, but they were pulled apart during disassembly, easy as 1, 2, 3!
-
And we get a glimpse of what's inside! Spoiler alert: not much is there.
-
-
-
-
-
On the inside, we see a small pad, probably to clean the turning disk that's inside.
-
This one was pretty nasty. Eww.
-
This pad is glued into the casing with some tough adhesive; the manufacturer really didn't want this pad coming out on its own.
-
-
-
The meat n' bones of the floppy disk, the disk itself!
-
Ever wondered why the floppy disk was called the "floppy" disk, even though it was in that hard plastic case? This is why.
-
-
Floppy Disk Repairability Score: 1 out of 10 (10 is the easiest to repair)
-
This antique technology has virtually no replacement parts.
-
Replacement of the tape or cleaning pads are impossible without breaking the case.
-
The cleaning pads are held on with tight adhesive, making replacement difficult.
-
Attempts to use heat to loosen adhesive may result in the case melting.
-
High susceptibility to magnets make this device very sensitive.
-


10条评论
Super cool! Haven't seen a floppy disk in forever.
They are a tad old...haha
This is amazeballs. Solid work!
Great teardown! :)