跳转到主内容

你所需要的

本篇指南是分解流程而非维修指南。 如果您要维修您的Fitbit Charge 5,应参考我们的维修指南

  1. Fitbit Charge 5 Teardown, Device: 步骤 1 中的图像 1,2 Fitbit Charge 5 Teardown, Device: 步骤 1 中的图像 2,2
    • Fitbit Charge 5 device

  2. Fitbit Charge 5 Teardown, Remove back: 步骤 2 中的图像 1,3 Fitbit Charge 5 Teardown, Remove back: 步骤 2 中的图像 2,3 Fitbit Charge 5 Teardown, Remove back: 步骤 2 中的图像 3,3
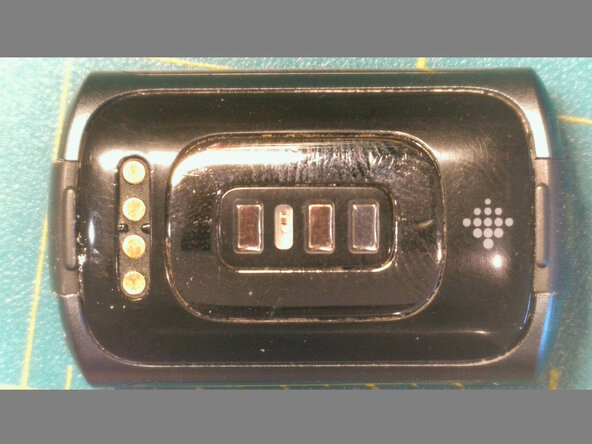
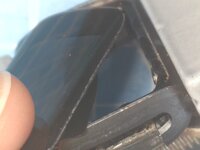
    • Heat the back with a heat gun at 130C to loosen the adhesive.

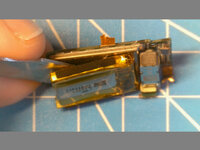
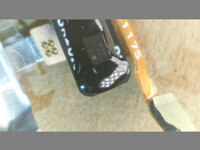
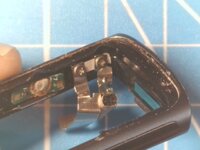
    • Pry the side opposite the connector area from the strap latch

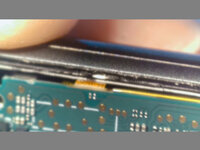
    • Pry the top and bottom near the connector. There are small plastic pins.

  3. Fitbit Charge 5 Teardown, On the back: 步骤 3 中的图像 1,3 Fitbit Charge 5 Teardown, On the back: 步骤 3 中的图像 2,3 Fitbit Charge 5 Teardown, On the back: 步骤 3 中的图像 3,3
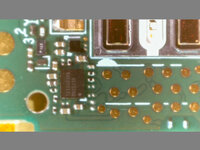
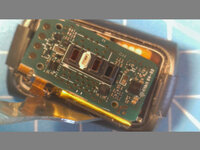
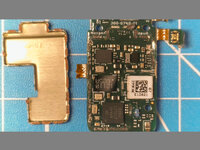
    • TI 14WP6JP AFE4500 - Texas Instruments Ultra-Small, Integrated AFE for Bio-Impedance Analysis, Electrical Biosensing and Optical Bio-sensing

    • TI13AD5R8 BQ25156 - Texas Instruments BQ25 series 1S battery charger

    • 121 2624 C72S - Unknown

  4. Fitbit Charge 5 Teardown, Remove Main Board and Battery: 步骤 4 中的图像 1,3 Fitbit Charge 5 Teardown, Remove Main Board and Battery: 步骤 4 中的图像 2,3 Fitbit Charge 5 Teardown, Remove Main Board and Battery: 步骤 4 中的图像 3,3
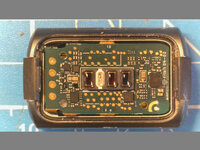
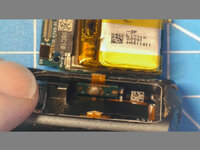
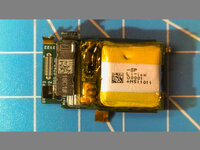
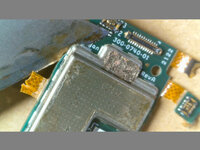
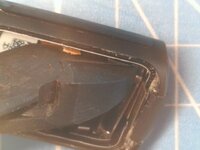
    • Pry from the sides of the battery to lift out. There is some adhesive/foam between the battery and case

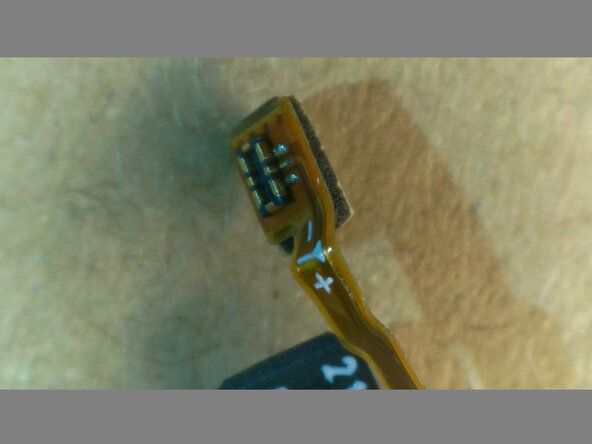
    • You will have to cut the flex cables to the capacitive touch buttons on either side

  5. Fitbit Charge 5 Teardown, Remove Battery: 步骤 5 中的图像 1,3 Fitbit Charge 5 Teardown, Remove Battery: 步骤 5 中的图像 2,3 Fitbit Charge 5 Teardown, Remove Battery: 步骤 5 中的图像 3,3
    • Peel the battery off and unplug

  6. Fitbit Charge 5 Teardown, Battery Detail: 步骤 6 中的图像 1,2 Fitbit Charge 5 Teardown, Battery Detail: 步骤 6 中的图像 2,2
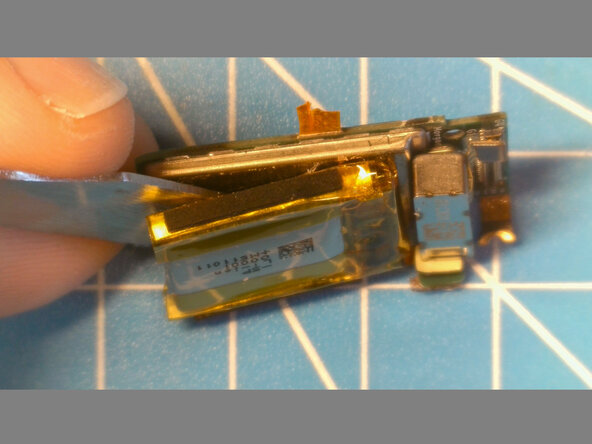
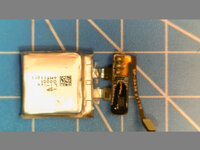
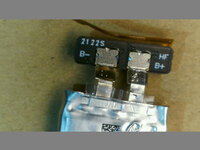
    • 271617 unbranded battery. Marked as 65mAh

    • Mine tested at 24mAh, after a few years of use

  7. Fitbit Charge 5 Teardown, Battery Protection: 步骤 7 中的图像 1,3 Fitbit Charge 5 Teardown, Battery Protection: 步骤 7 中的图像 2,3 Fitbit Charge 5 Teardown, Battery Protection: 步骤 7 中的图像 3,3
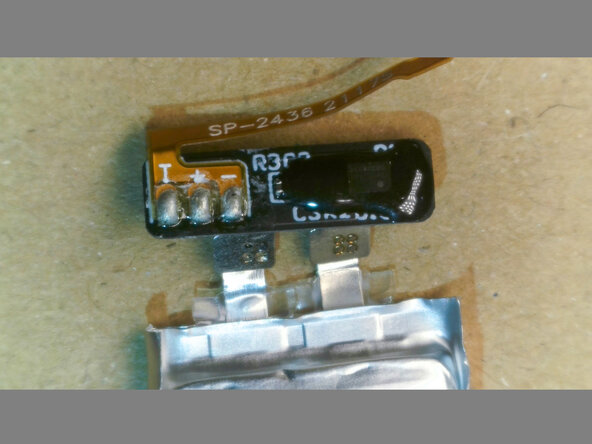
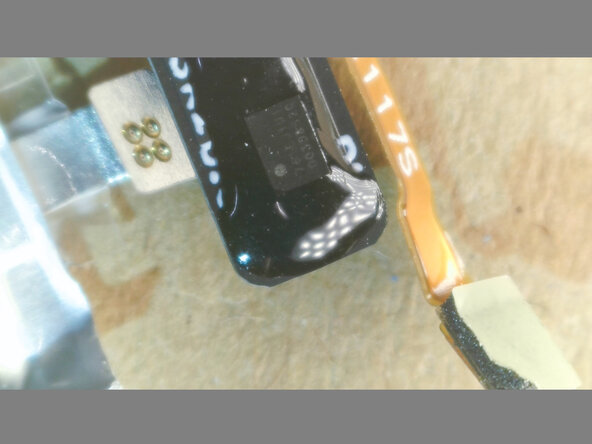
    • 761EJ1U1 - Mitsumi MC3761 series protection IC with integrated MOS-FET for protection of the rechargeable Lithium-ion or Lithium-polymer battery

    • A temp sensor somewhere

  8. Fitbit Charge 5 Teardown, Remove Can: 步骤 8 中的图像 1,3 Fitbit Charge 5 Teardown, Remove Can: 步骤 8 中的图像 2,3 Fitbit Charge 5 Teardown, Remove Can: 步骤 8 中的图像 3,3
    • The can pops off easily with a razor blade starting at the corners

    • Hi Morgan 👋

  9. Fitbit Charge 5 Teardown, Mainboard Detail: 步骤 9 中的图像 1,3 Fitbit Charge 5 Teardown, Mainboard Detail: 步骤 9 中的图像 2,3 Fitbit Charge 5 Teardown, Mainboard Detail: 步骤 9 中的图像 3,3
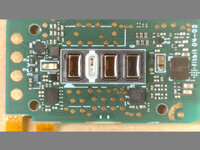
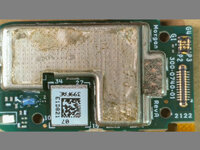
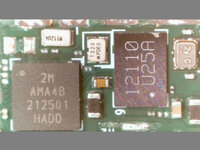
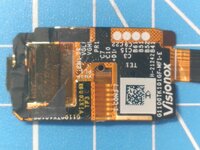
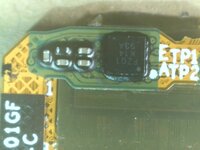
    • 2M AMA4B 212501 HADD - Ambiq Micro, Inc. Apollo4 Blue Lite SoC

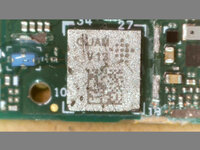
    • QUAM V14 - Looks like a custom branded Fitbit chip

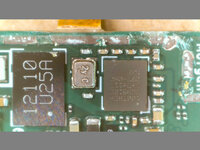
    • 12110 U25A - Unknown

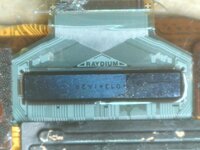
    • NXP 100TB2 VC95122 037-080 - Unknown

    • Is this the GPS receiver? (if not, where is it?)

  10. Fitbit Charge 5 Teardown, Remove Screen: 步骤 10 中的图像 1,3 Fitbit Charge 5 Teardown, Remove Screen: 步骤 10 中的图像 2,3 Fitbit Charge 5 Teardown, Remove Screen: 步骤 10 中的图像 3,3
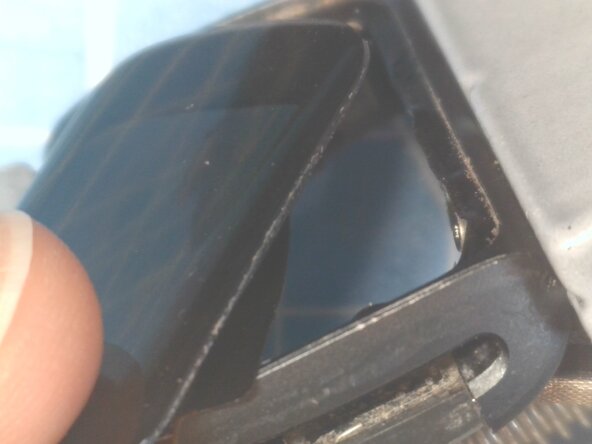
    • Heat the screen to 130C

    • Push it out from inside

    • As the screen pushes out slightly, it should reveal 3x PH000 screws to undo (I ended up just cutting the metal tabs)

  11. Fitbit Charge 5 Teardown, Screen PCB Detail: 步骤 11 中的图像 1,3 Fitbit Charge 5 Teardown, Screen PCB Detail: 步骤 11 中的图像 2,3 Fitbit Charge 5 Teardown, Screen PCB Detail: 步骤 11 中的图像 3,3
    • The bluetooth antenna is a spiral around the edge of the flex PCB

  12. Fitbit Charge 5 Teardown, Display Controller: 步骤 12 中的图像 1,2 Fitbit Charge 5 Teardown, Display Controller: 步骤 12 中的图像 2,2
    • Raydium AMOLED controller

Knio

于03/01/25注册

205 声望

撰写一个指南

0条评论

添加评论

浏览统计数据:

过去 24 小时: 2

过去 7 天: 27

过去 30 天: 228

总计 228