你所需要的
-
-
We'll start by flipping the phone with its back towards us and pushing on the top of the battery cover, then pulling down the cover as shown.
-
-
-
The battery is connected to the board by a cable ending in a white connector on the board (shown in picture 1). We'll need to pull that out.
-
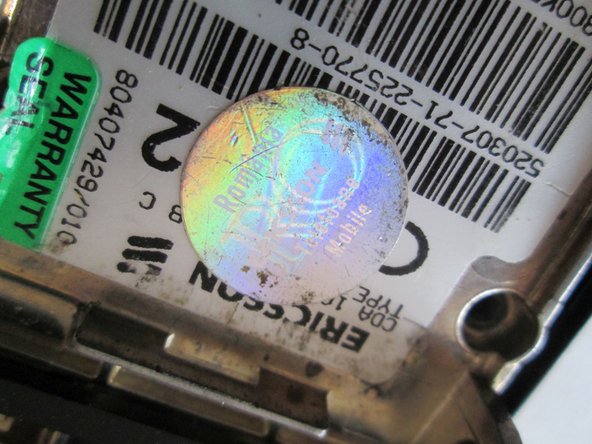
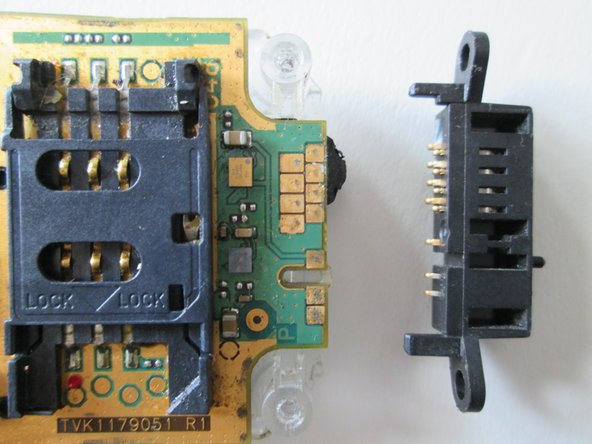
The battery is then lifted by its lower half and, when reaching about 50-60 degrees, allows itself to be pulled out, revealing the phone's SIM card slot and info.
-
-
-
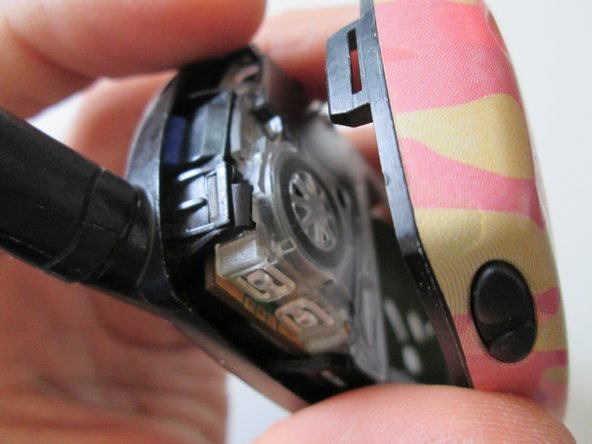
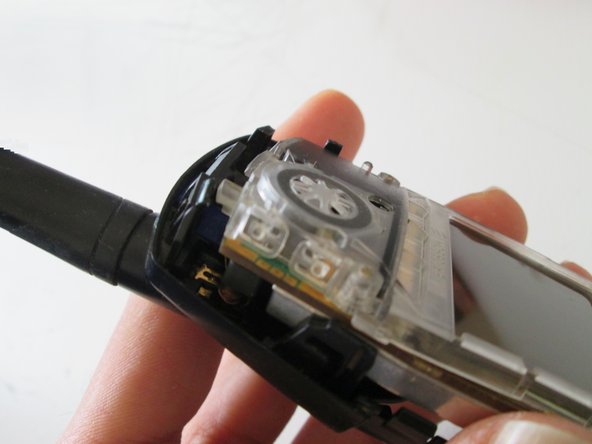
To eject the front cover, pull down on the blue switch (as shown in picture one) and then, while holding the switch down, gently pull from the front of the cover as shown in picture two.
-
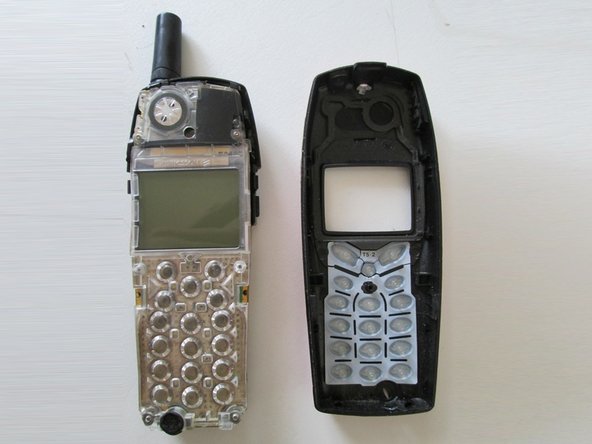
Front cover off, we can now see the microphone. But it's not reachable from here, there's a transparent plastic body over it.
-
-
-
-
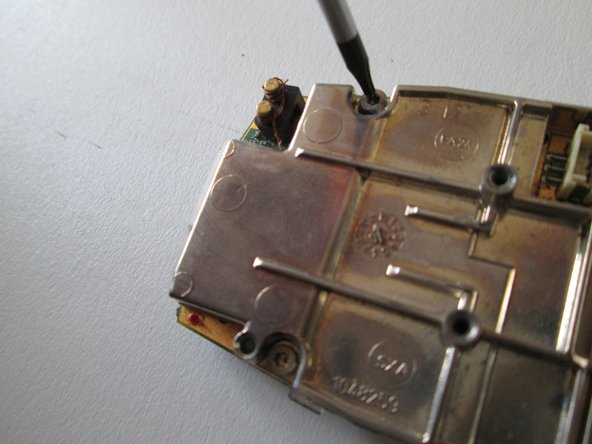
Now for the top cover. Unscrew the two screws holding it to the board (shown in picture one, already unscrewed)
-
The board is held onto the board by an extra 3 clips. Unclip the bottom two (position shown in picture 2) and then pull the board out by holding onto the top part and the board and pulling one from the other (shown in picture 3)
-
-
-
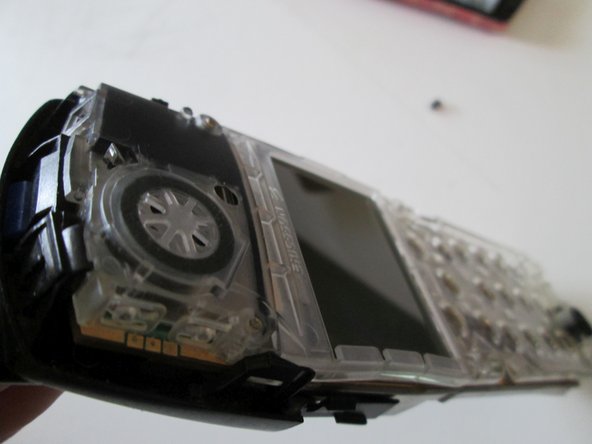
The top cover is now removed. The antenna and antenna connectors are shown in picture one.
-
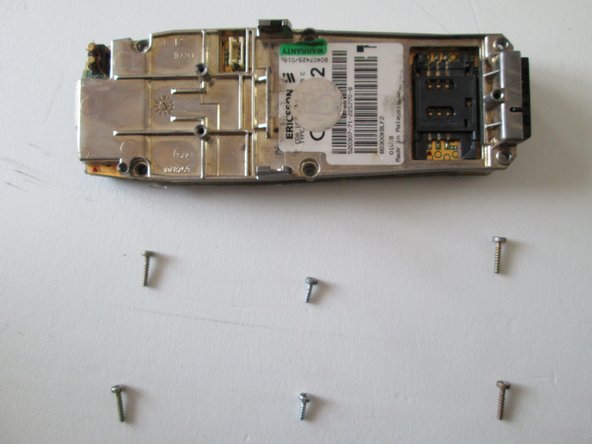
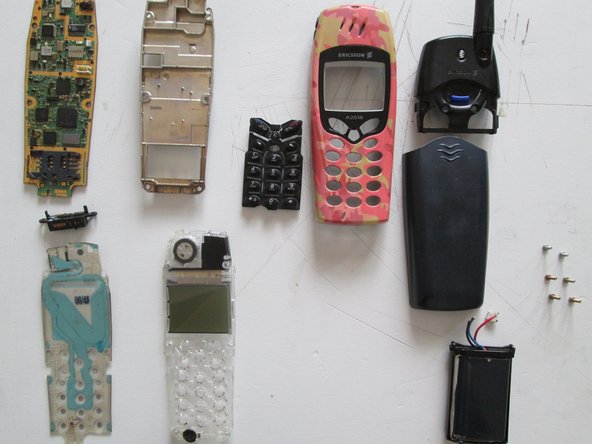
Time to remove the metal body off the board. You should easily notice the presence of six T6 screws that need to be removed. Get on it.
-
Notice that two of the screws are of different dimensions and colors when compared to the other four(picture three). Keep that in mind when re-assembling.
-
-
-
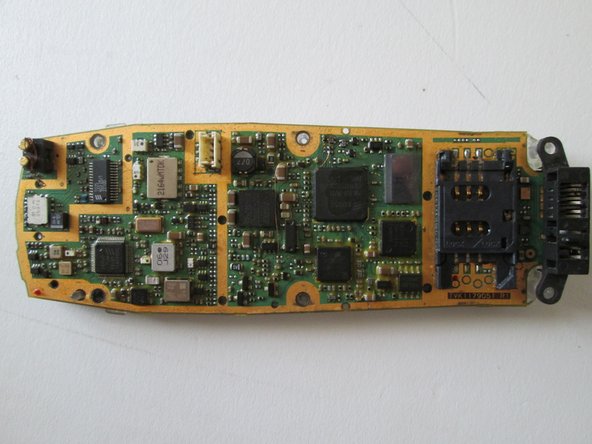
The body should go right off without those screws to hold it. Careful, the Charging/data port is not soldiered to the board and may fall out of place.
-
3004CR1C Q8753 MPJ 01041
-
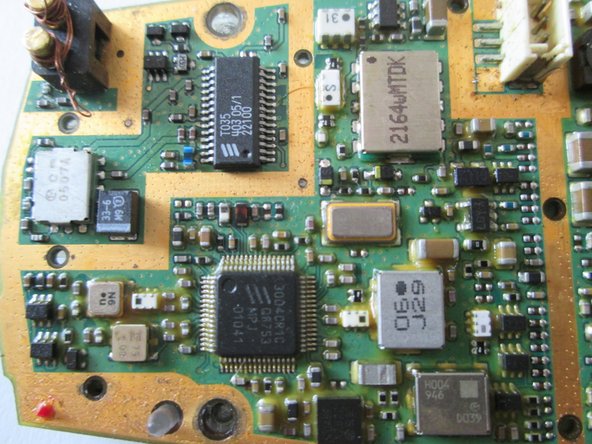
T035 403 05/1 22100
-
ERICSSON 101102/5CR2B 004839AD
-
AU051 PBM 990 28/11 ROP101303011 P1A A9924
-
1120/8C 0BAH05T RTA
-
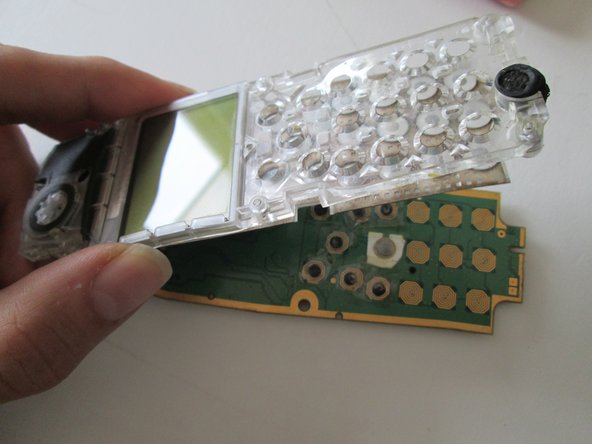
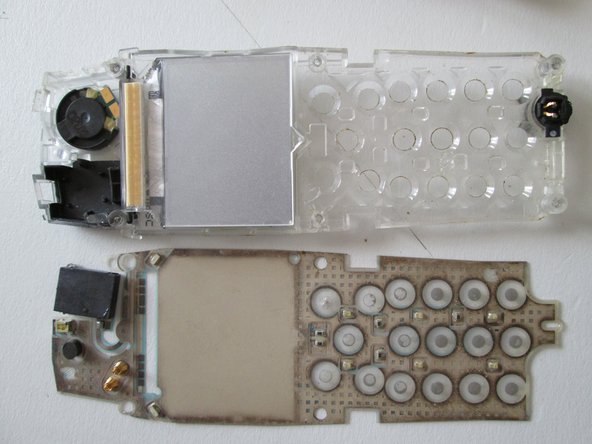
Removing the front part from the board, we find the keyboard membrane(here shown with a few quick fixes in picture three)
-