你所需要的
-
-
Here we have our (almost) new Bosch battery 14,4V for cordless drill. Simple and stylish design, with Bosch Company logo on the side and necessary number identifier. The top part is universal Bosch battery socket, which will fit all cordless tools of this voltage type.
-
-
-
Bosch battery is held together by 4 combo screws, which will fit both flat and torx screwdrivers. Flat screwdriver is used in this particular case.
-
-
-
Once screws are removed, we´ll flip the battery back and gently remove the upper lid, revealing the surprising insides.
-
Third part is a battery pack holder, which holds 4 "18650" Li-ion cells together, including a tiny PCB with metal connector claws and two resistors. We´ll gently lift the pack and put it to side. Care must be disciplined, to avoid short-circuiting the powerful cells.
-
-
-
-
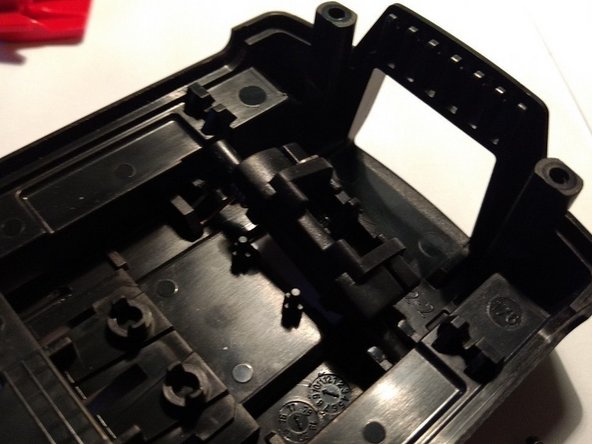
Upper lid houses a curious release mechanism with 3 parts total.
-
The red push button that slid inside and applies force to dark black blocker, which is poking from the lid.
-
Nothing is holding it in place, we can easily remove it by lifting and picking it up.
-
Black blocker is held in place by two pieces of plastic on both sides, but can be removed easily and without damage.
-
-
-
Lower lid hides no surprises, just ergonomically shaped bottom which holds the li-ion cells nicely fit in place.
-
-
-
The PCB houses 5 spring jaws total, two on sides are GND and VCC, inner 3 are connected with resistors and are used to monitor battery temperature during workload and charging.
-
Interesting enough, different jaw is used by battery and by cordless drill, only the centerpiece is common in both.
-
-
-
On these last photos we can see the way these 4 li-ion cells are connected. Spot welded in two places. Four 3,7V cells in series will produce the 14,4V as advertised.
-
There is also a temperature probe, which most certainly is a thermal resistor, freely stuck between two inner cells.
-
There is no control board in the battery cell, which really improves the durability. The function of control board was moved into the charger and the drill, but that doesn´t affect the price of these battery packs.
-
2条评论
Very useful information.I have just been given this battery plus drill. Unfortunately the battery was useless had been left in the rain or dropped into water and left, so after looking at this site have been able so Far to dismantle the battery pack and seen the batteries totally destroyed. Luckily I have some samsung 18650s that I can replace and rebuild. With a little luck will be using it soon. Will comment on final rebuild and testing. Thank you.


