简介
You will learn how to teardown the entire Audiophase AM/FM Dual-Alarm Clock Radio without damaging the device by unscrewing screws and pulling some parts apart from the casing to see the circuit board and plugs.
你所需要的
-
-
Unplug the Device and Take Out Spare Battery on the Bottom of the Device!!!
-
There are five screws on the bottom of the device, one at each corner and a single screw in the middle top section of the device.
-
Unscrew all five screws with your Phillips Screwdriver and place all screws in a safe bag.
-
-
-
Pull off the bottom casing of the device gently by slowly pushing the bottom part off on all sides of the device. Pull gently on the casing as there are wires that are connected to it still.
-
-
-
Remove all Screws after lifting the bottom part to detach the casing from the circuit board and screen.
-
Gently remove the smaller circuit board and set the top casing aside in a box.
-
-
-
-
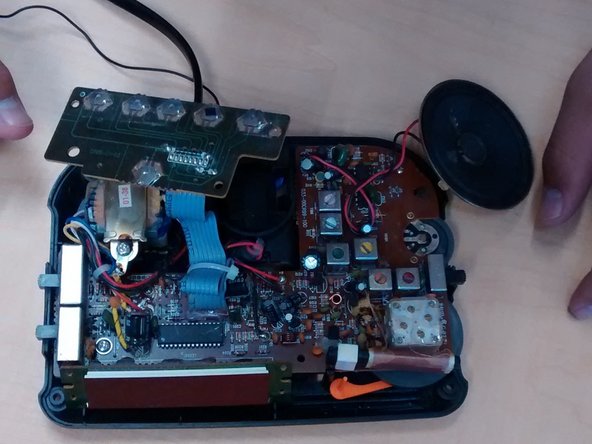
After the top casing has been removed, you can now see the circuit board, electronic screen, speaker and radio parts.
-
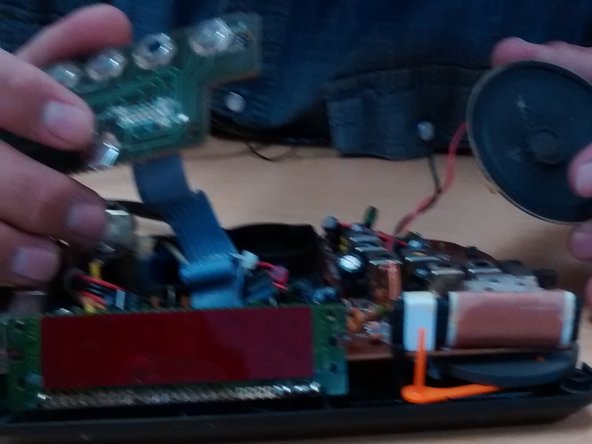
Gently pull out (without pulling the wires apart) the speaker and smaller circuit board.
-
-
-
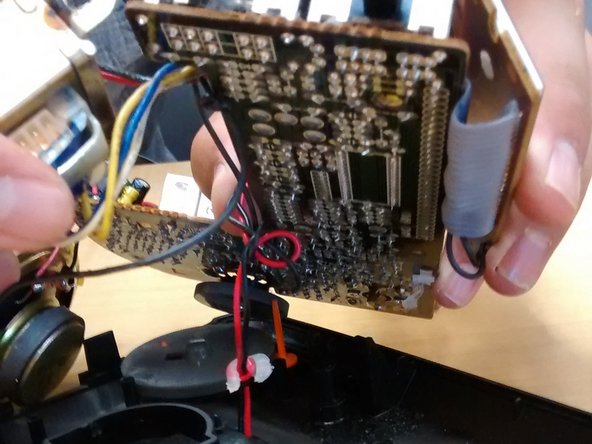
Unscrew the Gold painted mechanism on both ends and place screws in a bag.
-
Gently lift out the part to loosen the wrapped wires.
-
-
-
Gently pull out the wire that is wrapped in the "circular-shaped wire shaper".
-
This will allow you to pull apart the circuit board by loosening the shaped wire.
-
-
-
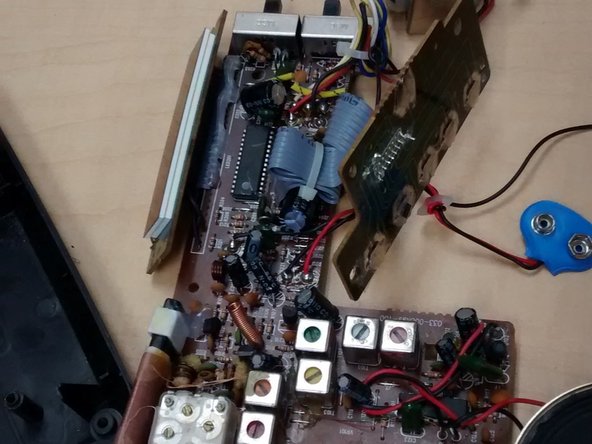
Undo the glue wires by stabbing the glue with the Phillips Screwdriver.
-
Unwrap the cords from the shaped wire.
-
Prepare to take out the backup battery plug.
-
-
-
Gently Pull out the Backup battery plug (Should be colored blue with 9V Battery Plugs)
-
Pull it through the opening on the inner casing of the device (Notice the Index Finger pointing to it).
-
Release the Circuit Board.
-
-
-
Pull all pieces apart from each other.
-
You have now torn down the Audiophase AMFM Dual Alarm Clock Radio!
-
This Device can be reassembled by following the disassembly directions in reverse order.
-