跳转到主内容

你所需要的

这个拆解是不是维修指南。 要维修你的的A-Solar Power Bank AL-200,请使用我们的维修手册

  1. A-Solar PowerBank AL-200 Teardown, A-Solar PowerBank AL-200 Teardown: 步骤 1 中的图像 1,2 A-Solar PowerBank AL-200 Teardown, A-Solar PowerBank AL-200 Teardown: 步骤 1 中的图像 2,2
    • There are three blue LEDs to show you the power in the battery.

    • There is also a handy LED to see what you are doing in the dark.

  2. A-Solar PowerBank AL-200 Teardown: 步骤 2 中的图像 1,3 A-Solar PowerBank AL-200 Teardown: 步骤 2 中的图像 2,3 A-Solar PowerBank AL-200 Teardown: 步骤 2 中的图像 3,3
    • The bottom of the device.

    • It's time for some prying. Take out the rubber plugs at the bottom of the device.

    • Remove the screws which are underneath the plugs.

  3. A-Solar PowerBank AL-200 Teardown: 步骤 3 中的图像 1,2 A-Solar PowerBank AL-200 Teardown: 步骤 3 中的图像 2,2
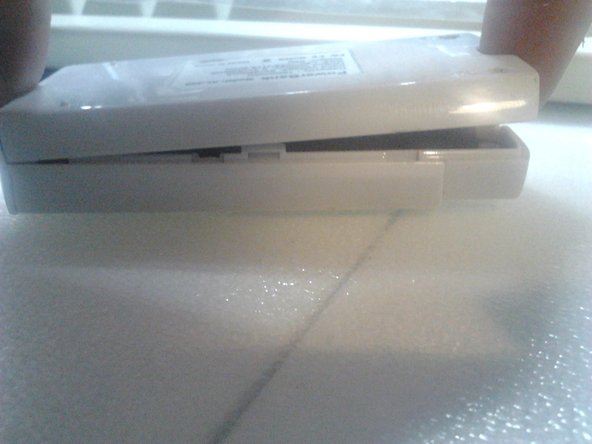
    • use a flathead screwdriver or a spudger to pry open the device.

    • Don't pry at the front of the device - there are a few hooks and you do not want to break them.

  4. A-Solar PowerBank AL-200 Teardown: 步骤 4 中的图像 1,1
    • A first glance at the inside: a big battery and the logic board.

    • There is a 1800 mAh battery in it.

    • There are two screws in the logic board, the battery is glued to the casing.

  5. A-Solar PowerBank AL-200 Teardown: 步骤 5 中的图像 1,2 A-Solar PowerBank AL-200 Teardown: 步骤 5 中的图像 2,2
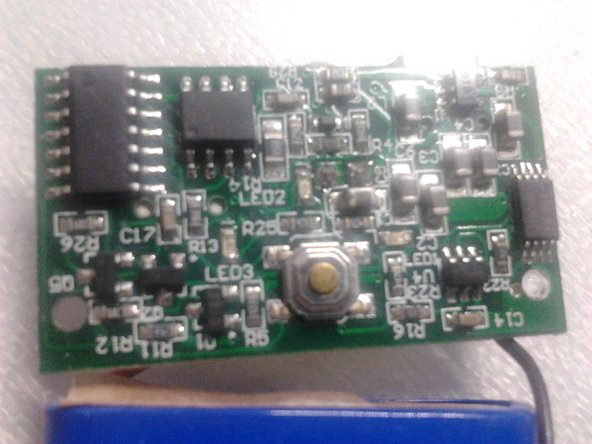
    • The other side of the electronics.

    • And the logic board.

  6. A-Solar PowerBank AL-200 Teardown: 步骤 6 中的图像 1,1
    • And there it is: the A-Solar PowerBank AL-200 torn down.

    • It was easy to do.

storm

于07/07/12注册

552 声望

创作了2篇指南

0条评论

添加评论

浏览统计数据:

过去 24 小时: 2

过去 7 天: 10

过去 30 天: 30

总计 5,228