Remove the screws.
Lift the cover.
For safety reasons, the battery must be disconnected before each intervention.
Disconnect the battery your fingers.
Other components can now be replaced safely.
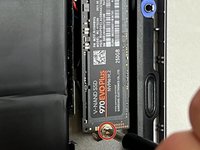
Unscrew the screw.
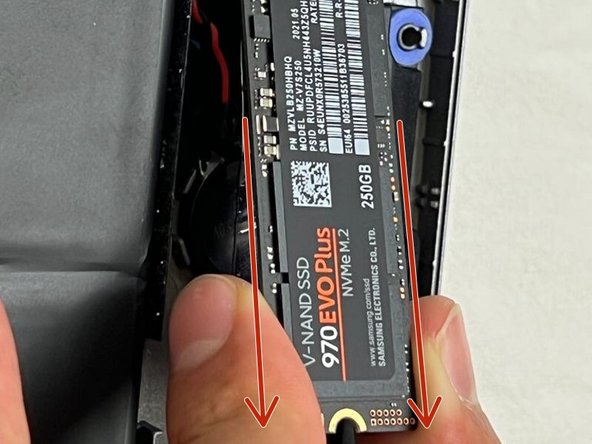
The SSD will lift by itself.
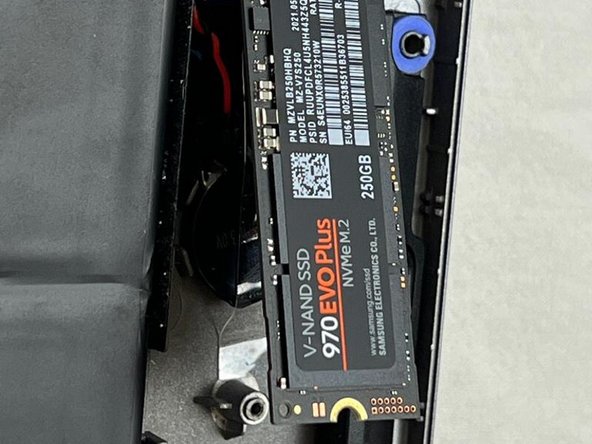
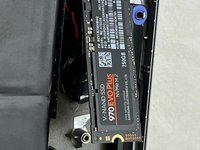
Remove the SSD.
To reassemble your device, follow the steps in reverse order.
取消:我没有完成这个指南。
由衷感谢以下译者:
100%
Matilda C.
Brandon
这些译者帮助我们修补全世界! 您也想加入吗? 开始翻译 ›
与1其他贡献者
于06/15/13注册
33,538 声望
创作了283篇指南
徽章: 22
+ 19更多徽章
选择一个尺寸并复制下面的代码,将本指南作为一个小插件嵌入到你的网站/论坛中。
过去 24 小时: 0
过去 7 天: 1
过去 30 天: 4
总计 155