正翻译步骤 9
步骤 9


-
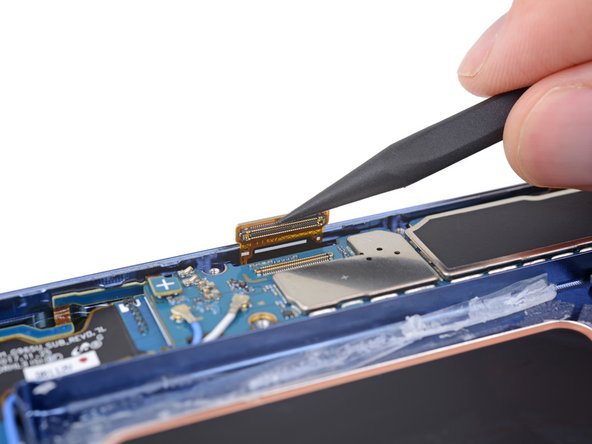
We'll have the motherboard free as soon as we twirl away two screws and spudger off a couple FPC connectors.
-
No one could have expected this display cable to be threaded through a slit in the chassis and latched onto the motherboard as if trying to pull it down to its doom...
-
...No one except for you, if you've read pretty much any of our Galaxy teardowns in recent years.
-
Samsung, we see why you did it, but we're pretty sure you're smarter than this. It's 2018—show us a display we can disconnect and replace without having to carve off a glued-down back cover. We dare you!
-
Motherboard achievement: unlocked.
您的所有投稿皆享有基于开源创作共享许可协议(CC BY-NC-SA)的著作权利。