跳转到主内容

iRobot Roomba 870 Side Brush Motor Replacement

你所需要的

  1. iRobot Roomba 870 Side Brush Motor Replacement, Side Brush Motor: 步骤 1 中的图像 1,3 iRobot Roomba 870 Side Brush Motor Replacement, Side Brush Motor: 步骤 1 中的图像 2,3 iRobot Roomba 870 Side Brush Motor Replacement, Side Brush Motor: 步骤 1 中的图像 3,3
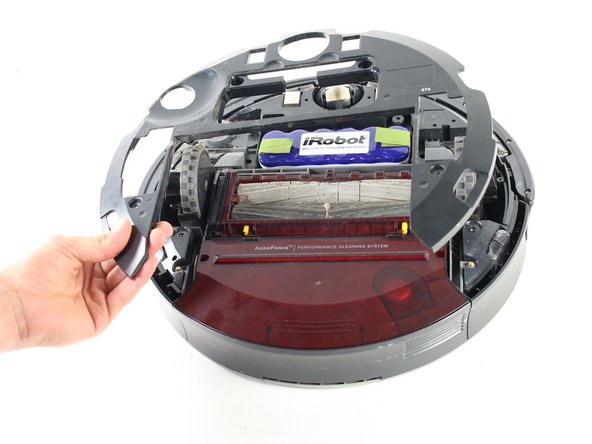
    • Turn the Roomba over so that the back side is facing up.

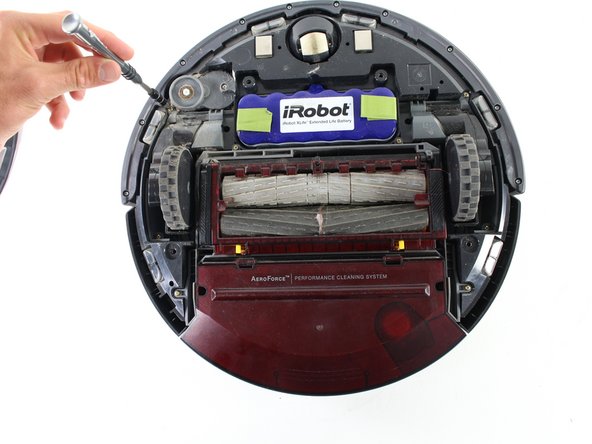
    • Using the Phillips #00 screwdriver, remove the 4.0mm screw in the center of the yellow side brush and lift the part out.

  2. iRobot Roomba 870 Side Brush Motor Replacement: 步骤 2 中的图像 1,2 iRobot Roomba 870 Side Brush Motor Replacement: 步骤 2 中的图像 2,2
    • Use the Phillips #00 screwdriver to remove the four 3.5mm screws that hold down the battery panel and rear panel.

  3. iRobot Roomba 870 Side Brush Motor Replacement: 步骤 3 中的图像 1,2 iRobot Roomba 870 Side Brush Motor Replacement: 步骤 3 中的图像 2,2
    • First remove the battery panel, which is the small rectangular.

    • After removing the battery panel, remove the rear panel.

  4. iRobot Roomba 870 Side Brush Motor Replacement: 步骤 4 中的图像 1,3 iRobot Roomba 870 Side Brush Motor Replacement: 步骤 4 中的图像 2,3 iRobot Roomba 870 Side Brush Motor Replacement: 步骤 4 中的图像 3,3
    • Remove the three small 3.5mm screws fastened to the motor housing.

    • After removing the screws, remove the motor housing from the rest of the Roomba.

  5. iRobot Roomba 870 Side Brush Motor Replacement: 步骤 5 中的图像 1,3 iRobot Roomba 870 Side Brush Motor Replacement: 步骤 5 中的图像 2,3 iRobot Roomba 870 Side Brush Motor Replacement: 步骤 5 中的图像 3,3
    • Remove the 2.5mm screw in the center of the motor housing using a Tri-Wing Y1 screwdriver.

    • After removing the screw, remove the top shell casing of the motor housing. Underneath, you will see a white gear with two screws next to it.

  6. iRobot Roomba 870 Side Brush Motor Replacement: 步骤 6 中的图像 1,3 iRobot Roomba 870 Side Brush Motor Replacement: 步骤 6 中的图像 2,3 iRobot Roomba 870 Side Brush Motor Replacement: 步骤 6 中的图像 3,3
    • Remove the two 2.5mm screws in the inner motor housing using a Phillips #00 screwdriver.

    • After removing the two screws, the motor will slide right out the back, and it can be replaced.

结论

To reassemble your device, follow these instructions in reverse order.

2等其他人完成本指南。

团队

Cal Poly, Team S14-G3, Banghart Spring 2017 Cal Poly, Team S14-G3, Banghart Spring 2017 的会员

CPSU-BANGHART-S17S14G3

4 名成员

创作了10篇指南

0条评论

添加评论

浏览统计数据:

过去 24 小时: 1

过去 7 天: 4

过去 30 天: 45

总计 3,538