简介
This guide shows how to replace the rear panel on the 2nd Generation iPod Touch.
你所需要的
-
-
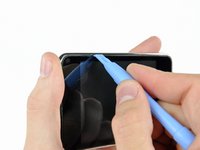
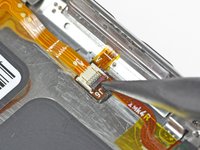
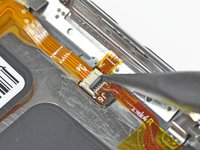
The picture at left (front panel already removed) shows the locations of the metal clips (shown in red) that snap on to the plastic frame. In the next few steps, try to pry the front panel up from the gaps between these clips.
-
-
-
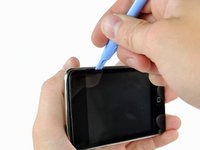
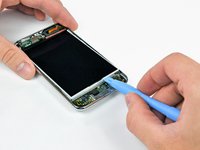
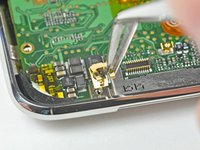
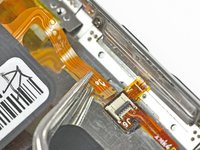
Insert a small iPod opening tool with the edge angled up toward the underside of the display between the white plastic backlight and the metal shield beneath it.
-
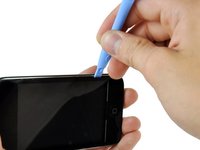
Pry up along the lower edge of the display enough to grab it with your fingers.
-
-
-
-
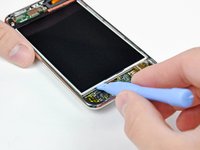
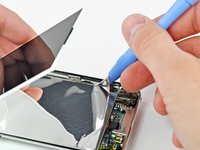
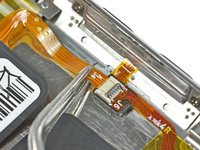
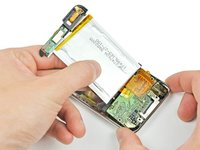
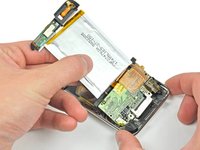
Use the flat end of a spudger to pry the battery off the adhesive securing it to the metal display tray.
-
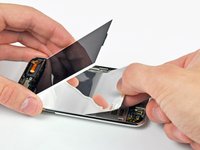
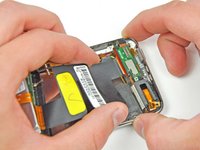
Remove the metal display tray and set it aside.
-
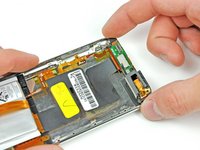
Lay the battery flat in the rear panel.
-
-
-
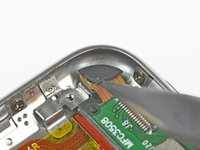
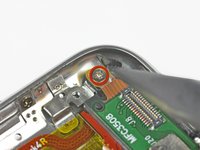
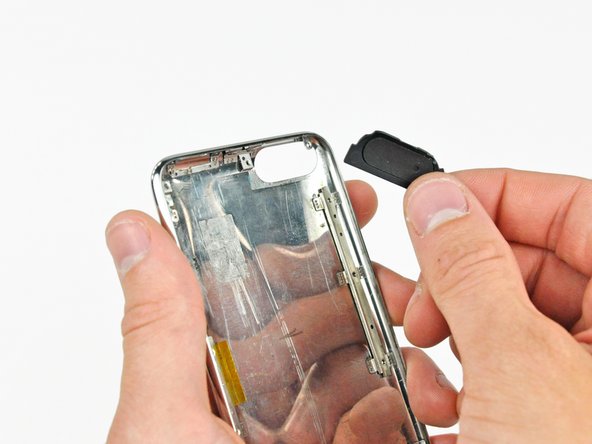
Remove the two Phillips screws securing the power/volume controls to the rear panel.
-
-
-
Use your finger to push the plastic antenna window through the other side of the rear panel.
-
Remove the plastic antenna window from the rear panel.
-


To reassemble your device, follow these instructions in reverse order.
21等其他人完成本指南。
