你所需要的
-
-
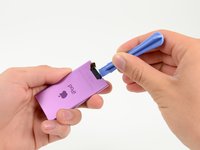
Lay the iOpener over the plastic tab to loosen the adhesive. Let the bag sit on the device for approximately 90 seconds before attempting to open the panel.
-
-
-
-
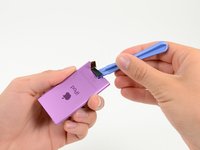
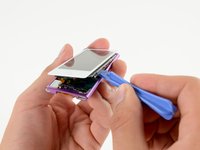
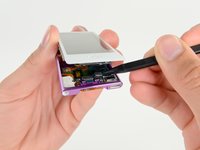
Insert a spudger under the metal midframe and display on the left side of the home button.
-
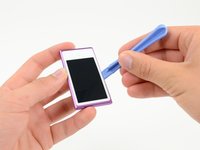
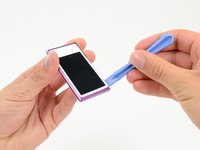
Rotate the spudger around the home button and across the front panel, releasing the adhesive holding the display in place.
-
-
-
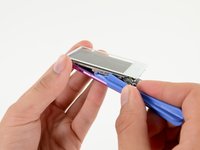
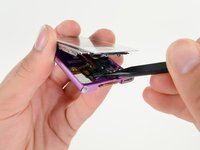
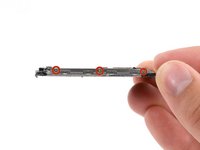
Remove the six (three on each side) 1.5 mm Phillips #000 screws securing the metal midframe to the display.
-
-
-
Fill a pot or pan with enough water to fully submerge an iOpener.
-
Heat the water to a boil. Turn off the heat.
-
Place an iOpener into the hot water for 2-3 minutes. Make sure the iOpener is fully submerged in the water.
-
Use tongs to extract the heated iOpener from the hot water.
-
Thoroughly dry the iOpener with a towel.
-
Your iOpener is ready for use! If you need to reheat the iOpener, heat the water to a boil, turn off the heat, and place the iOpener in the water for 2-3 minutes.
-
-
-
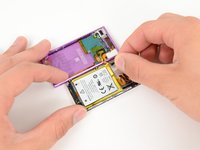
Remove the 0 Philips screw
-
Lift the power button out
-
Pull the flex cable up from the adhesive
-


To reassemble your device, follow these instructions in reverse order.

团队
