One black Phillips screw securing the hold switch near the corner of the iPod.
One silver Phillips screw securing the other side of the hold switch.
Side Note: When reassembling the iPod, a touch of white Elmer's glue on the end of your screwdriver helps hold these little screws on your screwdriver to make it easier to screw them in.
If your replacement headphone jack includes the white plastic hold switch, simply reinstall the headphone jack. If your replacement part does not include the plastic hold switch, follow the next steps to transfer the plastic hold switch to your new headphone jack.
If you're just trying to remove the rear panel, you can skip Steps 15 and 16.
Remove the single Phillips screw nearest to the hold switch. Note: You may find adhesive holding the back of the screw in place.
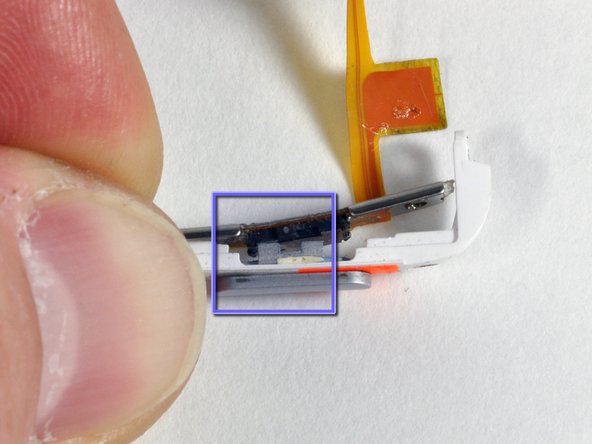
Lift the plastic portion of the Hold switch away from the orange ribbon cable.
Ensure that the black notch lines up with the gray slider during reassembly of the switch (see picture 2).
Use the small iPod opening tool to carefully peel the orange ribbon cable and attached black Hold switch up from the metal backing.
When re-attaching the replacement Hold switch, make sure the two small posts on the back of the switch are aligned with the two holes in the metal backing.