当前版本的文档还未经巡查,您可以查看最新的已查核版本。
你所需要的


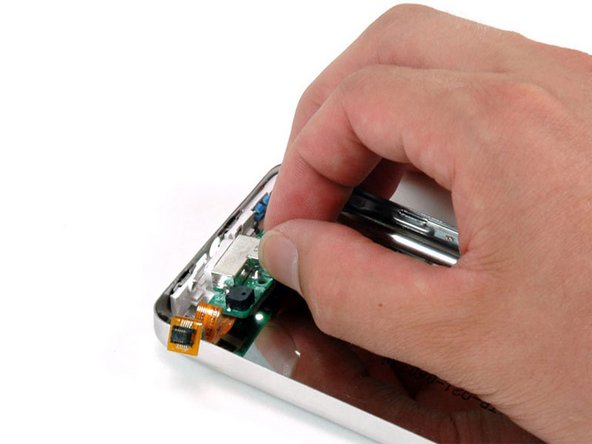


即将完成!
终点
19等其他人完成本指南。

4条评论
How do you add a "confirmed success"? This worked perfectly for me. Thanks iRobot!
I agree that these pry tools pretty low quality. They did work faster than the guitar picks I've used in the past, but the material is just not durable. They were pretty much destroyed after one case opening.
The instructions are great, however when you ask about spares required there is no mention of the ribbon cable I require, just the board assembly!
Hi
Where can I buy these components?
Thanks