简介
For the official iFixit guide, click here. The guide you are viewing is retained for historical purposes only.
How to disassemble an iPhone 5S and to change / replace the touch screen digitizer glass & LCD display assembly.
你所需要的
视频概述
-
-
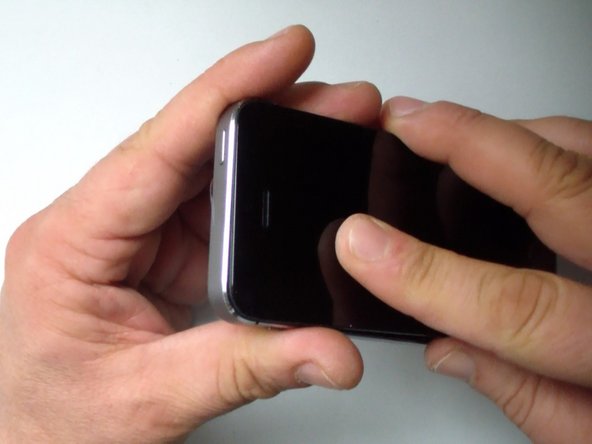
Turn off the phone.
-
If the touch screen is not working, press and hold the home button and the power button for 5 seconds.
-
-
-
With a pentalobe screwdriver remove the two security screws near to the charging connector.
-
Put the suction cup on the glass and with a cutter carefully lift a little the glass to make a room for the plastic tool.
-
-
-
Disconnect the Home button flex cable.
-
Up on the connector there is a small metal bracket.
-
-
-
Remove the two Phillips screws.
-
Remove the metal bracket.
-
Disconnect the battery.
-
-
-
-
The display flex cable connectors bracket is secured by four Phillips screws.
-
Remove them and the remove the bracket.
-
-
-
Disconnect:
-
The front camera flex cable
-
The LCD flex cable
-
The touch screen flex
-
Now you can remove the display assembly.
-
-
-
From the old spare part we have to remove and install to the new spare part:
-
Home button assembly
-
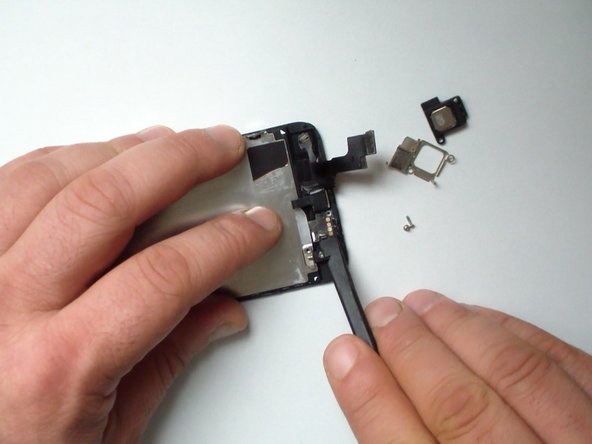
Earpiece
-
Front camera and proximity sensor flex cable
-
LCD shield
-
-
-
Remove the 3x Phillips screws.
-
Remove the metal bracket.
-
Use a plastic tool and gently separate the Home button assembly.
-
-
-
Use a plastic tool and gently remove the flex cable.
-
-
-
The LCD shield is secured by 5x Philleips screws.
-
This is the final part that we have to remove from the old display assembly.
-
-
-
Start with reassembling:
-
Install the LCD shield with 5x Phillips screws
-
Install the front camera flex and the earpiece with the bracket with two fillips screws (the screws are different).
-
Install the home button assembly - metal bracket and 3x Phillips screws
-
Connect the display assembly flex cables and install the bracket with 4x Phillips screws
-
Connect the battery and install the bracket with two Phillips screws
-
Connect the home button flex and put the small bracket up on it
-
Close the display assembly and and secure it with the two penatalobe screws
-


To reassemble your device, follow these instructions in reverse order.
To reassemble your device, follow these instructions in reverse order.
12等其他人完成本指南。

团队

2条评论
The display flex cable connectors bracket is secured by four Phillips screws, but they are diferent and i had read that, if you put in different place , you can make a damaged in the motherboard. Please said how is the right place for any of them, becouse i changed the lcd and appears 5 lines and dont work the digitaizer there. i was trying to cleaning the connectors and still same way.