简介
请使用本指南更换 iPhone 15 Plus 的电池。
iPhone 电池的额定寿命为最多 500 次充电循环(约 18–24 个月)后仍可保持 80% 的容量。如果你的 iPhone 需要更频繁地充电或运行速度变慢,可能是时候更换电池了。
你需要准备更换用电池和背部玻璃粘合剂来完成此维修。
如果你的电池鼓包,请采取适当的预防措施。
注意: 由于 Apple的零件配对限制,在 iOS 17.6 及更早版本中,你可能会收到关于更换零件的警告,并失去电池健康数据的访问权限,但新电池仍可正常工作。在 iOS 18 及更新版本中,使用 Apple的维修助手 对正品 Apple 电池进行校准。
你所需要的
-
-
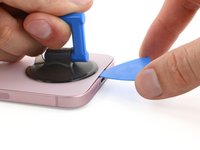
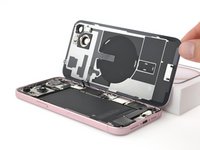
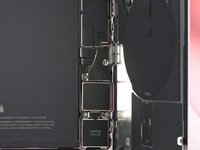
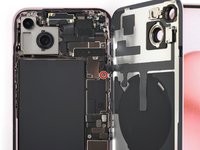
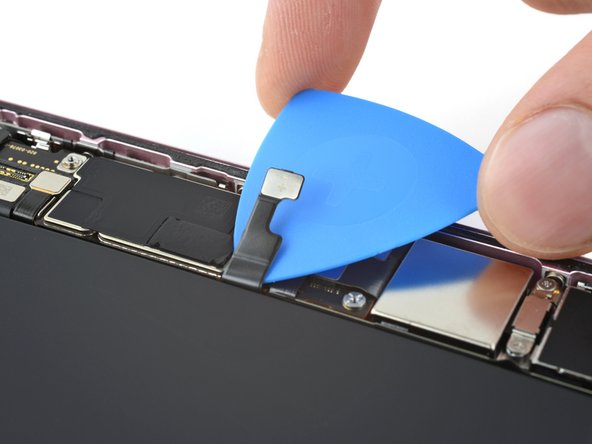
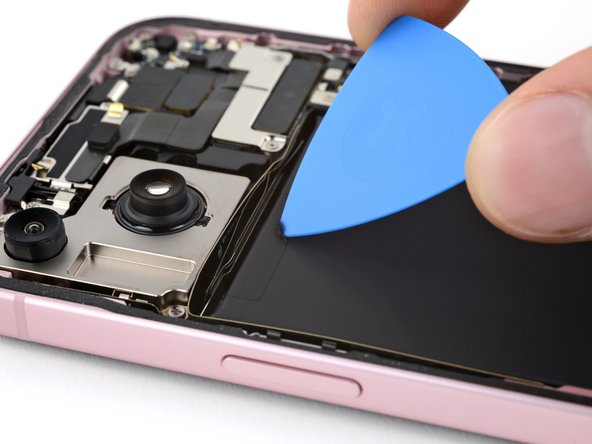
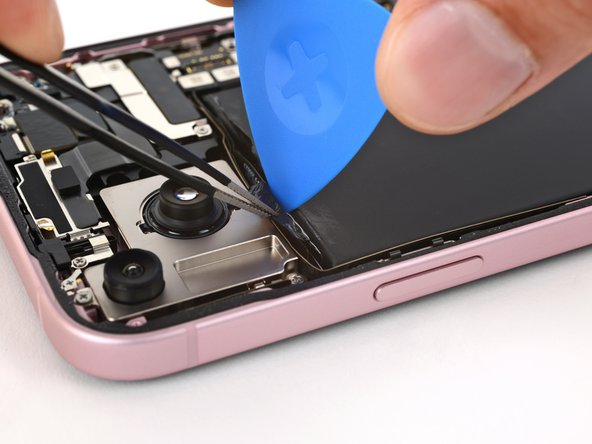
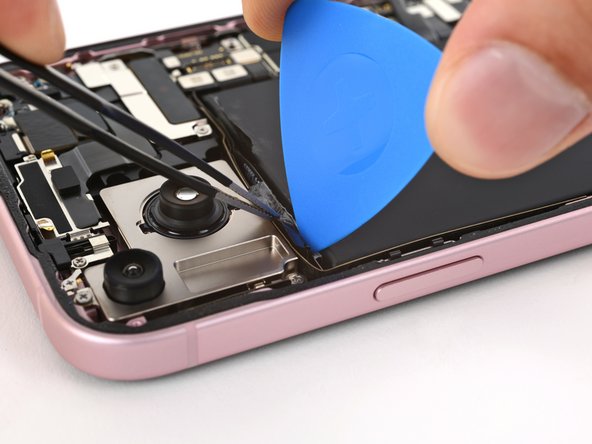
音量调高按钮旁边有一根脆弱的电缆将背面玻璃连接到手机。不要在这里插入塑料拆机片,以免切入电缆。
-
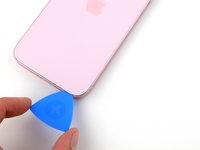
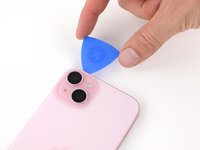
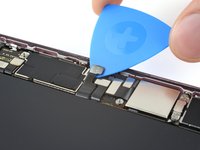
手机周边有多个弹簧触点。格外小心,不要在每个步骤中将拆机片插入超过建议的深度,以免弯曲这些触点。
-
-
-
-
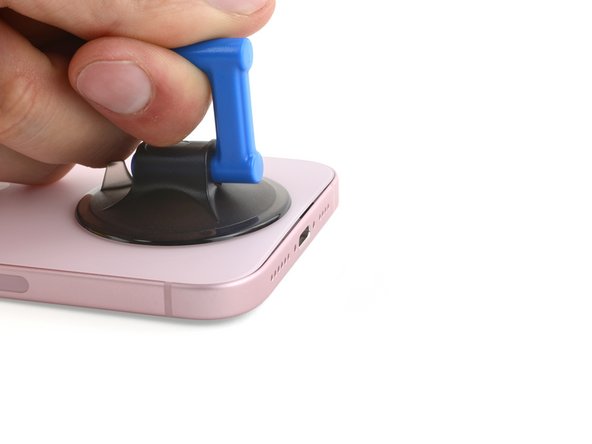
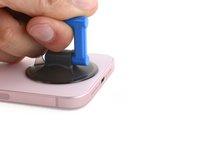
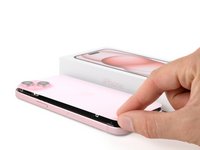
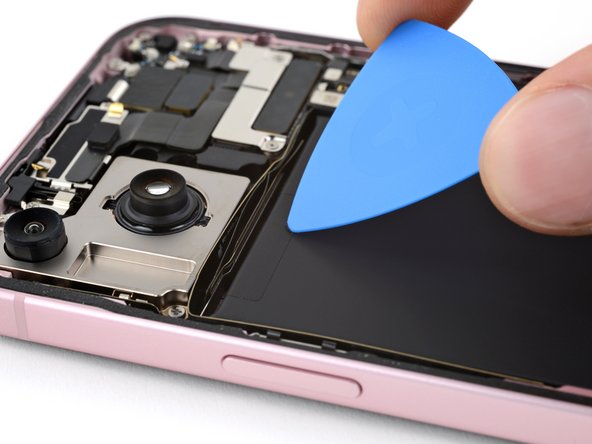
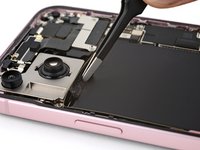
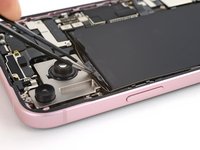
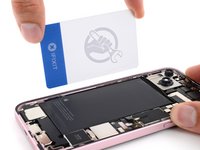
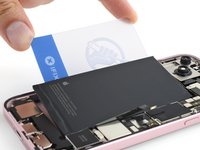
将手机右侧(带音量按钮的一侧)抬起。
-
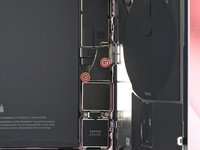
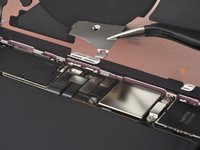
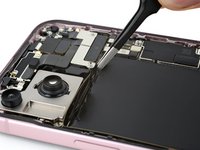
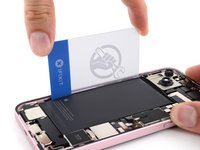
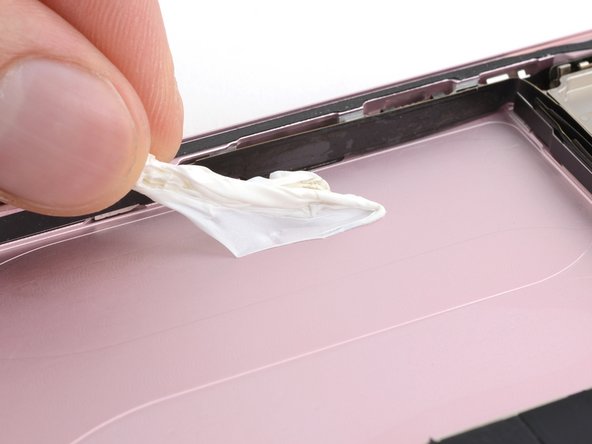
使用移液管或注射器,在电池内侧边缘滴几滴高浓度(90%以上)异丙醇。
-
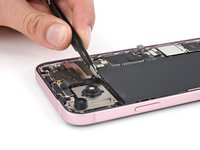
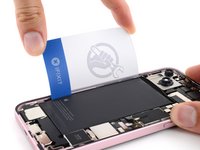
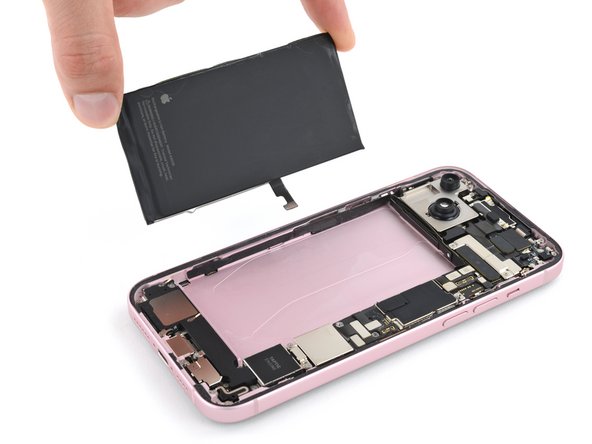
将手机顶部边缘抬起,对电池上缘重复上述操作。
-
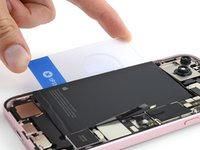
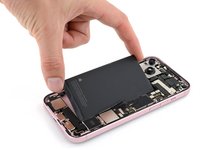
等待一分钟,让异丙醇渗入电池下方并软化胶粘剂。
-
-
在这个步骤中使用的工具:Stretch Release Battery Adhesive$3.99


要重新组装手机,请按照相反的顺序操作这些说明。
维修完成后,根据更换的零件,你可以通过 Apple 的 维修助手 进行校准(适用于 iOS 18 及更新版本)。请更新设备,前往 设置 → 通用 → 关于本机 → 零件与服务记录,点击“重新启动并完成维修”,然后按照屏幕提示操作。
为获得最佳性能,请在完成本指南后校准新安装的电池。
请将电子废弃物送往R2 或 e-Stewards 认证的回收机构。
维修没有按计划进行?请尝试一些基本故障排除,或向我们的 Answers 社区 寻求帮助。
8等其他人完成本指南。


团队

3指南评论
I guess I don't get the rationale here. We come to iFixit, ostensibly to save money. Apple will replace the battery of virtually any iPhone for $69-$99, right? So, I buy an iFixit battery kit for $50. Then I have to purchase a heat gun or hair dryer, another $20-$25, then the back panel adhesive (which I can't find here for a 15 plus), so that's another $6, then I possibly need some 90% isopropyl alcohol for the battery adhesive (which is also a run to a store with time and money spent), and those things alone come to $85-$90. Which brings me to the point: Why would I bother to do a 1 hour (minimum) repair with all the fiddlies, and all the possibility of messing it up, when for about $10 service cost above the iFixit cost, I can just have a CERTIFIED GUARANTEED repair done at Apple. Right?
Everyone has a hair dryer in the house. And the apple repair is mor like 99 than 69, at least in my country. And I would pay no problem but they expect me to leave the phone and after that they order the battery and until it is delivered and repaired it takes a total of 10 days or so time where I don’t have my phone. Last time I just bought a new phone because of this but I got the ifixit battery replaced for a friend and he was very happy that it took 2 hours and he has the phone available same day. So yea… maybe it is not for you but it certainly is for a lot of people. Thank you ifixit for having an alternative.
So, do I not need to order a new adhesive seal for the back glass when my device is reassembled?
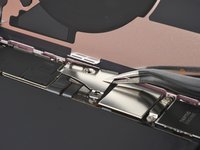
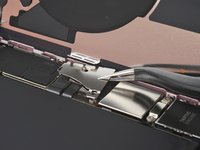
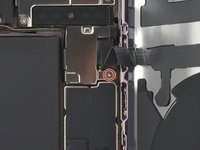
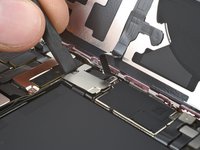
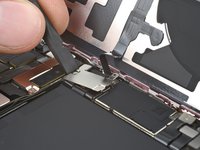
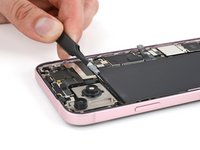
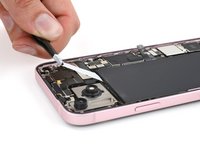
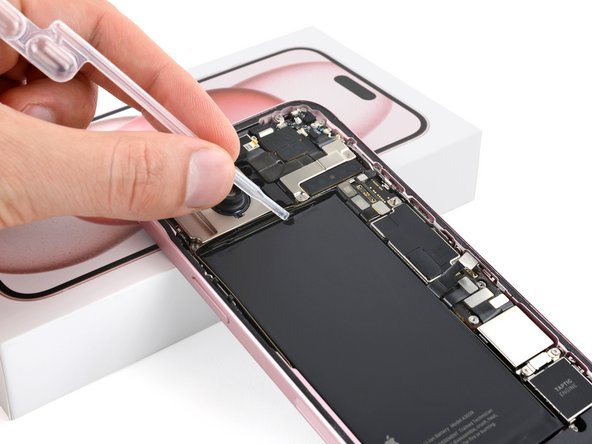
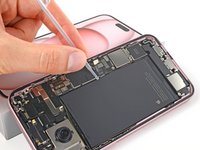
How about Step 19? Those photos don’t clearly illustrate the process of sliding that bracket up to remove it? Please be more clear with your photos if there is a specific “process” to be followed. You did a great job a few steps later with the other bracket.
I’ve done this before so it won’t be so confusing, but, I can imagine someone who’s never done this being super confused and worried they’re going to mess up their iPhone because of us unclear instructions.
To those saying this saves you no money due to the tools - fine, don’t do it. Go pay Apple extra $50 to have them do it. The tools that come with this kit are practically given away compared to the price of a battery alone and the heat gun or hair dryer can easily be substituted with anything that can heat up enough to soften the adhesive. I’ve used heating pads and microwaveable rice bags to do this.
Just read the instructions, be patient, and GO SLOW.