简介
iPhone 电池额定可在最多 500 次充电周期内保留 80% 的电量,对于大多数用户来说大约可持续 18-24 个月。 之后,你的 iPhone 可能需要更频繁地充电,iOS 可能会警告你性能受到影响(换句话说,你的手机运行速度会变慢)。 使用本指南更换电池并将你的 iPhone 恢复到与新设备一样的性能。
如果你的电池肿胀,请采取适当的预防措施。
注意: 在本指南中,移除扬声器是为了降低电池胶带断裂的可能性。 可以在不拆下扬声器的情况下拆下 iPhone 电池。
注意:维修后,你的 iPhone 可能会显示有关电池“正品”的警告,即使使用原装 Apple 部件也是如此。 如果你的 iPhone 运行正常,你可以放心地忽略该警告。 更换电池将删除电池健康状况和性能功能。
为了获得最佳性能,完成本指南后,校准新安装的电池:将其充电至 100%,并继续充电至少两个小时。 然后使用你的 iPhone,直到它因电池电量不足而关闭。 最后不间断充电至100%。
你所需要的
-
-
将重叠的透明包装胶带条黏在 iPhone 的后玻璃上,直到覆盖整个手机后部。
-
如果在接下来的几个步骤中无法让吸盘粘在手机上,请将强力胶带(折叠到把手中,然后用它提起后玻璃。
-
-
-
将蓝色手柄拉向铰链以解锁反向钳的手臂。
-
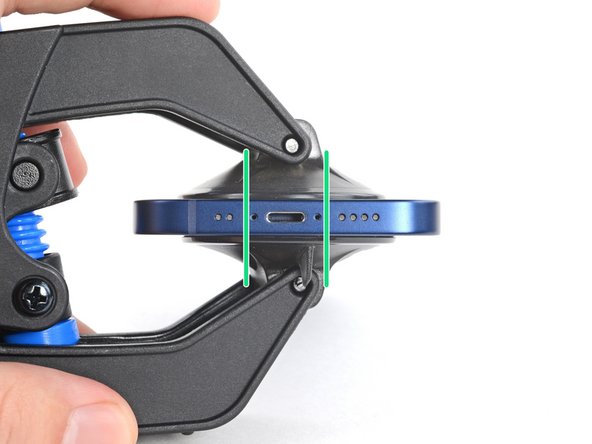
将反向钳手臂滑过 iPhone 的左边缘或右边缘。
-
将吸盘放在靠近 iPhone 底部边缘的位置——一个在正面,一个在背面。
-
向下推吸盘以将吸力施加到所需区域。
-
-
-
-
如果你尚未取下吸盘,请立即取下。
-
如果你在分离胶水时遇到问题,请重新加热左边缘。
-
从右侧向上像翻书一样的打开手机。
-
维修手机时,请将屏幕靠在一个物体上以保持其支撑。
-
-
-
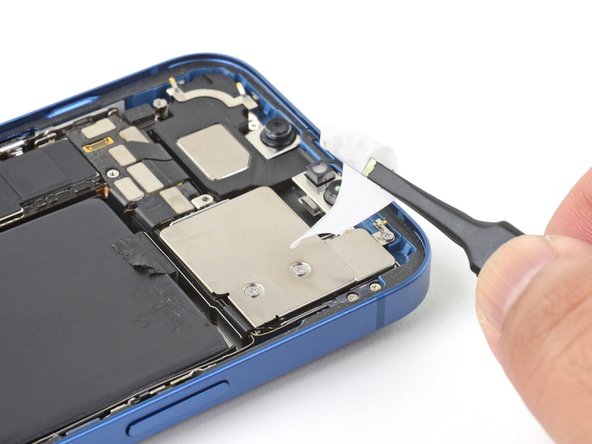
使用撬棒的平端轻轻抬起右上方电池粘合剂拉片的边缘,以便你可以用一把钝镊子抓住它。
-
剥下电池粘合剂小拉条,将其从电池顶部边缘取下。
-
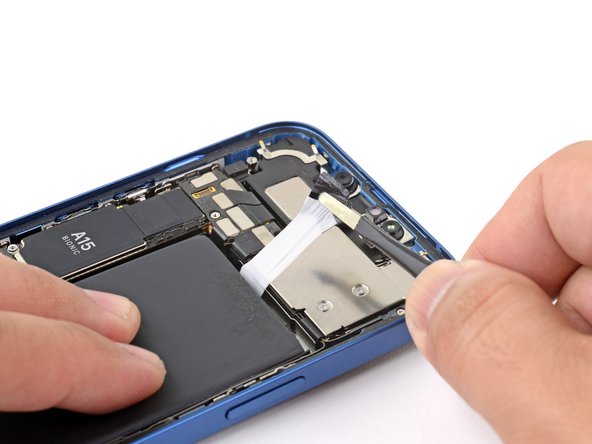
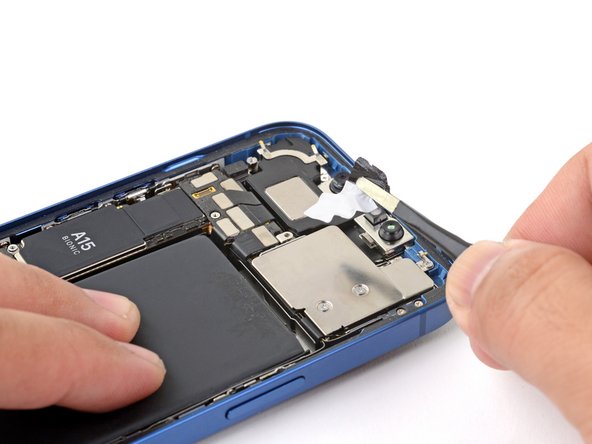
对左上角的电池粘合剂小拉条重复上述步骤。
-
-
-
如果你仍然无法取出电池,请在电池边缘下胶条破损区域滴几滴高浓度(90% 或更高)的异丙醇。
-
将手机向上倾斜,使异丙醇可以流向胶带。
-
等待大约一分钟,让酒精溶液削弱粘合剂。
-
使用撬片或撬棒的平头轻轻提起电池。
-


将你的新更换零件与原始零件进行比较——你可能需要在安装前转移剩余的组件或去除新零件的背胶。
要重新组装你的设备,请按逆序执行上述步骤。
将你的电子垃圾送到 R2 或 e-Stewards 认证的回收商。
维修没有按计划进行?尝试一些 基本故障排除,或询问我们的 iPhone 13 [链接|https://www.ifixit.com/Answers/Device/iP...|iPhone 13 论坛]求助。
将你的新更换零件与原始零件进行比较——你可能需要在安装前转移剩余的组件或去除新零件的背胶。
要重新组装你的设备,请按逆序执行上述步骤。
将你的电子垃圾送到 R2 或 e-Stewards 认证的回收商。
维修没有按计划进行?尝试一些 基本故障排除,或询问我们的 iPhone 13 [链接|https://www.ifixit.com/Answers/Device/iP...|iPhone 13 论坛]求助。
22等其他人完成本指南。


一条评论
Does anyone know if the kit comes with the tools as well or are the tools sold separately