简介
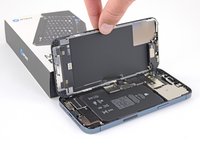
使用本指南可拆卸和更换 iPhone 12 Pro Max 中的后置摄像头。所有相机模块都作为一个整体更换。
你所需要的
-
-
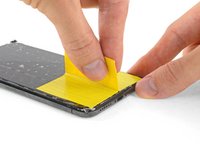
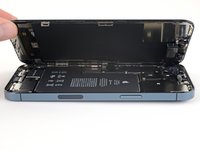
将重叠的透明包装胶带条黏在 iPhone 的后玻璃上,直到覆盖整个手机后部。
-
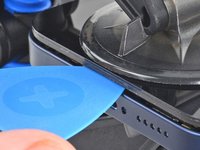
如果在接下来的几个步骤中无法让吸盘粘在手机上,请将强力胶带(折叠到把手中,然后用它提起后玻璃。
-
-
-
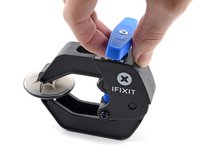
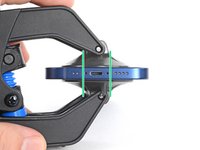
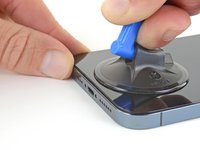
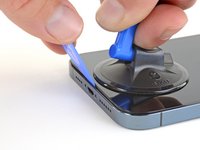
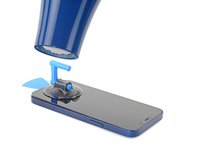
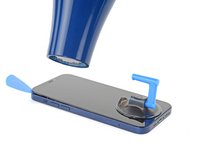
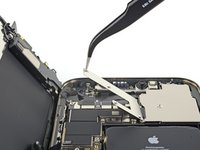
将蓝色手柄拉向铰链以解锁反向钳的手臂。
-
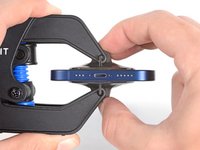
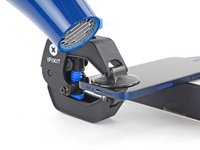
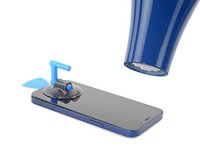
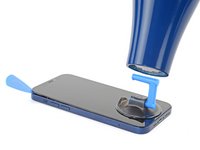
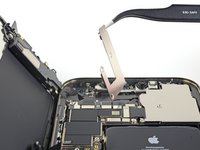
将反向钳手臂滑过 iPhone 的左边缘或右边缘。
-
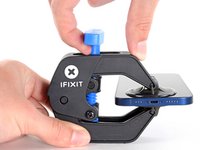
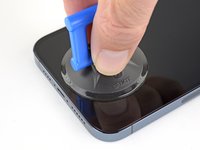
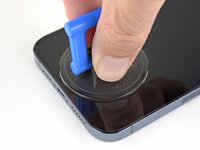
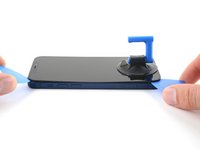
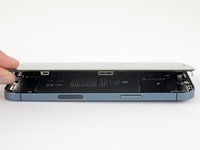
将吸盘放在靠近 iPhone 底部边缘的位置——一个在正面,一个在背面。
-
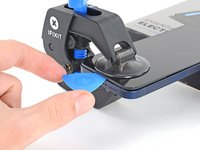
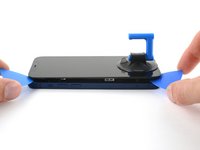
向下推吸盘以将吸力施加到所需区域。
-
-


将新的替换零件与原始零件进行比较——在安装之前,你可能需要转移剩余的组件或从新零件上取下粘性衬板。
'''要重新组装设备,请按相反顺序执行上述步骤。'
将你的电子垃圾带到R2或e-Stewards认证回收商。
维修没有按计划进行吗?尝试一些[[修复后的问题|基本故障排除],或询问我们的iPhone 12 Pro Max 论坛求助。
15等其他人完成本指南。


5指南评论
I am having issues with image focusing after replacing the back camera for this model. The camera is able to focus on wide angles but not on 1x zoom or higher. We have reset the device and ensured it is fully up to date and the issue has persisted. My conclusion is that the camera is faulty and I will need a new replacement camera. Anything else I might be missing?
Would this fix a buzzing noise coming from the camera?
I just need to clean dust off the telephoto lens. Is this the only way?
Hat sehr gut funktioniert, dank der Anleitung.
Update: I tested the rear camera replacement with an iFixit part on an iPhone 12 Pro Max running iOS 18.1.1. The camera works right after replacement, even before calibration. I used Repair Assistant to successfully finish calibrating the iFixit part.
Arthur Shi - 回复