当前版本的文档还未经巡查,您可以查看最新的已查核版本。
简介
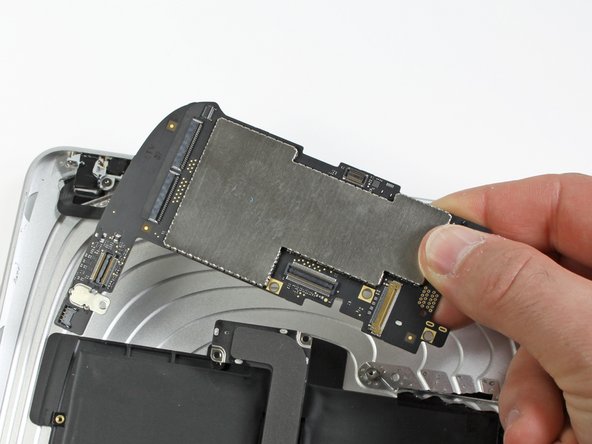
按照本指南取下iPad的逻辑板。
你所需要的


即将完成!
要重新组装您的设备,请按照该指南并按照相反的顺序重新组装。
结论
要重新组装您的设备,请按照该指南并按照相反的顺序重新组装。
27等其他人完成本指南。


3条评论
Isn't the firmware containing the serial number on the logic board? If so you would need to add the serial number back in right?
Can I change the logic board from another iPad to this one?
Hi my gen 5 ipod touch( yep had it forever) screen broke yet that far back replacing that not worth the effort. Want to try and use any hardware it didn't ruin when i sat on it. try to connect to my hp monitor from 2003? Maybe? thanks for reading. cheers