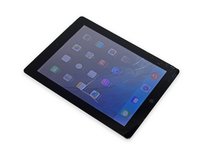
简介
使用本指南打开你的 iPad Mini Wi-Fi 并更换显示屏。
你所需要的
-
-
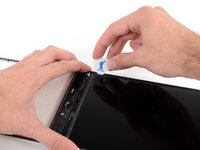
在锅或平底锅里装满足够的水来完全淹没iOpener。
-
把水加热到沸腾。关火。
-
将iOpener放入热水中2-3分钟。确保iOpener完全浸入水中。
-
用钳子从热水中提取加热的iOpener。
-
用毛巾彻底擦干iOpener。
-
你的iOpener已准备好使用!如果你需要重新加热iOpener,请将水加热到沸点,关火,并将iOpener放入水中2-3分钟。
-
-
-
-
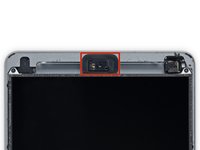
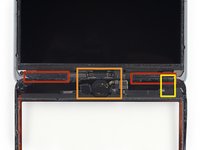
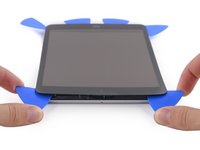
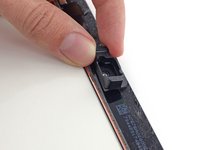
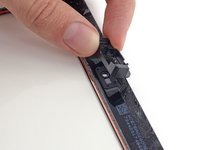
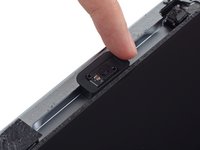
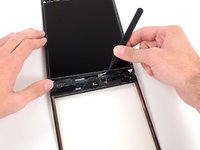
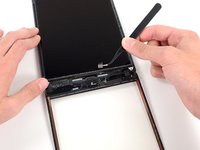
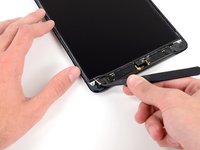
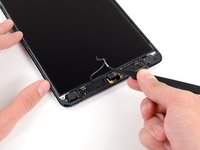
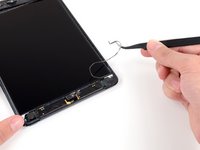
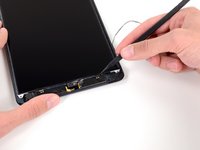
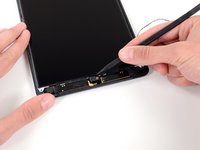
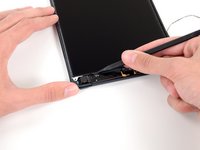
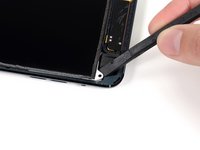
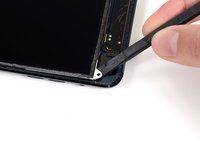
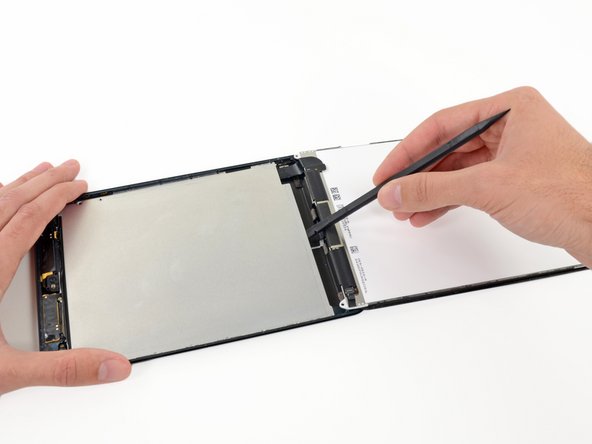
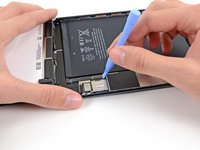
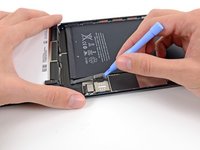
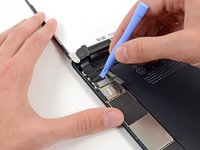
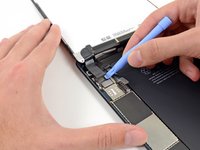
移除下列将LCD屏蔽板与后壳固定的螺丝。
-
2颗2.6 mm Phillips #00 螺丝
-
13颗 1.7 mm Phillips #00 螺丝
-
在有些设备上,额外的一颗1.7 mm Phillips #00螺丝。
-


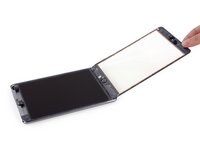


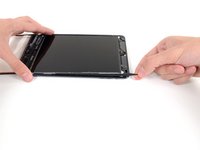


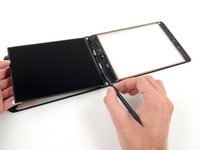
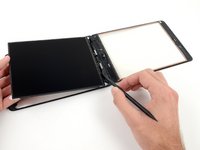


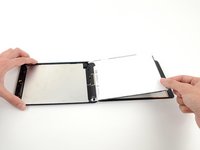


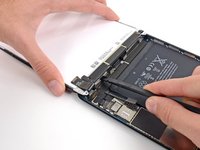


要重新组装您的设备,请按相反的顺序进行这些说明。
107等其他人完成本指南。


7指南评论
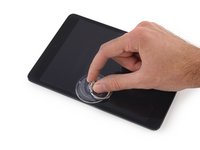
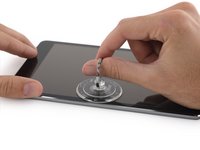
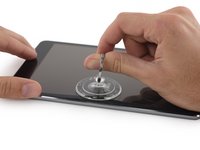
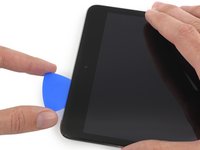
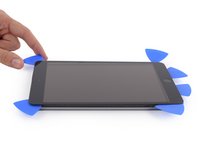
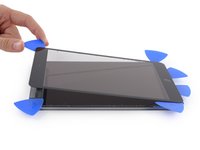
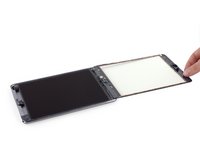
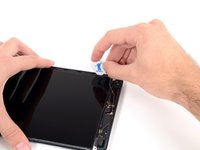
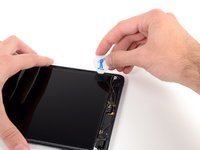
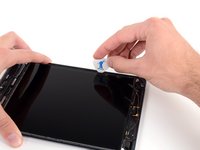
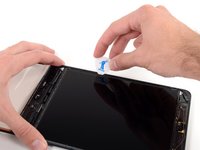
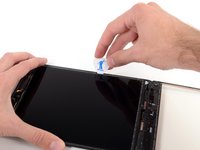
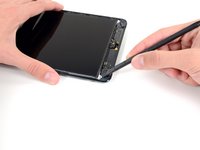
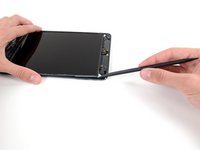
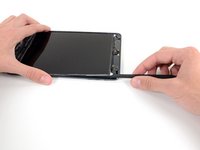
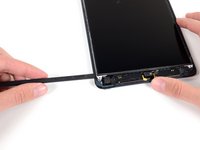
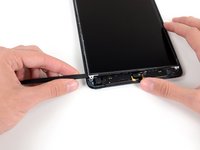
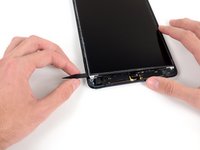
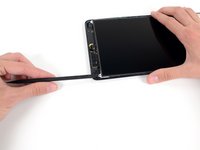
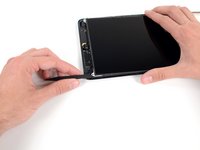
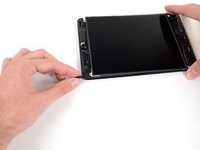
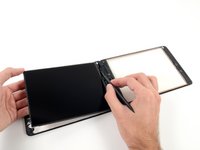
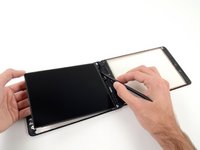
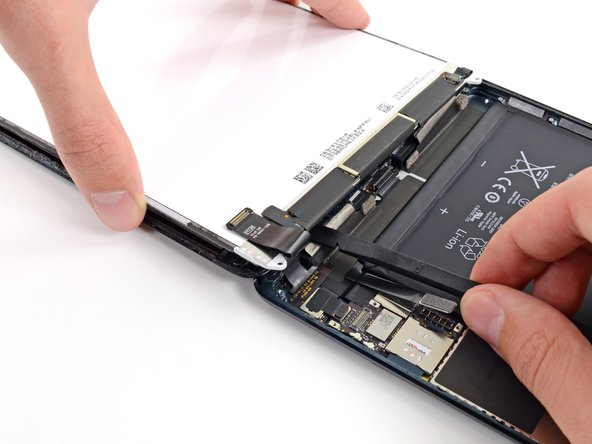
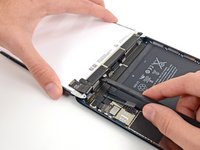
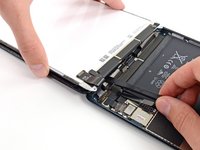
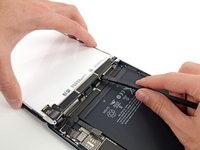
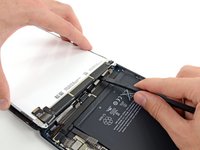
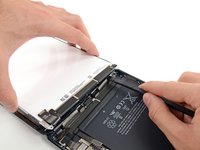
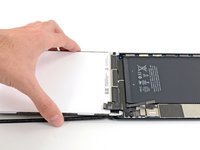
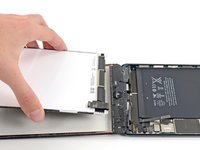
You need to be really careful when lifting the LCD up. The adhesive is strong in places and I destroyed a couple of LCD's before perfecting it.
I'm all late to this comment, but to those replacing their ipad mini ' for the first time. Here's a tip:to remove the LCD use floss or sewing spring. Feed to one corner then to the other one, then just slide it to the top and back down then lift up.
Follow the directions and its not hard at all. Took about 90 minutes from start to finish. Make sure you read each direction at a time and don't skip any.
gvelasquez - 回复
If you get your LCD from iFixit, be SURE you remove the plastic film that is on top of the LCD. I didn't and had to completely take my iPad afterward. Otherwise, just follow this guide and you'll be good to go!
Brier Ward - 回复
I broke my LCD :(