简介
Use this guide to replace adhesive strips and re-seal your iPad 4 after a repair.
Only for use with EXISTING front panel assemblies.
你所需要的
-
-
Remove the two 2.1 mm Phillips #00 Phillips screws securing the home button control board to the home button mounting bracket.
-
-
-
-
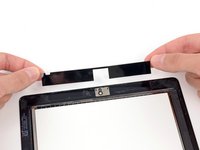
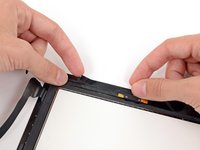
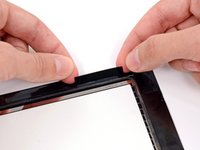
In the following steps, you will be placing the remaining pieces of adhesive on the front panel.
-
Do not peel the clear backing off the strips just yet.
-
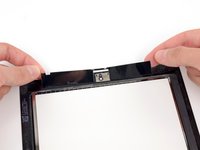
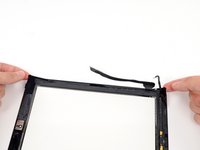
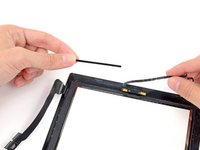
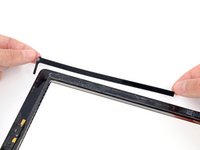
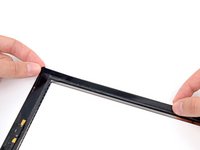
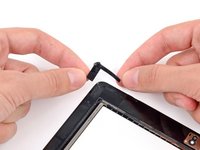
Place the bridge shaped adhesive strip between the top edge of the inner frame of the front panel and the camera mounting bracket.
-
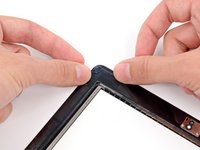
Smooth the strip down from the center out, taking care to not trap any air bubbles between the strip and the front panel.
-
-
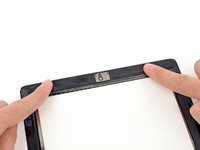
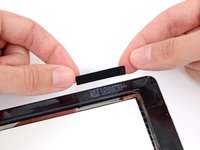
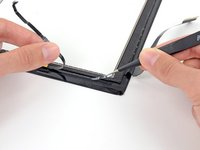
在这个步骤中使用的工具:Tweezers$4.99
-
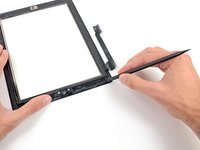
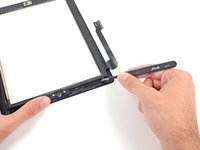
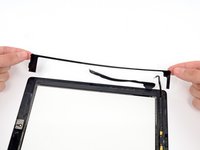
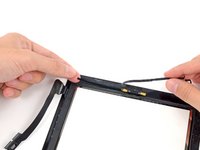
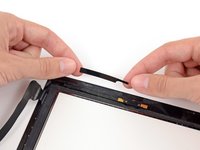
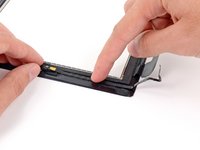
Use a pair of tweezers to peel the clear backing up off the adhesive strip directly underneath the home button ribbon cable.
-
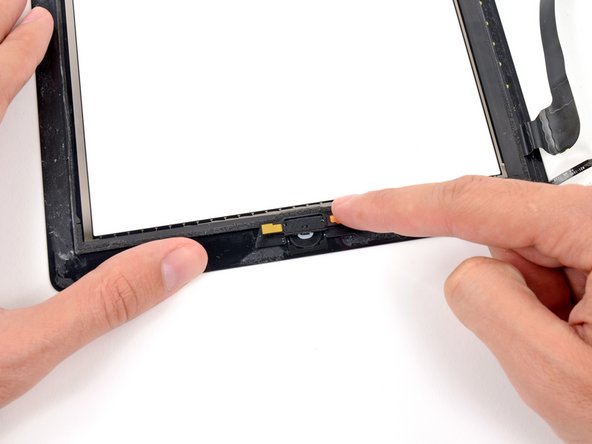
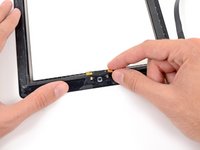
Lay the home button ribbon cable down on the adhesive strip and smooth the cable down from the center out, taking care to not trap any air bubbles between the strip and the front panel.
-


To reassemble your device, follow these instructions in reverse order.
18等其他人完成本指南。
