当前版本的文档还未经巡查,您可以查看最新的已查核版本。
简介
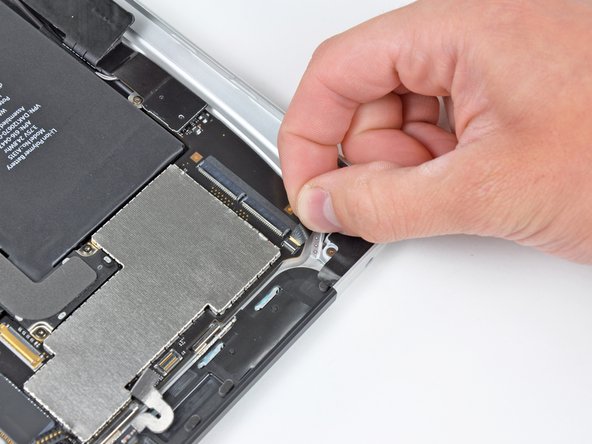
使用本指南更换3G版iPad(初代)逻辑主板。
你所需要的
-
这个步骤还没有翻译 帮忙翻译一下
-
If your display glass is cracked, keep further breakage contained and prevent bodily harm during your repair by taping the glass.
-
Lay overlapping strips of clear packing tape over the iPad's display until the whole face is covered.
-
Do your best to follow the rest of the guide as described. However, once the glass is broken, it will likely continue to crack as you work, and you may need to use a metal prying tool to scoop the glass out.
-
-


请倒序重组你的设备。
请倒序重组你的设备。
10等其他人完成本指南。

一条评论
Did this and everything worked great, but I forgot to re-attach the 3G antenna so I went back in to do that, closed it back up again and now my wifi isn't working. Any thoughts on what I likely messed up?
The first repair didn't require a software/firmware restore, but the second one did. I've restored twice now and reset network settings... all the suggestions Apple makes for troubleshooting a software issue, so I do think I messed something up inside. wobble man 3d