简介
拆卸 2012-2019 iMac 显示屏需要剪断屏幕四周的胶条。胶条被剪断后,将无法用于重新密封显示屏。
请按照本指南使用一套新的胶条。
胶条有两种型号:2012-2015 胶条和 2012-2019 胶条。2012-2015 胶条下部没有麦克风开口,只能用于 2012-2015 iMac。
你所需要的
-
-
如果您要重新使用现有的显示器,还必须去除显示器背面的旧粘胶条。
-
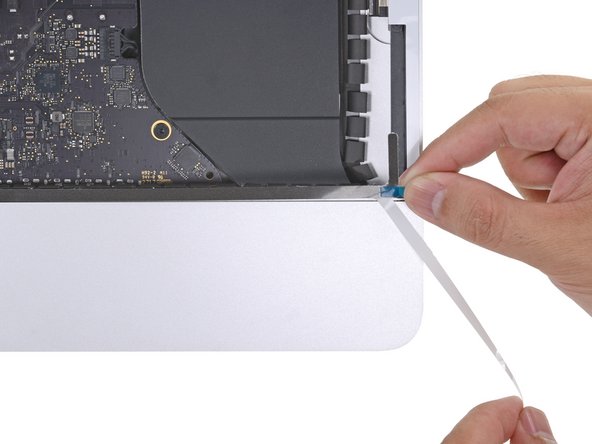
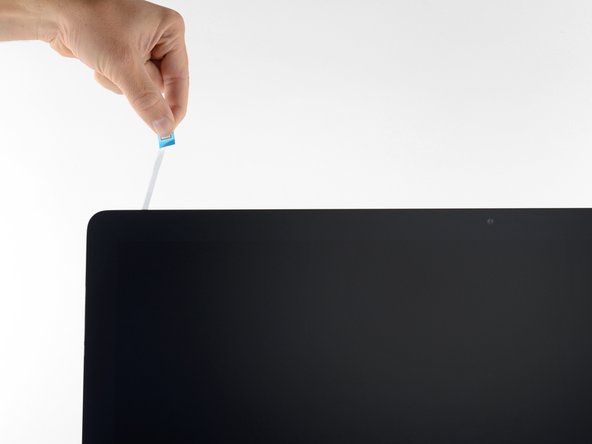
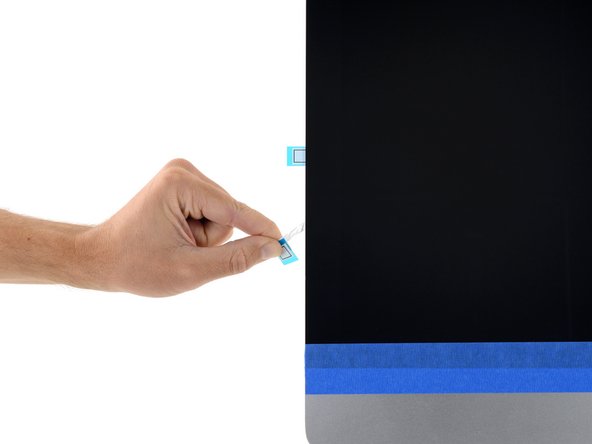
用镊子或手指剥掉胶带。 从底部开始,“向上”向设备顶部剥离。
-
清除所有旧粘合剂后,用 90%(或更高)的酒精和无绒布仔细清洁表面。 朝一个方向擦拭,不要来回擦拭。
-
-
-
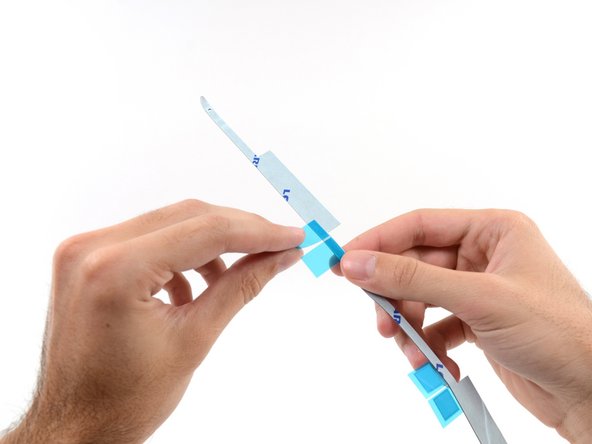
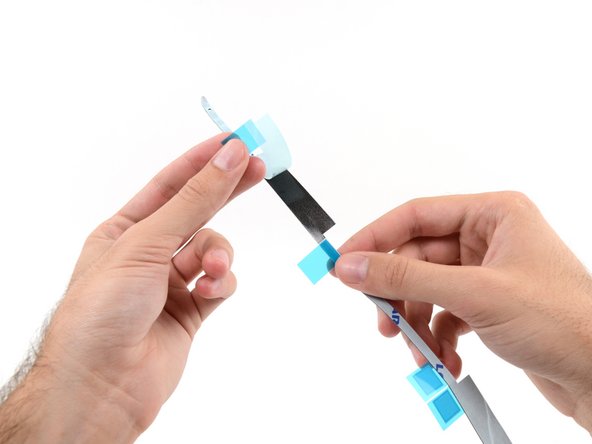
预先铺好粘合带,这样您就不会意外地将粘合带安装在错误的位置:
-
胶条22 在左上角
-
胶条23 在右上角
-
21位于右侧垂直
-
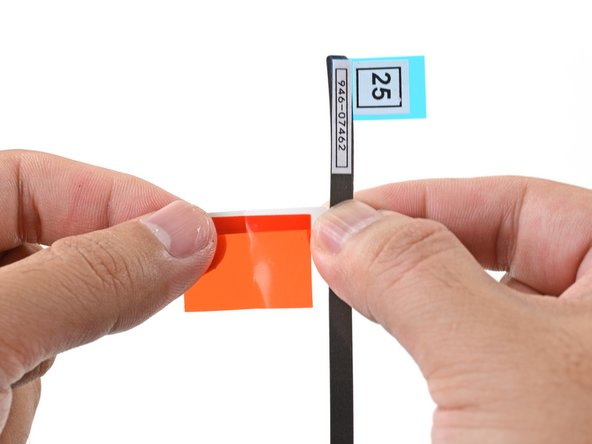
25 在右下方,暗面朝上。
-
26 在左下方,暗面朝上。
-
16 位于左侧垂直方向
-
-
-
-
沿 iMac 周边逆时针方向操作,以同样的方式再添加三个胶带:
-
23在右上方
-
22在左上方
-
16 位于垂直左侧
-
在 iMac Intel 27" Retina 5K 显示屏上,右上角胶带的蓝色卡舌不会像非 5K 型号那样与顶部天线对齐。这没问题,不会影响显示胶条或天线的性能。
-
-
-
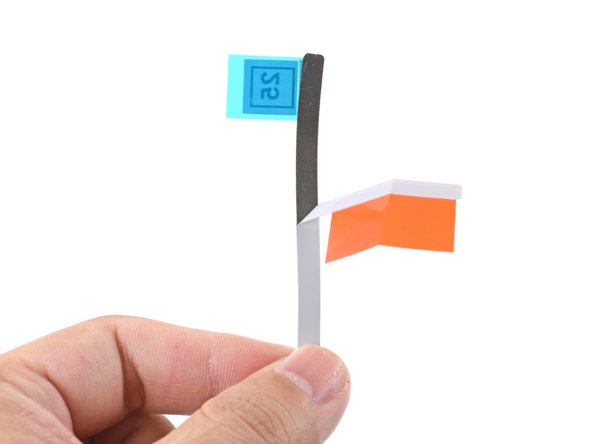
将麦克风槽口置于麦克风孔上方,将胶带与底部边缘对齐。
-
如果您的 iMac 没有麦克风孔,请对齐条带的右端,使 L 形弯曲 位于右侧垂直胶条旁边。 L 形弯头不应与右侧垂直粘合剂重叠。
-
对齐条带后,小心地将左侧暴露的边缘放置到 iMac 上以确保对齐。
-
-
-
如果你已经确认 iMac 工作正常,并准备将其粘好,请跳至 步骤22。
-
轻轻地将显示数据接口插入主板上的插座。 确保将其直接按入插座并完全插入。
-
将显示数据接口锁向下翻转到插座上。
-
将显示器电源接口插入主板上的插座。
-


90等其他人完成本指南。


8条评论
what if i dont put on new adhesives?
You cannot reuse the iMac’s foam-core adhesive. However, you hold the display in place with tape and the iMac will work fine.
Bonjour,
Merci pour ce tutoriel. Les outils fournis dans le kit sont parfaits. Pour moi, le plus difficile a été de réaligner parfaitement l’écran sur le châssis aluminium. l’adhésif temporaire m’a aidé, mais je pense qu’il est possible de coller les adhésifs inférieurs légèrement plus haut, pour dégager 2mm afin de permettre à l’écran à l’horizontale de glisser latéralement pour faciliter l’alignement lors du remontage.
I had the screen off to check the drive and went very carefully through the reinstall screen process. Yes, I used the adhesive strip kit. Installed by the number. I thought it was secure and good for the duration. I was out of the office when the screen fell off and hit the floor. This is a late 2015 Imac Retina 27". I still have extended warranty coverage, but three hour round trip to take it to an Apple store. Since it appears the screen only costs $20 I'm thinking of repairing it myself. Any comments? I would also recommend putting the iMac flat and putting some weights on the edges of the screen for a day.