简介
iMac Intel 24" EMC 2267 CPU replacement
你所需要的
-
-
Lay your iMac front side down on a table with the lower edge facing yourself.
-
Loosen the single Phillips screw in the center of the access door.
-
Remove the access door from your iMac.
-
-
在这个步骤中使用的工具:Heavy-Duty Suction Cups (Pair)$14.95
-
Stick two suction cups to opposing corners of the glass panel.
-
-
-
Remove the following 12 screws securing the front bezel to the rear case:
-
Eight 13 mm T8 Torx.
-
Four 25 mm T8 Torx.
-
-
-
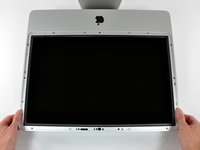
Gently lift the front bezel from its top edge off the rear case.
-
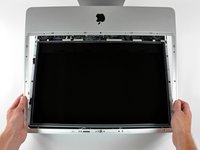
Once the top edge of the front bezel has cleared the rear case, rotate the front bezel toward the stand and lift it off the rear case.
-
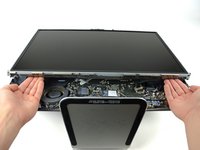
Rotate the front bezel away from the rest of the device and lay it above the top edge of the iMac.
-
-
-
-
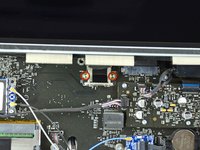
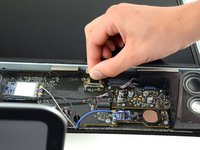
Remove the two 5.3 mm T6 torx screws from the LCD connector.
-
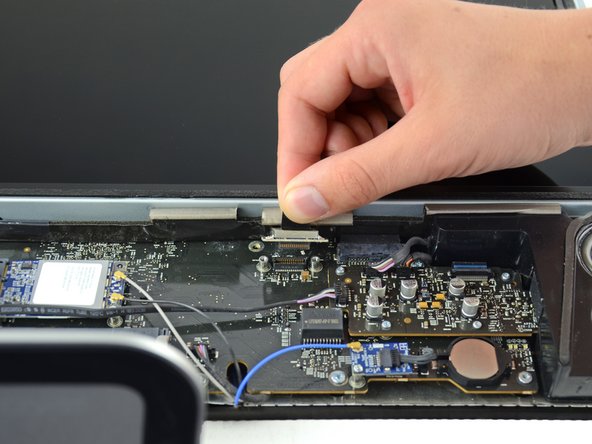
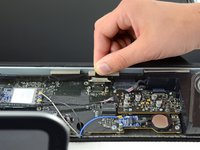
Firmly grasp the pull tab on top of the connector and pull it straight up out of its port.
-
-
-
Start by following the excellent guide from Jeff Dickson from step 2 to step 9
-
-
-
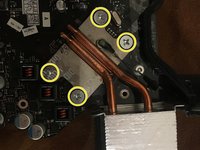
Remove the four Philips #2 screws.
-
Flip over the logic board.
-
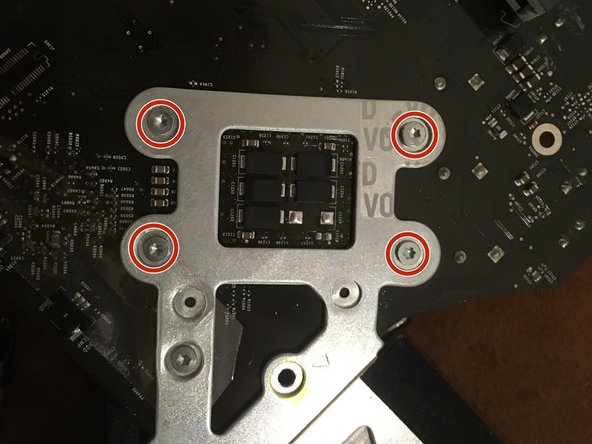
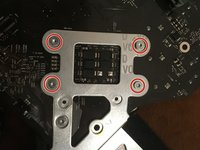
Unscrew and remove the four Torx 8 screws.
-
-
-
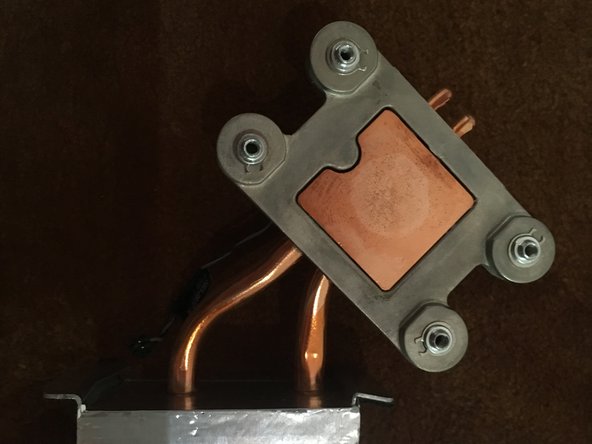
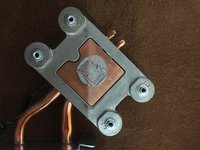
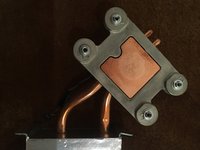
Wipe the thermal paste with with a microfibre cloth wetted with an alcoholic solution.
-
-
-
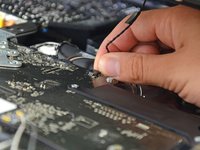
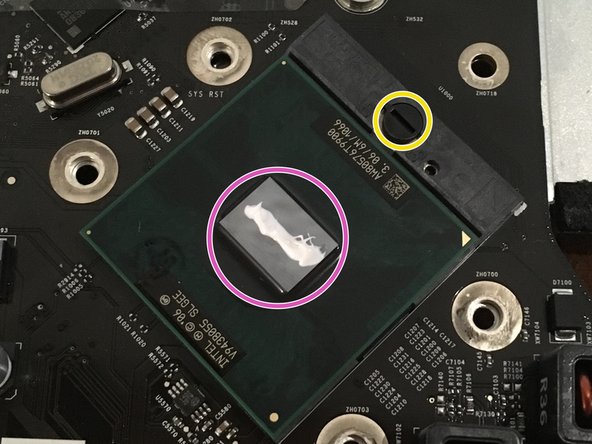
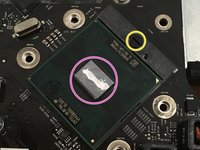
Rotate the locking screw by half a turn (counterclockwise).
-
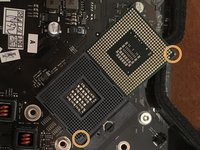
Gently remove the old CPU lifting it up vertically.
-
-
-
Align the socket and the new CPU with the help of the trimmed corner.
-
Gently drop the CPU in its socket.
-
Lock the CPU by rotating the locking screw half a turn clockwise.
-
Drop a little bit of thermal paste on the center of the CPU.
-
To reassemble your device, follow the instructions in reverse order.
7等其他人完成本指南。
由衷感谢以下译者:
100%
这些译者帮助我们修补全世界! 您也想加入吗?
开始翻译 ›


