当前版本的文档还未经巡查,您可以查看最新的已查核版本。
你所需要的


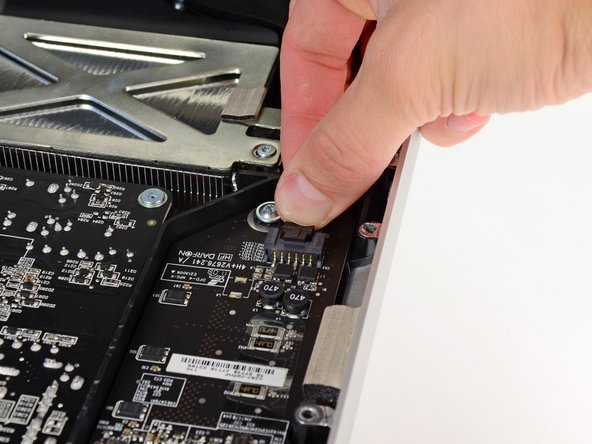


即将完成!
终点
41等其他人完成本指南。

4条评论
Great tutorial. Now if I wish to replace the Superdrive by an SSD (the Superdrive is dead), since the SATA port of the Superdrive is 3Gb/s only, can I keep the Superdrive cable for the SSD but swap it plug to the free SATA III port on the motherboard? Or do I need a new cable?
Thanks
What kind of caddy do I need if I want to put an SSD in there? Is it 9.5mm or 12.7mm? Is any of it non-standard?
Hi! 12mm for imacs and 9 to macbooks... but 9 fits too cuz the place in imac is bigger (also 12 on macbooks not fit)