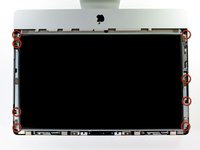
简介
升级你的硬盘来扩容储存空间。
你所需要的


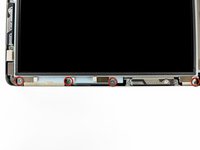
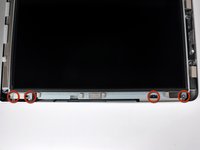


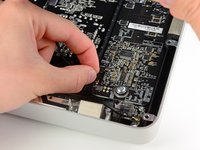


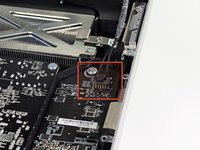
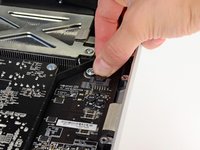


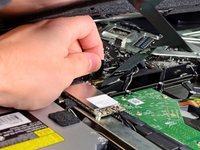


按照本指南相反步骤来重新组装设备。
319等其他人完成本指南。


81指南评论
Hi guys, the tools arrived today and I did already chage the default harddisk against the WD Velociraptor 500GB. For now everything is working fine. The iMac is in the middle of restoring the time maschine backup. Everything worked out as described. Excellent! I was just a little surprised by the magnetic forces which one needs to overcome gently...
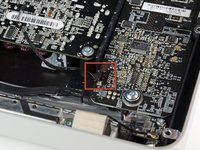
Is there a temp sensor that monitors the HD? I did the upgrade but now my fan is always on. I must've done something wrong.
Did you use the same brand hard drive? Did check the instructions about cable orientation on the hard drive? Did you double check the LCD thermal sensor cable?
Take a glance at this page for full explanations:
http://www.hddfancontrol.com/imac-hard-d...
I had the same issue here (after replacing the original HDD by a 1TB WB Caviar Blue) and it has been fixed by this utility.
HTH,
In response to the software, that does work, however, it can be taken care of hardware wise if our recommendations are followed.