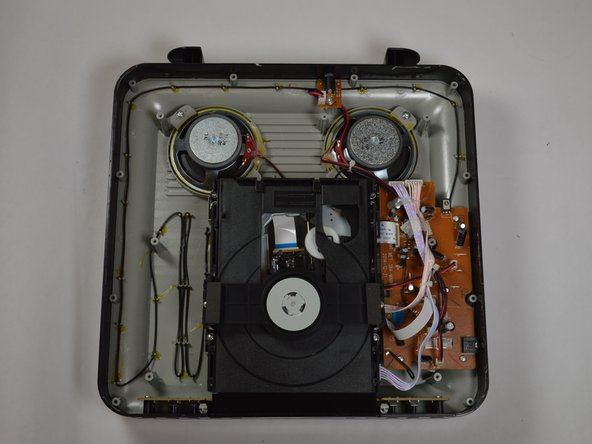
跳转到主内容

iLive IKBC384S Disk Drive Replacement

你所需要的

  1. iLive IKBC384S Disk Drive Replacement, Top Cover: 步骤 1 中的图像 1,2 iLive IKBC384S Disk Drive Replacement, Top Cover: 步骤 1 中的图像 2,2
    • Make sure you remove all seven 3 mm screws before proceeding to the next step.

  2. iLive IKBC384S Disk Drive Replacement: 步骤 2 中的图像 1,2 iLive IKBC384S Disk Drive Replacement: 步骤 2 中的图像 2,2
    • Use iOpener or heat gun on all sides except the front.

  3. iLive IKBC384S Disk Drive Replacement: 步骤 3 中的图像 1,2 iLive IKBC384S Disk Drive Replacement: 步骤 3 中的图像 2,2
    • Be cautious when taking the top of the device off there may still be some adhesive stuck to device.

    • The top of the device will be very difficult to remove because of the adhesive holding it together.

  4. iLive IKBC384S Disk Drive Replacement, Disk Drive: 步骤 4 中的图像 1,2 iLive IKBC384S Disk Drive Replacement, Disk Drive: 步骤 4 中的图像 2,2
    • Remove all four screws(13.5 mm in length) that are securing the device

  5. iLive IKBC384S Disk Drive Replacement: 步骤 5 中的图像 1,2 iLive IKBC384S Disk Drive Replacement: 步骤 5 中的图像 2,2
    • Remove both of the connected cords on the motherboard.

    • Also remove the flat ribbon cable that is connected to the motherboard.

    • Once you have removed all screws and cables connected to motherboard the disk drive can be easily removed

结论

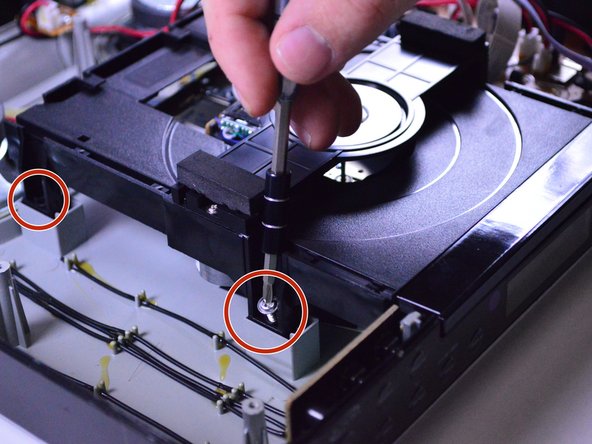
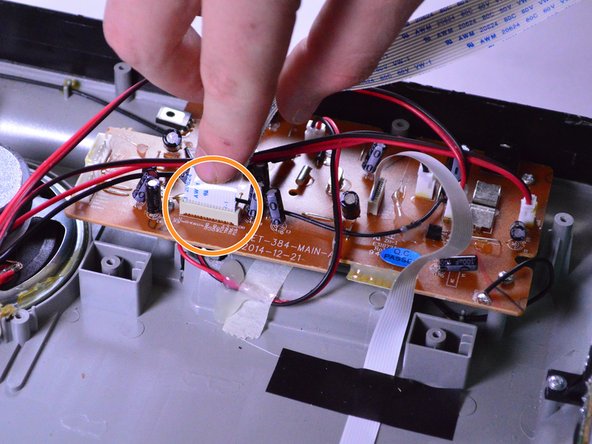
To reassemble your device, follow these instructions in reverse order.

Allen Dover

于03/21/17注册

401 声望

创作了4篇指南

团队

Texas Tech, Team S46-G6, Bennett Spring 2017 Texas Tech, Team S46-G6, Bennett Spring 2017 的会员

TTU-BENNETT-S17S46G6

3 名成员

创作了6篇指南

0条评论

添加评论

浏览统计数据:

过去 24 小时: 0

过去 7 天: 1

过去 30 天: 2

总计 406