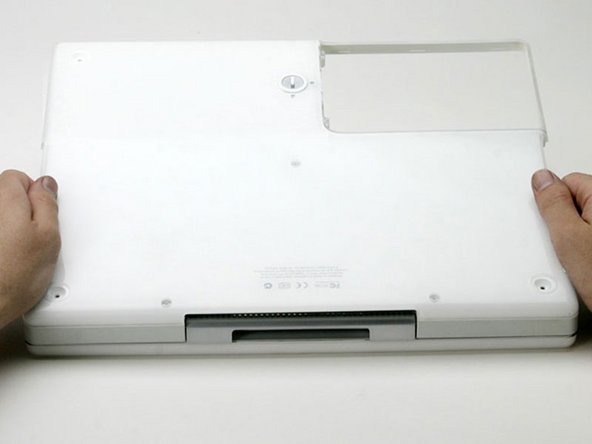
Breathe deeply. Trying times are ahead, but we promise the lower case does come off.
Push the thin rims of the lower case surrounding the battery compartment in, bending them past the tabs, and then lift up to free that corner of the lower case.
The connectors at the ends of the cables are attached very firmly to the sockets on the logic board. Pulling directly on the cable will either separate the cable from its connector or the socket from the logic board.
Lift the upper case enough to disconnect the blue and white power cable from the logic board.
Using your fingernails or a dental pick, carefully pry the connector from its socket.
Make sure you are pulling only on the connector and not on the socket.
If you have already removed the yellow tape, skip this step.
Peel back three strips of yellow tape in the bottom, left corner.
Peel back one strip of foil tape near the audio-out port, one near where the trackpad connects to the logic board, and one near where the screen latch used to be.
Lift the hard drive out of the computer and turn the hard drive over. Use the transparent orange loop to disconnect the hard drive ribbon cable from the hard drive.
This is a bit tricky. Try rocking the cable gently from side to side while applying even pressure. If you bend the pins, do your best to straighten them, using the hard drive cable as a guide.
Remove the metal brackets from either side of the hard drive (if they're still there).
With the pins facing away from you, and the label facing up, the bracket with a tab in the middle and a metal slot on it goes on the left side of the drive; the other bracket, of course, goes on the right.
Just replaced the original 20GB HDD with a 40GB in an iBook G3/600 (mid 2002); removal of the case bottom IS necessary on this model. It was more "tedious" than "difficult" (37 steps in, 37 steps out), although I had previous experience on this same machine upgrading RAM to 640MB and installing an AirPort card.
step 21 is not necessary and if you care about the mac having it’s original sticker I would not advise doing what it says… The “magnet” is not removable and if the system is original the sticker will not peal up easily.