跳转到主内容

iPad WiFi版 主板更换

注:你正在编辑的一份前提条件指南。你所做的任何更改将影响包括此步骤的8指南

英语
中文

正翻译步骤 22

步骤 22
iPad Air Wi-Fi Logic Board Replacement: 步骤 0 中的图像 1,3 iPad Air Wi-Fi Logic Board Replacement: 步骤 0 中的图像 2,3 iPad Air Wi-Fi Logic Board Replacement: 步骤 0 中的图像 3,3
  • In the next steps, you will use an iOpener to apply heat to the rear case of the iPad to soften adhesive holding the logic board in place.

  • As you reheat and place the iOpener in each of the indicated locations, leave it in place for at least a minute to soften the adhesive through the rear case.

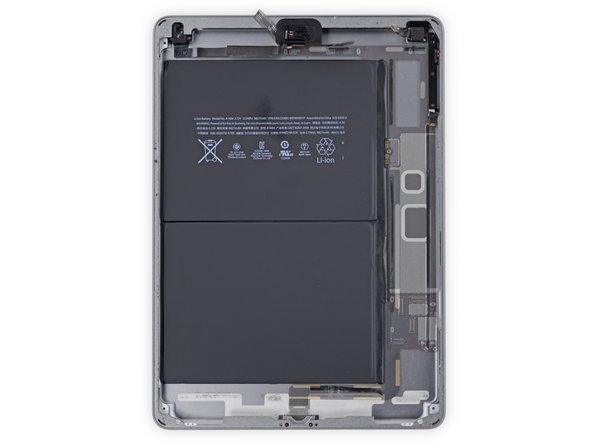
  • The adhesive is in the form of six pieces of black foam tape—refer to this step as you work at heating and prying to keep track of where each piece is located.

在接下来的几步,你将会使用到 iOpener 来加热 iPad 底部来软化主板的黏胶。

当你重新加热,并把 iOpener 放到这些位置的时候,请保持至少一分钟,来软化黏胶。

黏胶是六个泡沫形式的胶带 ——如果你需要知道它们的位置,请参考这个步骤。

您的所有投稿皆享有基于开源创作共享许可协议(CC BY-NC-SA)著作权利