跳转到主内容

bObsweep PetHair Plus WPP56002 Edge Sensor Replacement

你所需要的

  1. bObsweep PetHair Plus WPP56002 Edge Sensor Replacement, Cover: 步骤 1 中的图像 1,1
    • Depress the tab on the side of the dustbin to disengage its latch. It is spring loaded and will partially pop out. Remove it from its housing.

  2. bObsweep PetHair Plus WPP56002 Edge Sensor Replacement: 步骤 2 中的图像 1,3 bObsweep PetHair Plus WPP56002 Edge Sensor Replacement: 步骤 2 中的图像 2,3 bObsweep PetHair Plus WPP56002 Edge Sensor Replacement: 步骤 2 中的图像 3,3
    • Flip the bObsweep over and remove the main brush’s screw (13.7mm Flat) with a flathead screwdriver.

    • Lift and remove the main brush and its plastic bearing end cap.

  3. bObsweep PetHair Plus WPP56002 Edge Sensor Replacement: 步骤 3 中的图像 1,2 bObsweep PetHair Plus WPP56002 Edge Sensor Replacement: 步骤 3 中的图像 2,2
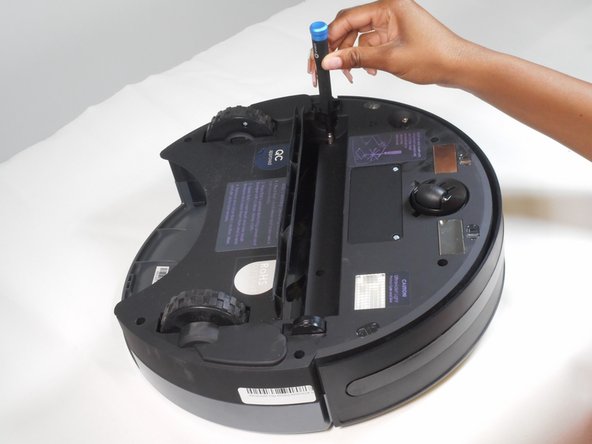
    • Remove the two screws (9.9mm Phillips #1) next to the rotating front wheel.

    • Remove the two screws (9.9mm Phillips #1) below the wheels on either side of the dustbin compartment.

    • Remove the screw (9.9mm Phillips #1) to the side of the brush motor.

    • Remove the screw (9.9mm Phillips #1) inside the brush compartment.

  4. bObsweep PetHair Plus WPP56002 Edge Sensor Replacement: 步骤 4 中的图像 1,2 bObsweep PetHair Plus WPP56002 Edge Sensor Replacement: 步骤 4 中的图像 2,2
    • Carefully hold the top and bottom halves together and flip the bObsweep upright.

    • Lift the cover to reveal the mainboard.

  5. bObsweep PetHair Plus WPP56002 Edge Sensor Replacement: 步骤 5 中的图像 1,3 bObsweep PetHair Plus WPP56002 Edge Sensor Replacement: 步骤 5 中的图像 2,3 bObsweep PetHair Plus WPP56002 Edge Sensor Replacement: 步骤 5 中的图像 3,3
    • Slide the power inlet down.

    • Tuck it aside to protect it from damage.

  6. bObsweep PetHair Plus WPP56002 Edge Sensor Replacement: 步骤 6 中的图像 1,3 bObsweep PetHair Plus WPP56002 Edge Sensor Replacement: 步骤 6 中的图像 2,3 bObsweep PetHair Plus WPP56002 Edge Sensor Replacement: 步骤 6 中的图像 3,3
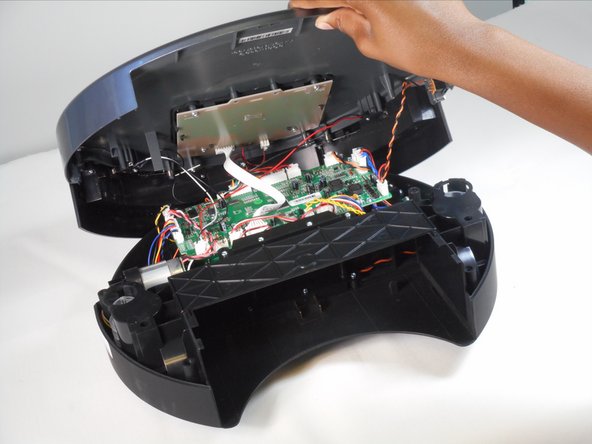
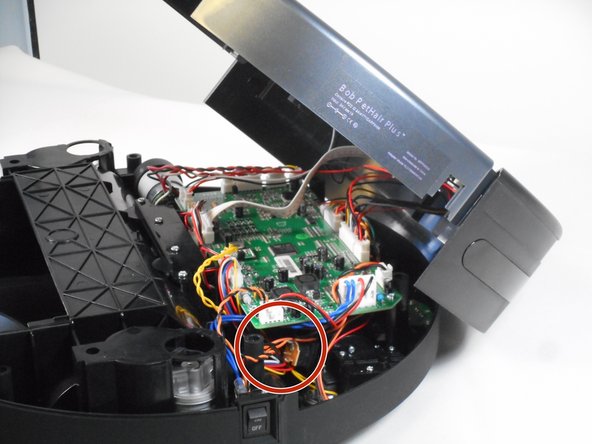
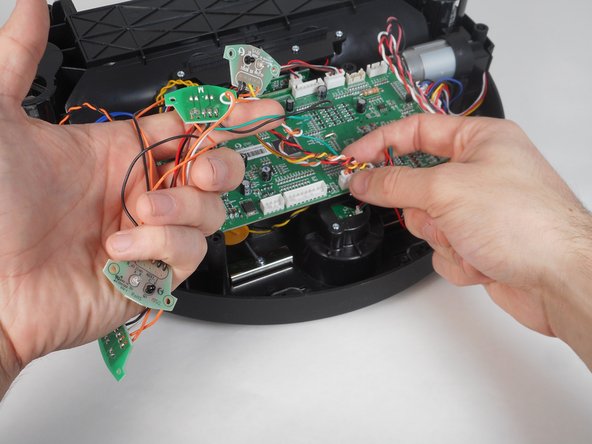
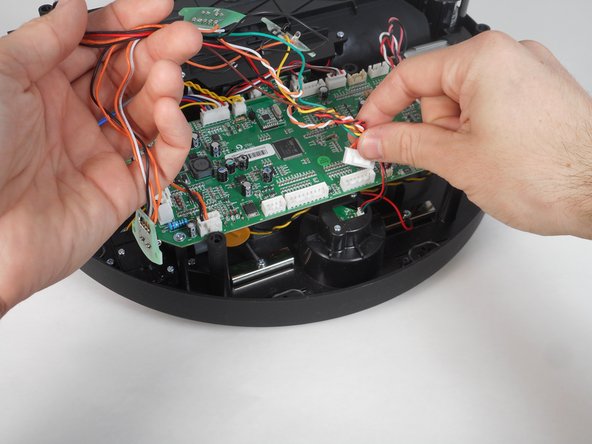
    • Depress the tabs on the circuit plugs and lift them directly upward to remove:

    • The multicolored nine-wire circuit plug at the top edge of the board.

    • The red and black wire circuit plug directly next to it.

    • The seven white wire circuit plug on the bottom edge of the board.

    • The red, white, and black wire circuit plug on the bottom left corner of the board.

  7. bObsweep PetHair Plus WPP56002 Edge Sensor Replacement, Edge Sensor: 步骤 7 中的图像 1,2 bObsweep PetHair Plus WPP56002 Edge Sensor Replacement, Edge Sensor: 步骤 7 中的图像 2,2
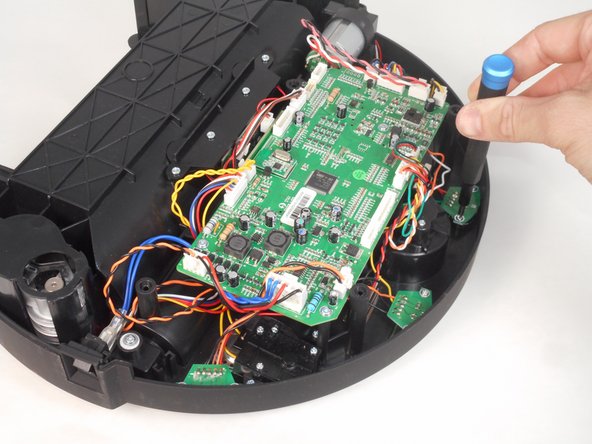
    • Remove two screws (7.5 mm Phillips #1) from each of the four sensors and set them aside.

  8. bObsweep PetHair Plus WPP56002 Edge Sensor Replacement: 步骤 8 中的图像 1,3 bObsweep PetHair Plus WPP56002 Edge Sensor Replacement: 步骤 8 中的图像 2,3 bObsweep PetHair Plus WPP56002 Edge Sensor Replacement: 步骤 8 中的图像 3,3
    • Pass the wiring of the two outermost sensors under the main board, toward the front wheel.

    • Disconnect the sensors from the mainboard by depressing the small tabs on the side of each circuit plug.

    • Lift the sensors up and out, leaving the plastic sensor covers in place.

  9. bObsweep PetHair Plus WPP56002 Edge Sensor Replacement: 步骤 9 中的图像 1,2 bObsweep PetHair Plus WPP56002 Edge Sensor Replacement: 步骤 9 中的图像 2,2
    • Install the new sensors by plugging them into the mainboard, ensuring the wiring of the two outermost sensors are passed back under the board.

    • Each sensor should be placed over the plastic sensor covers with the green side facing upward.

结论

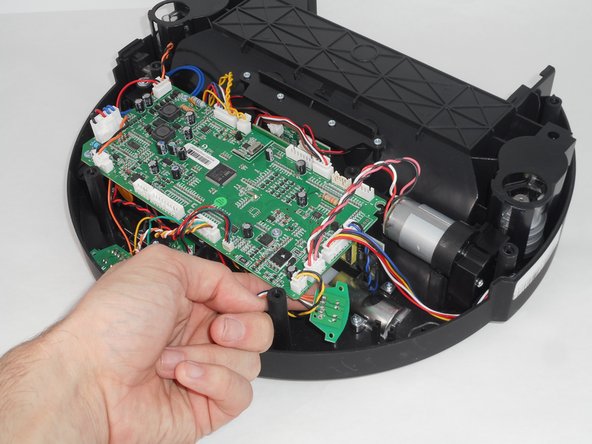
To reassemble your device, follow these instructions in reverse order.

Saylor Price

于09/07/23注册

957 声望

创作了7篇指南

团队

0条评论

添加评论

浏览统计数据:

过去 24 小时: 0

过去 7 天: 2

过去 30 天: 5

总计 71