简介
Use this guide if you need to remove the back panel of your ZTE Whirl 2 (model Z667G). Removing the back panel allows you to access the phone’s motherboard, camera, screen, and speaker. Before using this guide, check the Troubleshooting Page to see if you can find a solution to your phone’s issue.
你所需要的
-
-
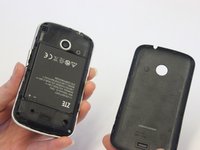
Power off your phone before removing the battery.
-
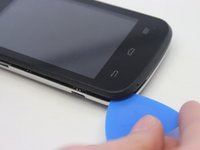
Pry the cover off the back of the phone using your fingers.
-
-
-
在这个步骤中使用的工具:Tweezers$4.99
-
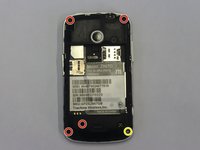
Remove four 4 mm screws using a Phillips #00 screwdriver.
-
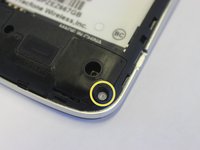
Use a tweezers to remove the lock sticker from the bottom right screw. Remove the 4 mm screw using a Phillips #00 screwdriver.
-


To reassemble your device, follow these instructions in reverse order.

团队

UW Stout, Team S1-G1, Schneider-Bateman Spring 2020 UW Stout, Team S1-G1, Schneider-Bateman Spring 2020 的会员
UWSTOUT-SCHNEIDER-BATEMAN-S20S1G1
3 名成员
创作了10篇指南