简介
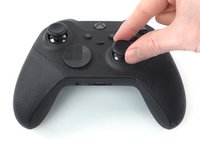
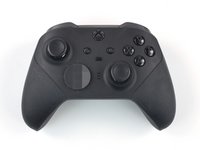
Use this guide to replace the top housing on your Xbox Elite Wireless Controller Series 2.
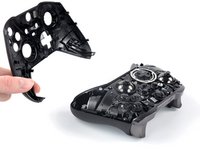
The top housing may need to be replaced if it's cracked, or you may be installing a new, customized one. The top housing is sometimes called a faceplate or top shell.
你所需要的
-
-
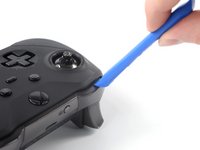
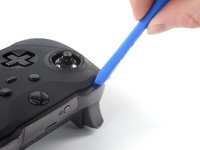
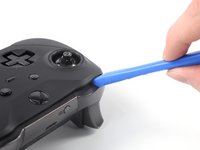
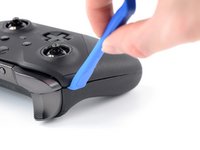
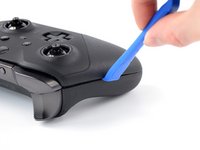
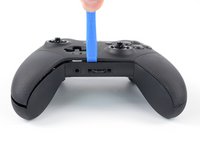
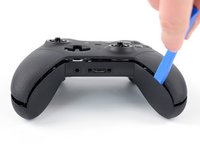
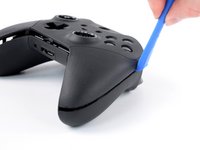
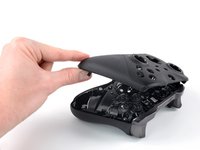
Insert an opening tool between the left bumper and the top housing.
-
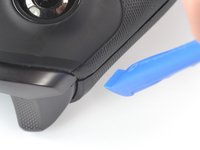
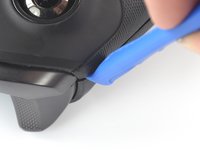
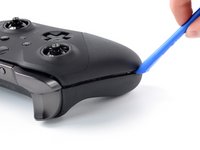
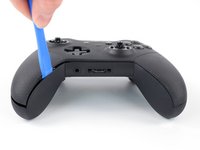
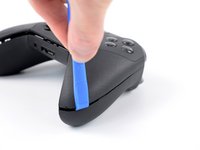
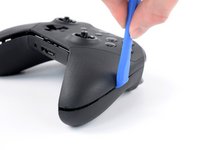
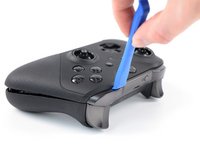
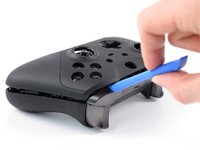
Pry up the top housing to release the top left clip.
-
-


结论
To reassemble your device, follow these instructions in reverse order.
Take your e-waste to an R2 or e-Stewards certified recycler.
Repair didn’t go as planned? Check out our Answers community for troubleshooting help.
19等其他人完成本指南。

