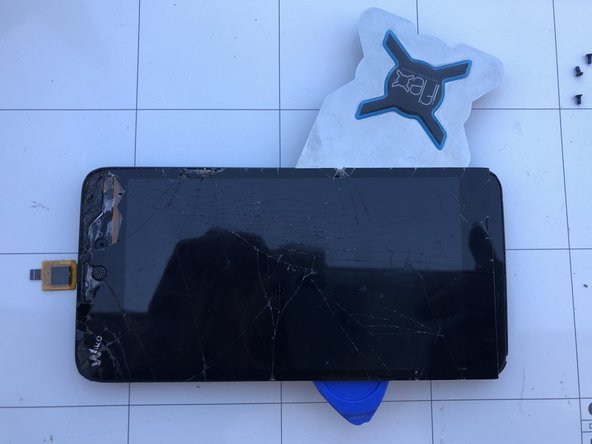
跳转到主内容

Wiko Rainbow Jam 4G Display Replacement

你所需要的

  1. Wiko Rainbow Jam 4G Display Replacement, Display: 步骤 1 中的图像 1,2 Wiko Rainbow Jam 4G Display Replacement, Display: 步骤 1 中的图像 2,2
    • Remove the back cover and the battery

  2. Wiko Rainbow Jam 4G Display Replacement: 步骤 2 中的图像 1,3 Wiko Rainbow Jam 4G Display Replacement: 步骤 2 中的图像 2,3 Wiko Rainbow Jam 4G Display Replacement: 步骤 2 中的图像 3,3
    • Using a Phillips scredriver, remove the screws

    • Using a thin tool or a blade detach the midframe from the the display assembly

  3. Wiko Rainbow Jam 4G Display Replacement: 步骤 3 中的图像 1,3 Wiko Rainbow Jam 4G Display Replacement: 步骤 3 中的图像 2,3 Wiko Rainbow Jam 4G Display Replacement: 步骤 3 中的图像 3,3
    • Remove the sticker with a heat source, for example using a hair dryer

    • Unplug the marked connector on the motherboard

    • Remove the stickers that holds the flat under the big sticker you removed earlier. Now remove the marked screw that keeps the motherboard in place

  4. Wiko Rainbow Jam 4G Display Replacement: 步骤 4 中的图像 1,3 Wiko Rainbow Jam 4G Display Replacement: 步骤 4 中的图像 2,3 Wiko Rainbow Jam 4G Display Replacement: 步骤 4 中的图像 3,3
    • Lift the motherboard and unplug the antenna cable

    • Using heat and a blade, remove the adesive holding the volume/power button

    • Remove the motherboard

  5. Wiko Rainbow Jam 4G Display Replacement: 步骤 5 中的图像 1,1
    • Remove the flat cable interconnecting the display and the motherboard. It's glued on the back of the frame.

  6. Wiko Rainbow Jam 4G Display Replacement: 步骤 6 中的图像 1,3 Wiko Rainbow Jam 4G Display Replacement: 步骤 6 中的图像 2,3 Wiko Rainbow Jam 4G Display Replacement: 步骤 6 中的图像 3,3
    • Heat the display edges to soften the glue. Gradually insert a thin blade to remove the faulty display.

    • Remove the old adhesive and clean carefully the surface before you apply the new adhesive.

  7. Wiko Rainbow Jam 4G Display Replacement: 步骤 7 中的图像 1,3 Wiko Rainbow Jam 4G Display Replacement: 步骤 7 中的图像 2,3 Wiko Rainbow Jam 4G Display Replacement: 步骤 7 中的图像 3,3
    • Apply the double sided tape on the edges of the frame so the enclosure is ready for a new display.

结论

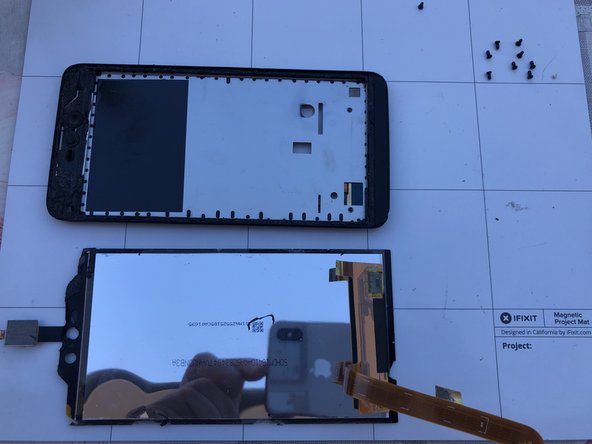
To reassemble your device, follow these instructions in reverse order.
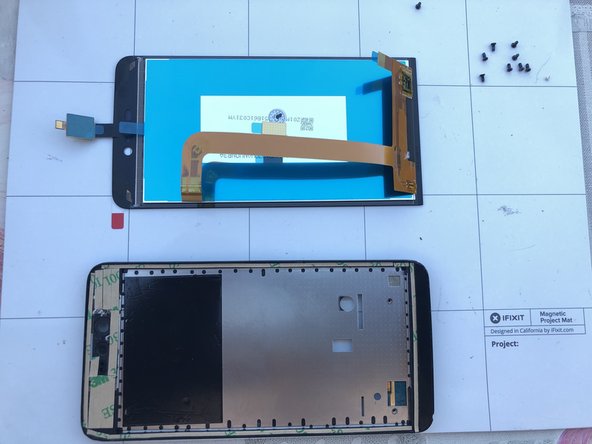
由衷感谢以下译者:

it en

100%

这些译者帮助我们修补全世界! 您也想加入吗?
开始翻译 ›

Smilzo

于11/09/13注册

11,276 声望

创作了39篇指南

0条评论

添加评论

浏览统计数据:

过去 24 小时: 0

过去 7 天: 1

过去 30 天: 11

总计 485