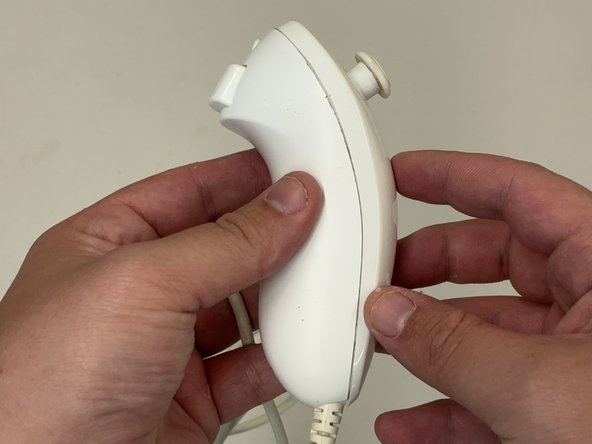
跳转到主内容

Wii Nunchuk Joystick and Button Replacement

你所需要的

  1. Wii Nunchuk Joystick and Button Replacement, Joystick and Button: 步骤 1 中的图像 1,2 Wii Nunchuk Joystick and Button Replacement, Joystick and Button: 步骤 1 中的图像 2,2
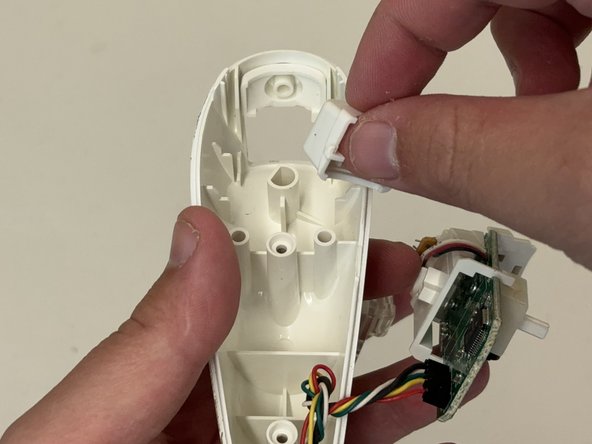
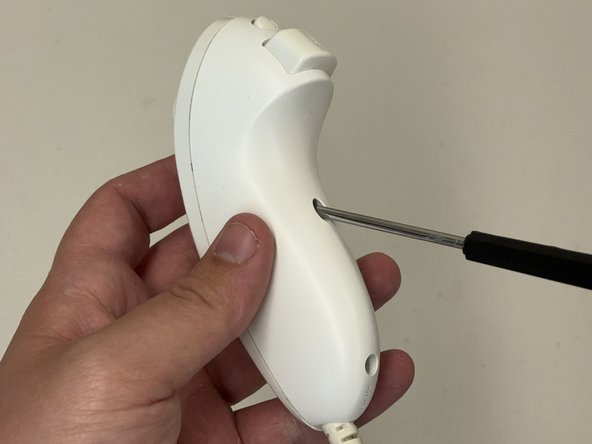
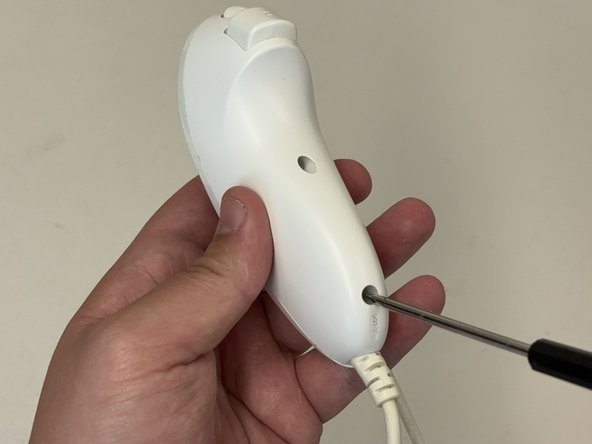
    • Use a Tri-point Y0 screwdriver to remove the two 9.2 mm screws from the back of the controller.

  2. Wii Nunchuk Joystick and Button Replacement: 步骤 2 中的图像 1,3 Wii Nunchuk Joystick and Button Replacement: 步骤 2 中的图像 2,3 Wii Nunchuk Joystick and Button Replacement: 步骤 2 中的图像 3,3
    • Use a spudger or your hands to separate the top case of the Wii Nunchuk.

    • To remove it you will need to apply pressure at the top of the device near the joysick first. Once you apply pressure, gently pry apart the controller.

  3. Wii Nunchuk Joystick and Button Replacement: 步骤 3 中的图像 1,1
    • Pull the joystick off the attachment on the motherboard.

    • This will also expose the gyroscopic mechanism and allow you to clean off any debris that could be causing issues. Use a lint free cloth and isopropyl alcohol to clean the area. Make sure to let it dry before you reassemble the device.

  4. Wii Nunchuk Joystick and Button Replacement: 步骤 4 中的图像 1,2 Wii Nunchuk Joystick and Button Replacement: 步骤 4 中的图像 2,2
    • Take the motherboard by the edges, and gently lift it out of the shell, exposing the buttons.

  5. Wii Nunchuk Joystick and Button Replacement: 步骤 5 中的图像 1,3 Wii Nunchuk Joystick and Button Replacement: 步骤 5 中的图像 2,3 Wii Nunchuk Joystick and Button Replacement: 步骤 5 中的图像 3,3
    • Set the motherboard to the side so that it is out of the way.

    • Push the buttons in from the outside of the device to pop them out.

    • Set the new buttons into the cutouts of the controller shell, ensuring they sit flush inside the controller.

  6. Wii Nunchuk Joystick and Button Replacement: 步骤 6 中的图像 1,2 Wii Nunchuk Joystick and Button Replacement: 步骤 6 中的图像 2,2
    • Set the motherboard back inside the center of the shell.

    • Ensure that the motherboard is flush inside of the controller.

  7. Wii Nunchuk Joystick and Button Replacement: 步骤 7 中的图像 1,3 Wii Nunchuk Joystick and Button Replacement: 步骤 7 中的图像 2,3 Wii Nunchuk Joystick and Button Replacement: 步骤 7 中的图像 3,3
    • Push the new joystick onto the white attachment on the motherboard.

    • Make sure that the notch on the joystick and the notch on the attachment point line up to ensure a secure fit. The joystick may not attach if the notches are not aligned.

  8. Wii Nunchuk Joystick and Button Replacement: 步骤 8 中的图像 1,2 Wii Nunchuk Joystick and Button Replacement: 步骤 8 中的图像 2,2
    • Place the top case of the controller on the bottom shell, making sure to align the halves properly.

    • Push them together until you hear a small click, ensuring the controller is assembled securely.

  9. Wii Nunchuk Joystick and Button Replacement: 步骤 9 中的图像 1,3 Wii Nunchuk Joystick and Button Replacement: 步骤 9 中的图像 2,3 Wii Nunchuk Joystick and Button Replacement: 步骤 9 中的图像 3,3
    • Use a Tri-point Y0 screwdriver to replace the two 9.2 mm screws that secure the back case.

  10. Wii Nunchuk Joystick and Button Replacement: 步骤 10 中的图像 1,1
    • This replacement is now complete.

结论

Take your e-waste to an R2 or e-Stewards certified recycler.

George Barrone

于03/05/24注册

181 声望

撰写一个指南

团队

CSU Los Angeles, Team 8-9, Grodsky Spring 2024 CSU Los Angeles, Team 8-9, Grodsky Spring 2024 的会员

CSULA-GRODSKY-S24S8G9

2 名成员

创作了1篇指南

0条评论

添加评论

浏览统计数据:

过去 24 小时: 0

过去 7 天: 18

过去 30 天: 32

总计 77