你所需要的
-
-
Remove the two screws holding the battery in place.
-
Slip your finger into the finger hole provided at the top of the battery.
-
...and lift to remove it
-
-
-
Remove the five Phillips screws securing the bottom to the case.
-
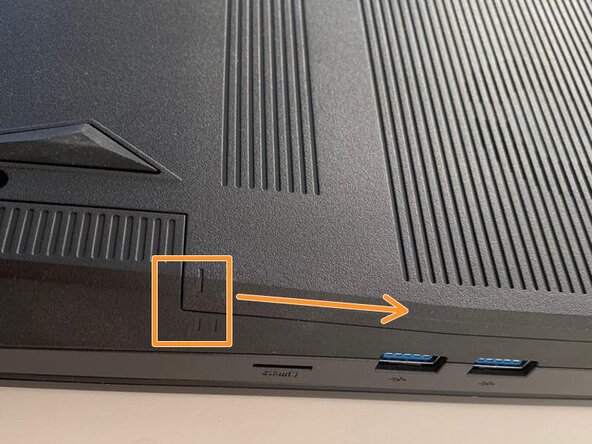
Slide the cover up slightly to release the clips holding it in place. This is the view on the right. The mark on the cover should now line up with the second mark on the case of the computer.
-
-
-
This is the view on the left before and after sliding the cover. The mark on the cover should now line up with the second mark on the case of the computer.
-
Slide the bottom cover to remove it.
-
-
-
-
Remove the two Phillips screws with the keypad symbol next to them.
-
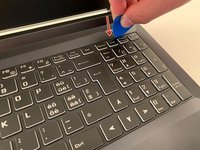
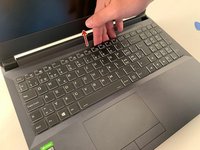
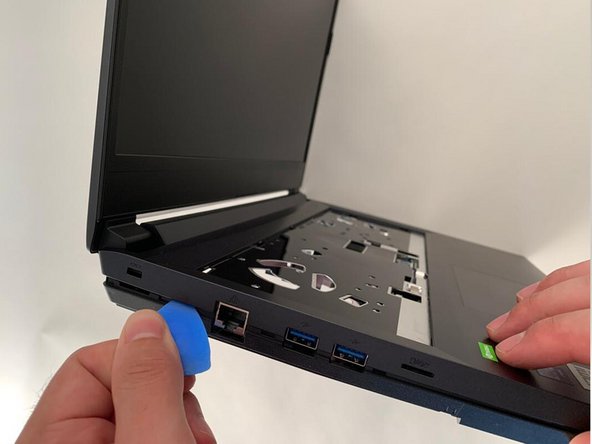
Insert an iFixit opening pick into the upper slot of the keyboard and slide it to the end.
-
-
-
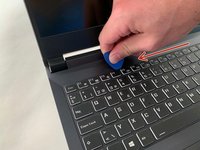
Carefully lift the keyboard.
-
Gently flip up the retaining latch on the black keyboard cable and slide it out of the connector.
-
Repeat with the (orange) backlight cable.
-
-
-
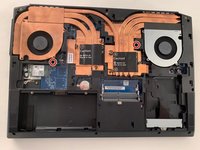
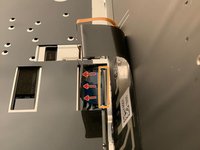
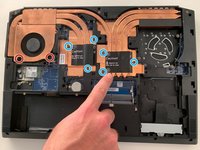
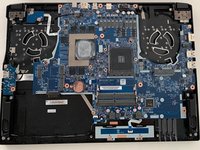
Remove the two Phillips screws securing the left hand fan.
-
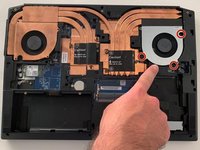
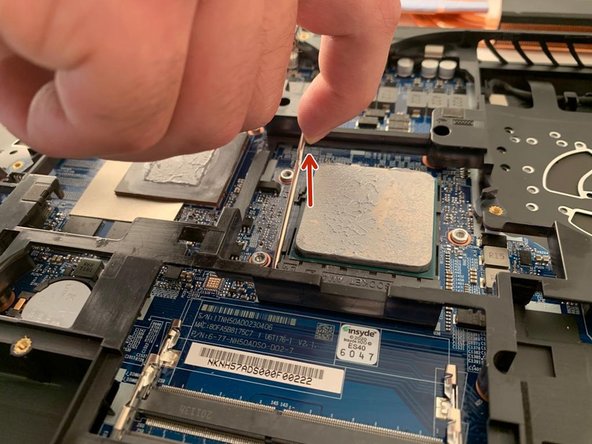
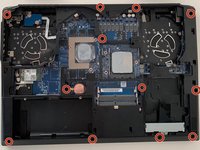
Remove the six Phillips heatsink retaining screws .
-
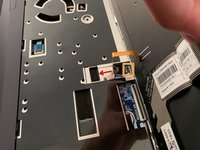
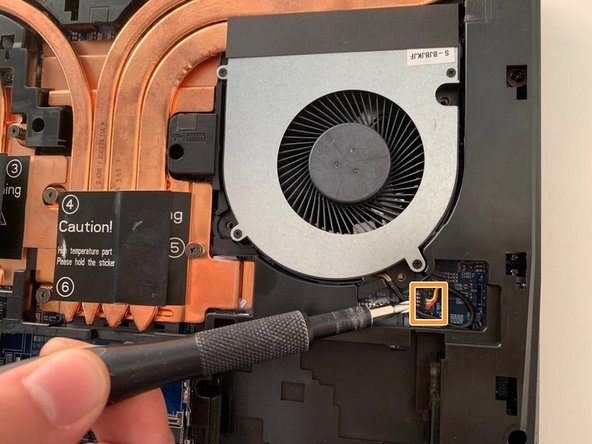
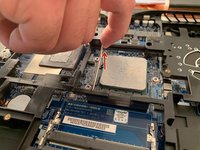
Carefully unplug the fan's power connector.
-
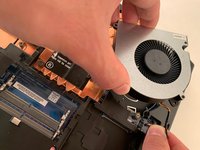
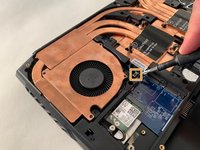
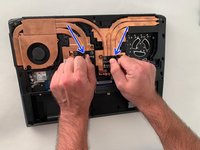
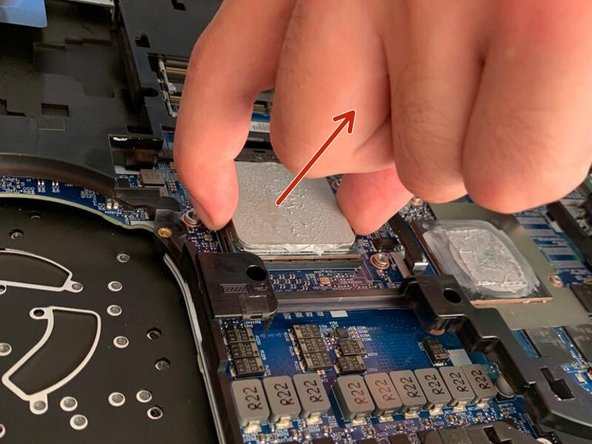
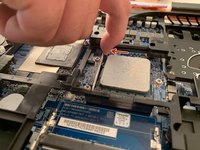
Using the two black tabs as handles, lift and remove the heatsink.
-
-
-
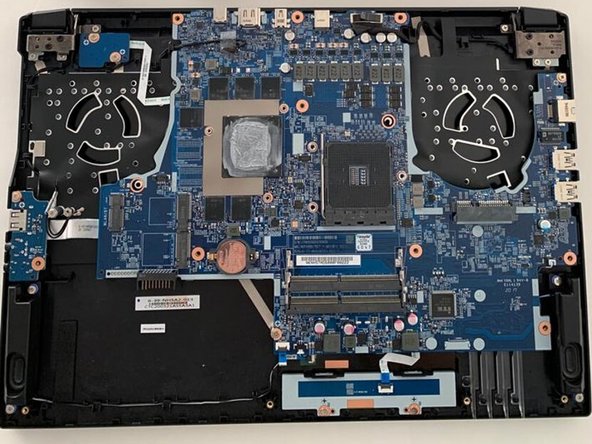
Remove the 12 Phillips screws securing the bottom case.
-
Using an opening pick, detach the lower case.
-


To reassemble your device, follow the instructions in reverse order.
