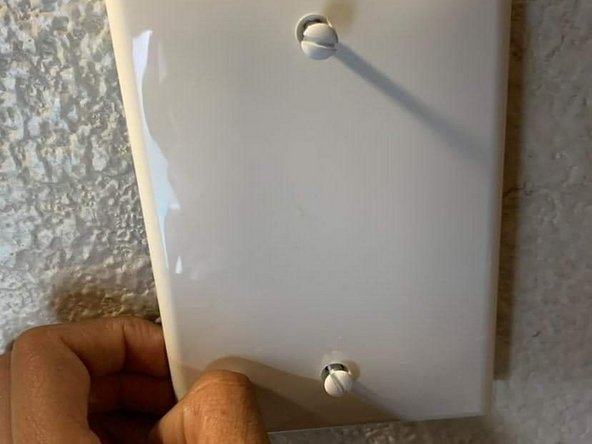
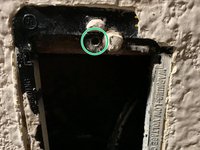
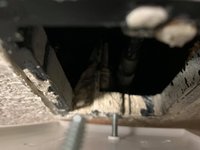
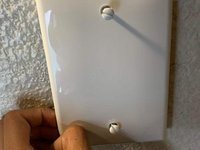
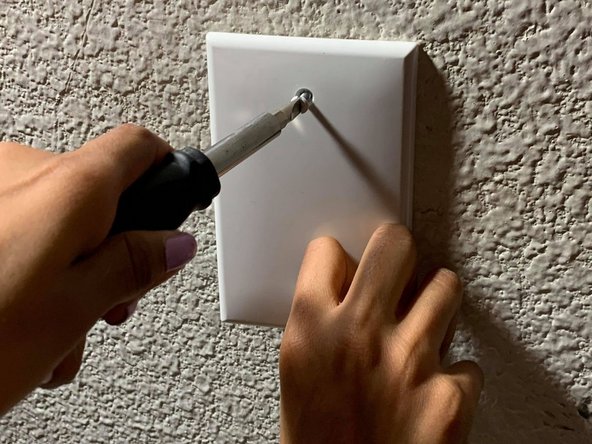
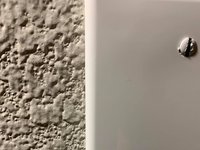
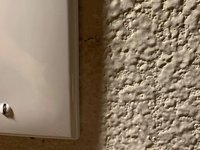
跳转到主内容

Wall Outlet Cover Replacement

你所需要的

  1. Wall Outlet Cover Replacement, Wall Outlet Cover: 步骤 1 中的图像 1,3 Wall Outlet Cover Replacement, Wall Outlet Cover: 步骤 1 中的图像 2,3 Wall Outlet Cover Replacement, Wall Outlet Cover: 步骤 1 中的图像 3,3
    • Remove any hazardous pieces from previous cover.

    • Be sure to remove the two flathead screws to remove any debris, rather than trying to pull off the sharp pieces.

  2. Wall Outlet Cover Replacement: 步骤 2 中的图像 1,3 Wall Outlet Cover Replacement: 步骤 2 中的图像 2,3 Wall Outlet Cover Replacement: 步骤 2 中的图像 3,3
    • Insert any cable or cables that may be hanging out inside of the wall hole.

    • Making a loop in the cable might be helpful to push it inside the wall.

  3. Wall Outlet Cover Replacement: 步骤 3 中的图像 1,1
    • Insert two screws into the holes of the new wall cover.

  4. Wall Outlet Cover Replacement: 步骤 4 中的图像 1,3 Wall Outlet Cover Replacement: 步骤 4 中的图像 2,3 Wall Outlet Cover Replacement: 步骤 4 中的图像 3,3
    • Line up the screws in the plate with the screw holes in the wall.

    • Tighten the screws slightly with your hands to ensure that both screws have found the proper holes.

    • Once the screws have been tightened enough to stay in the holes, they should hold the outlet cover in place.

  5. Wall Outlet Cover Replacement: 步骤 5 中的图像 1,3 Wall Outlet Cover Replacement: 步骤 5 中的图像 2,3 Wall Outlet Cover Replacement: 步骤 5 中的图像 3,3
    • Tighten the two screws with a flathead screwdriver.

  6. Wall Outlet Cover Replacement: 步骤 6 中的图像 1,3 Wall Outlet Cover Replacement: 步骤 6 中的图像 2,3 Wall Outlet Cover Replacement: 步骤 6 中的图像 3,3
    • Double check that the wall cover plate does not have a gap, and it is completely attached to the wall.

    • If any gap is detected, push the plate to the wall and continue to tighten the screws until the gap completely closes.

结论

To reassemble your device, follow these instructions in reverse order.

Leydi Navarrete

于04/12/21注册

133 声望

撰写一个指南

团队

0条评论

添加评论

浏览统计数据:

过去 24 小时: 2

过去 7 天: 17

过去 30 天: 54

总计 1,077