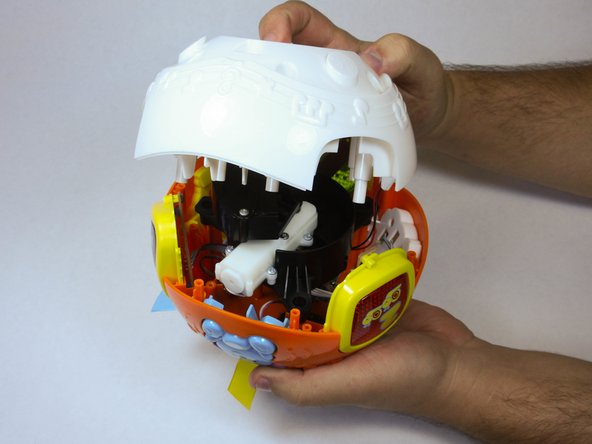
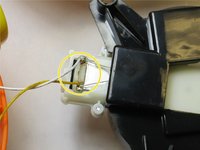
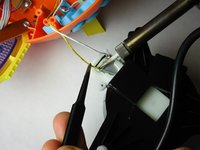
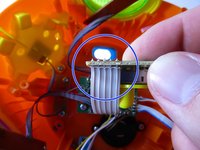
跳转到主内容

Vtech Move and Crawl Ball Power Switch Replacement

你所需要的

  1. Vtech Move and Crawl Ball Power Switch Replacement, Battery: 步骤 1 中的图像 1,2 Vtech Move and Crawl Ball Power Switch Replacement, Battery: 步骤 1 中的图像 2,2
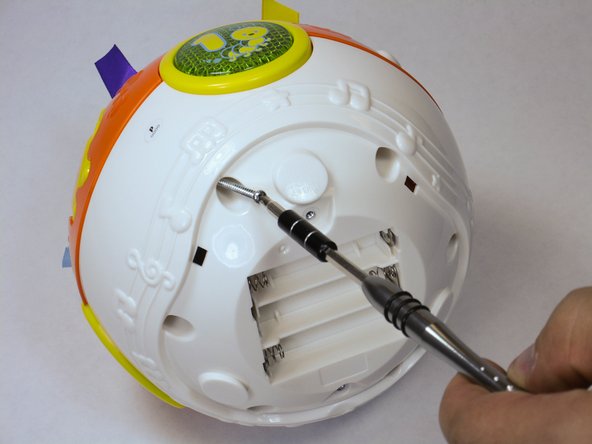
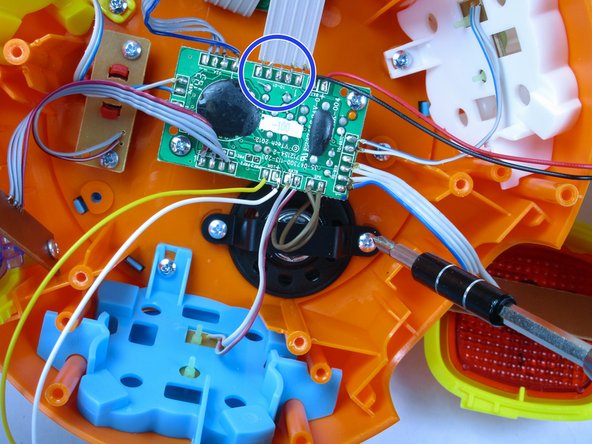
    • There are two screws that require a 4.0mm flat head screwdriver. Twist them counter clockwise to remove. When you remove them they stay contained within the blue outer case.

  2. Vtech Move and Crawl Ball Power Switch Replacement: 步骤 2 中的图像 1,3 Vtech Move and Crawl Ball Power Switch Replacement: 步骤 2 中的图像 2,3 Vtech Move and Crawl Ball Power Switch Replacement: 步骤 2 中的图像 3,3
    • Pry the batteries out with your finger. When you replace them be sure to orient them correctly according to the markings in the slots. Match the plus symbol on the battery to the plus symbol in the slot.

  3. Vtech Move and Crawl Ball Power Switch Replacement, Motor: 步骤 3 中的图像 1,3 Vtech Move and Crawl Ball Power Switch Replacement, Motor: 步骤 3 中的图像 2,3 Vtech Move and Crawl Ball Power Switch Replacement, Motor: 步骤 3 中的图像 3,3
    • Remove 6 screws in order to pop off the outer shell and reach the inside components.

  4. Vtech Move and Crawl Ball Power Switch Replacement: 步骤 4 中的图像 1,3 Vtech Move and Crawl Ball Power Switch Replacement: 步骤 4 中的图像 2,3 Vtech Move and Crawl Ball Power Switch Replacement: 步骤 4 中的图像 3,3
    • Remove the motor by lifting it out of the shell, and find the attached wires at both ends: the circuit board and the motor itself. Use the soldering iron to remove the existing attachments by heating the solder joint with the solder iron tip while pulling on the wire.

    • Make sure the motor is aligned over the correct holes during reassembly.

  5. Vtech Move and Crawl Ball Power Switch Replacement, Power Switch: 步骤 5 中的图像 1,1
    • Unscrew the two screws to the power switch located beside the circuit board

  6. Vtech Move and Crawl Ball Power Switch Replacement: 步骤 6 中的图像 1,3 Vtech Move and Crawl Ball Power Switch Replacement: 步骤 6 中的图像 2,3 Vtech Move and Crawl Ball Power Switch Replacement: 步骤 6 中的图像 3,3
    • Remove the existing attachments at both ends of the wires with the soldering iron. Heat the solder joint with the solder iron tip and pull the wire.

结论

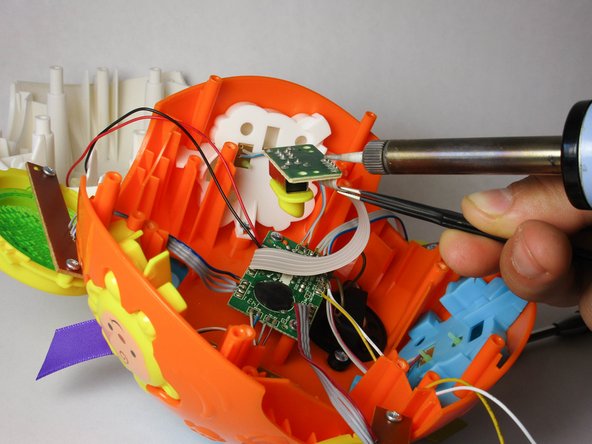
To reassemble your device, follow these instructions in reverse order.

William Jones

于09/04/15注册

222 声望

创作了2篇指南

团队

USF Tampa, Team 2-1, Sullivan Fall 2015 USF Tampa, Team 2-1, Sullivan Fall 2015 的会员

USFT-SULLIVAN-F15S2G1

4 名成员

创作了10篇指南

0条评论

添加评论

浏览统计数据:

过去 24 小时: 0

过去 7 天: 1

过去 30 天: 7

总计 668