跳转到主内容

Sony MV1 CamCorder Disassembly

  1. Sony MV1 CamCorder Disassembly, Removing the back cover: 步骤 1 中的图像 1,3 Sony MV1 CamCorder Disassembly, Removing the back cover: 步骤 1 中的图像 2,3 Sony MV1 CamCorder Disassembly, Removing the back cover: 步骤 1 中的图像 3,3
    • Unscrew the two screws next to the battery compartment.

    • Then the four on the bottom.

    • Now you can pull off the back cover.

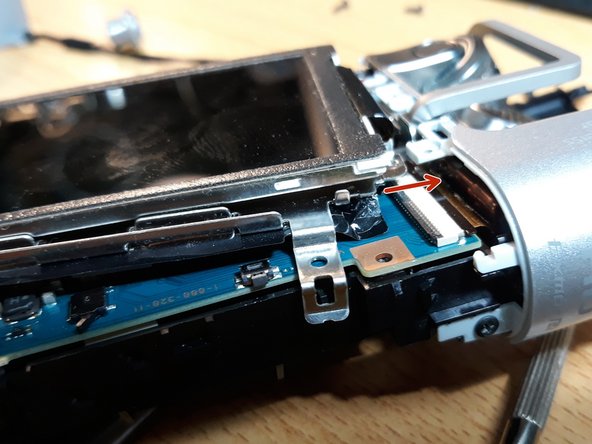
  2. Sony MV1 CamCorder Disassembly, Removing the screen cover: 步骤 2 中的图像 1,3 Sony MV1 CamCorder Disassembly, Removing the screen cover: 步骤 2 中的图像 2,3 Sony MV1 CamCorder Disassembly, Removing the screen cover: 步骤 2 中的图像 3,3
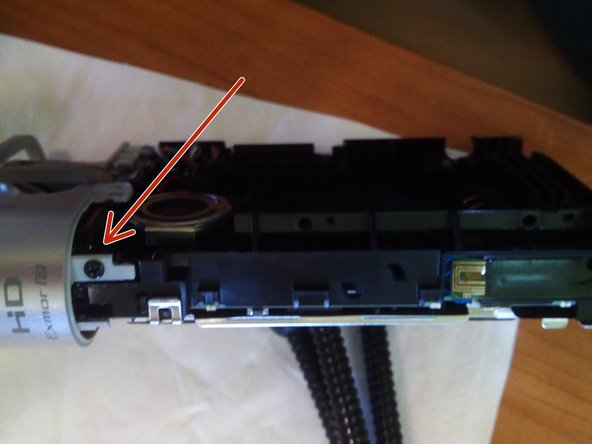
    • Remove the two Phillips head screws on the side of the camera.

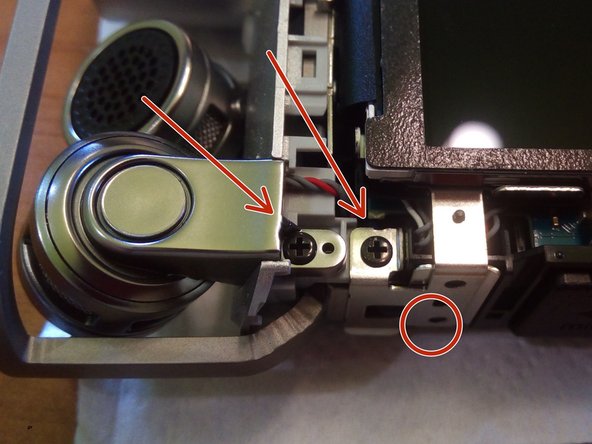
    • Now loosen the bracket holding the camera.

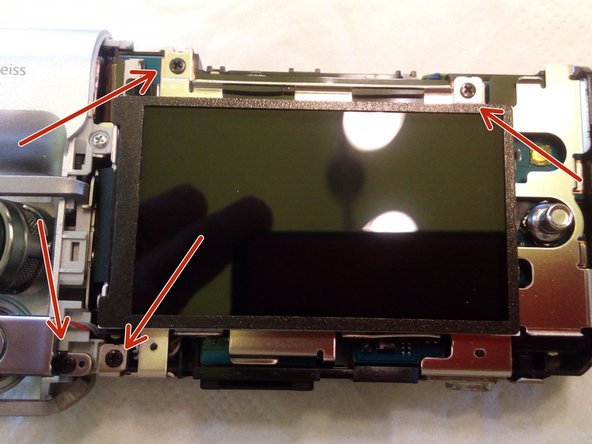
    • Now unscrew the two screws as seen in the third image.

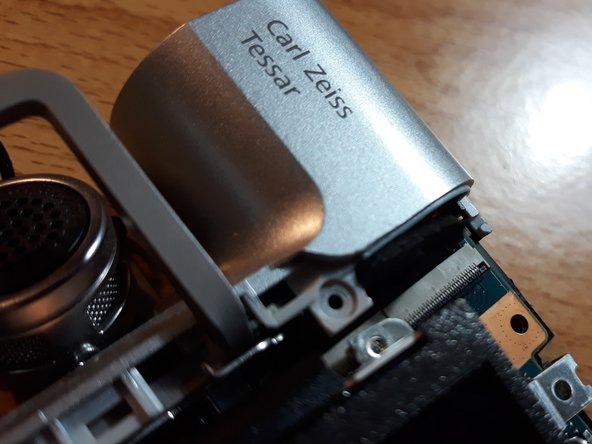
  3. Sony MV1 CamCorder Disassembly, Removing the metal screen support: 步骤 3 中的图像 1,3 Sony MV1 CamCorder Disassembly, Removing the metal screen support: 步骤 3 中的图像 2,3 Sony MV1 CamCorder Disassembly, Removing the metal screen support: 步骤 3 中的图像 3,3
    • Insert instructions here

  4. Sony MV1 CamCorder Disassembly, Removing the microphone/lens support: 步骤 4 中的图像 1,3 Sony MV1 CamCorder Disassembly, Removing the microphone/lens support: 步骤 4 中的图像 2,3 Sony MV1 CamCorder Disassembly, Removing the microphone/lens support: 步骤 4 中的图像 3,3
    • Insert instructions here

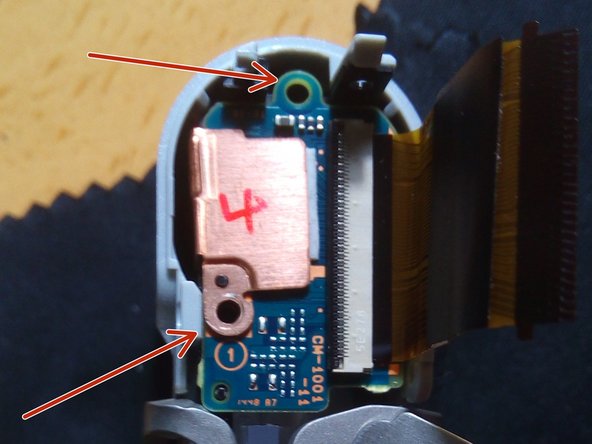
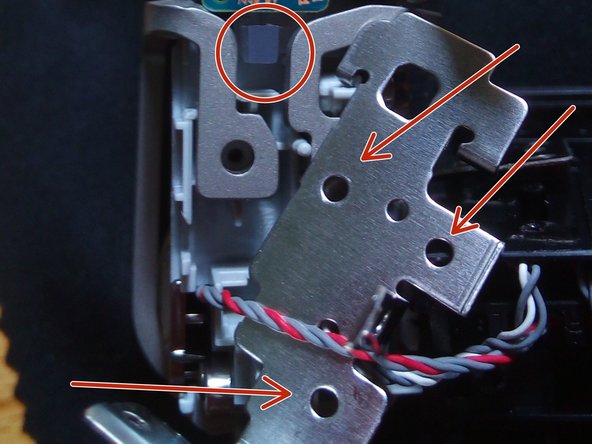
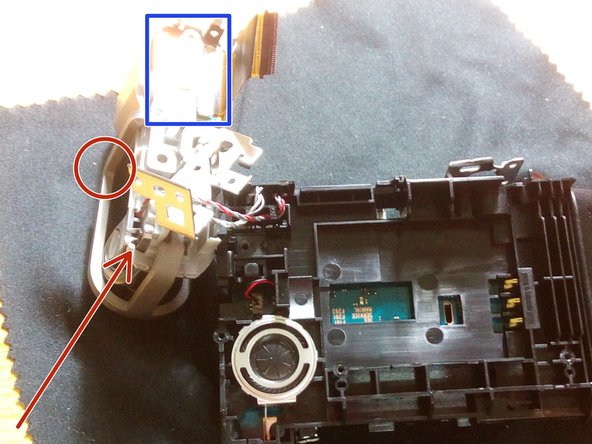
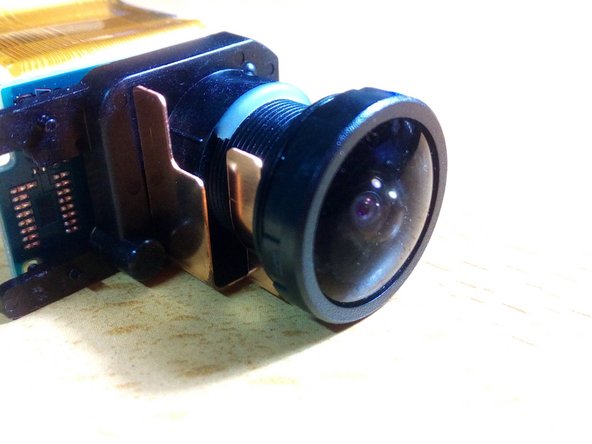
  5. Sony MV1 CamCorder Disassembly, Removing the lens: 步骤 5 中的图像 1,3 Sony MV1 CamCorder Disassembly, Removing the lens: 步骤 5 中的图像 2,3 Sony MV1 CamCorder Disassembly, Removing the lens: 步骤 5 中的图像 3,3
    • 1 - Remove 2 screws from the lens board.

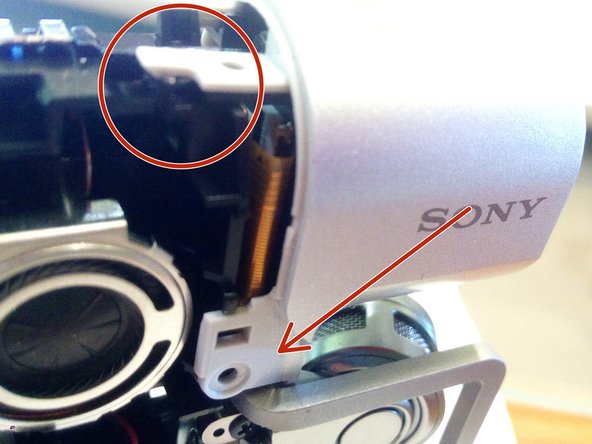
    • 2 - On the second photo one "can't see" the screws, but remove 3 of them, then remove gently in the circle the recording plastic light.

    • 3 - Remove the mic screw, so that you can remove the metal protection to free the lens board.

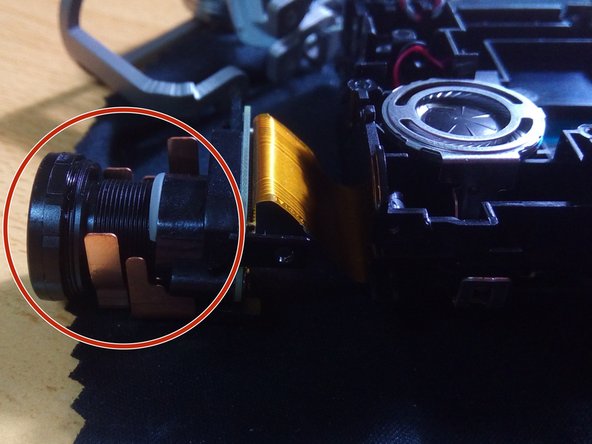
  6. Sony MV1 CamCorder Disassembly, Focussing manually the lens: 步骤 6 中的图像 1,2 Sony MV1 CamCorder Disassembly, Focussing manually the lens: 步骤 6 中的图像 2,2
    • 1 - The lens can be rotated manually until you can see it.

    • 2 - With camera open insert battery, hold it by hand to make contact.

    • 3 - Click the power button and start the camera.

    • 4 - Look at the screen and with the other hand focus the lense.

    • Insert battery, hold power button. Check screen and focus lens manually. Enjoy!

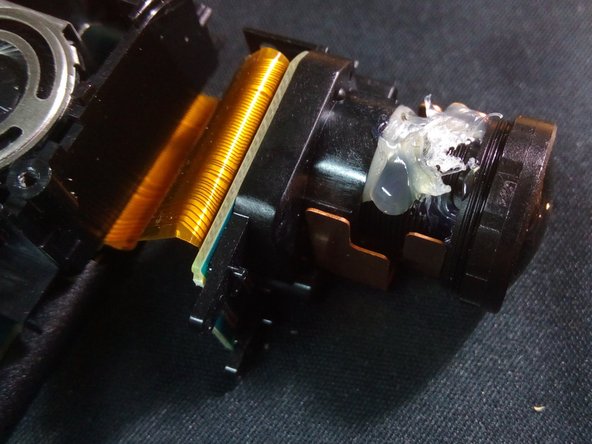
  7. Sony MV1 CamCorder Disassembly, Applying hot glue to the lens of Sony MV1: 步骤 8 中的图像 1,2 Sony MV1 CamCorder Disassembly, Applying hot glue to the lens of Sony MV1: 步骤 8 中的图像 2,2
    • After you tuned the "lens" you should get some hot glue on the lens, cause with time it will get out of place. I had to open my camera two times for this reason.

  8. Sony MV1 CamCorder Disassembly, "Black Screen" on Sony MV-1: 步骤 9 中的图像 1,3 Sony MV1 CamCorder Disassembly, "Black Screen" on Sony MV-1: 步骤 9 中的图像 2,3 Sony MV1 CamCorder Disassembly, "Black Screen" on Sony MV-1: 步骤 9 中的图像 3,3
    • Over time, the lens recedes from its original position.

    • It will start having contact with the small metal base where the screw is.

    • With a metal file, remove the metal base of the screw a little.

    • Before assembling the camera, put the battery in and try to turn it on!

    • Check if the display is working.

结论

To reassemble your device, follow these instructions in reverse order.

3等其他人完成本指南。

由衷感谢以下译者:

pt en

100%

这些译者帮助我们修补全世界! 您也想加入吗?
开始翻译 ›

Cafony

于02/17/15注册

687 声望

创作了4篇指南

0条评论

添加评论

浏览统计数据:

过去 24 小时: 0

过去 7 天: 2

过去 30 天: 23

总计 1,125