本指南有最近更改,您可查看未经巡查的最新版本。
简介
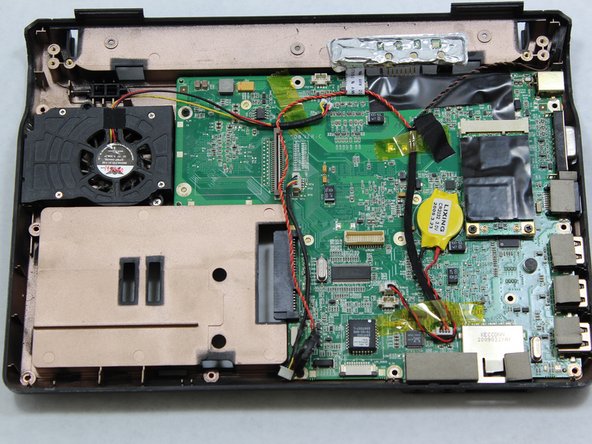
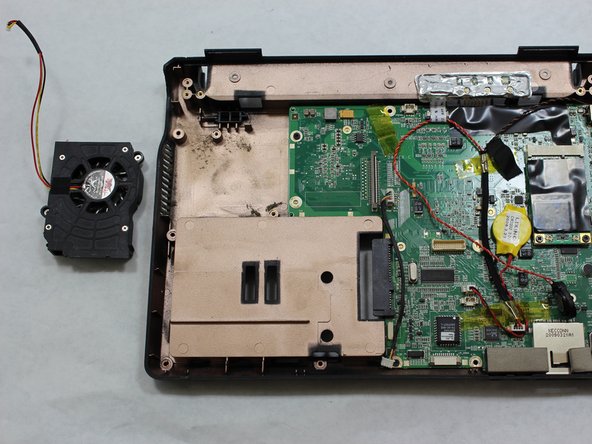
This guide will show how to safely remove the cooling fan from the NoteMagix M10 A82 netbook.
This will involve removing several parts of the computer using two sizes of screwdrivers and a plastic opening tool. This guide can be easily completed in under one hour.
你所需要的
-
-
Place the notebook on the table, with the battery facing away from you.
-
Slide the switch from "lock" to "unlock" with your right hand on the right side of the computer.
-
Maintain holding the right switch in the "unlock" position.
-
Use your left hand to slide the left switch from "lock" to "unlock".
-
-
-
Place the laptop fully opened with the keyboard facing upwards.
-
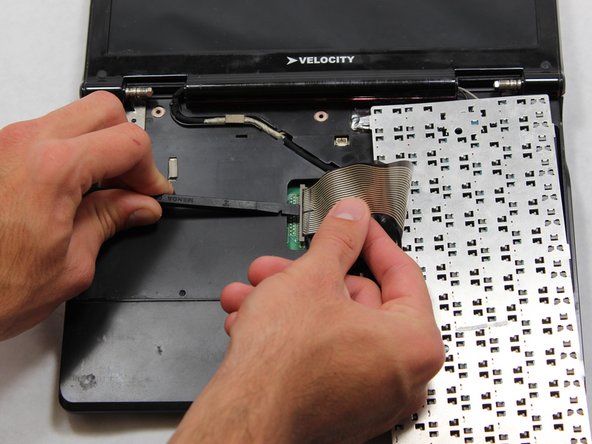
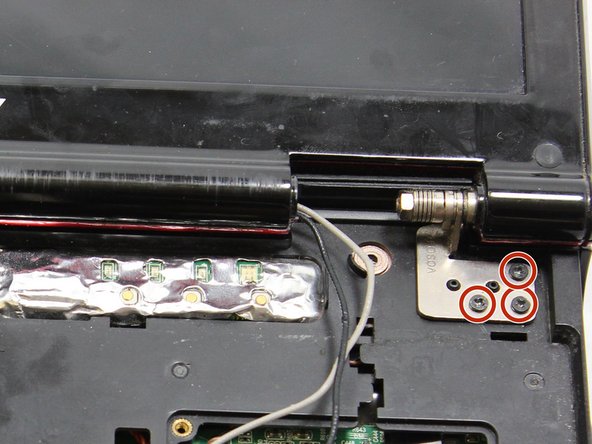
Remove the hinge cover by wedging the spudger underneath at the bottom edge and gently prying upwards while sliding the spudger along the cover.
-
-


To reassemble your device, follow these instructions in reverse order.
To reassemble your device, follow these instructions in reverse order.
团队

Cal Poly, Team 14-9, Forte Fall 2013 Cal Poly, Team 14-9, Forte Fall 2013 的会员
CPSU-FORTE-F13S14G9
5 名成员
创作了6篇指南