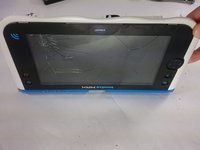
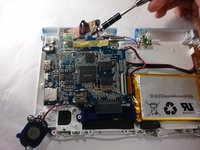
跳转到主内容

VTech InnoTab Max Motherboard Replacement

你所需要的

  1. VTech InnoTab Max Motherboard Replacement, Cover: 步骤 1 中的图像 1,3 VTech InnoTab Max Motherboard Replacement, Cover: 步骤 1 中的图像 2,3 VTech InnoTab Max Motherboard Replacement, Cover: 步骤 1 中的图像 3,3
    • Remove all screw caps from the back panel using a metal spudger.

  2. VTech InnoTab Max Motherboard Replacement: 步骤 2 中的图像 1,3 VTech InnoTab Max Motherboard Replacement: 步骤 2 中的图像 2,3 VTech InnoTab Max Motherboard Replacement: 步骤 2 中的图像 3,3
    • Next remove all of the now uncovered screws.

    • If there is a cartridge in the device make sure to remove it.

  3. VTech InnoTab Max Motherboard Replacement: 步骤 3 中的图像 1,2 VTech InnoTab Max Motherboard Replacement: 步骤 3 中的图像 2,2
    • Now that all of the screws have been removed, pry the back cover off using a plastic opening tool.

  4. VTech InnoTab Max Motherboard Replacement: 步骤 4 中的图像 1,2 VTech InnoTab Max Motherboard Replacement: 步骤 4 中的图像 2,2
    • Here you can see the back cover has been fully removed and you can now access the front cover.

    • To remove the front cover, remove the springs holding the pictured brackets in place, then pull it away.

  5. VTech InnoTab Max Motherboard Replacement, Battery: 步骤 5 中的图像 1,1
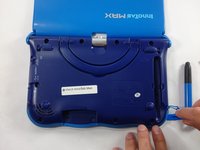
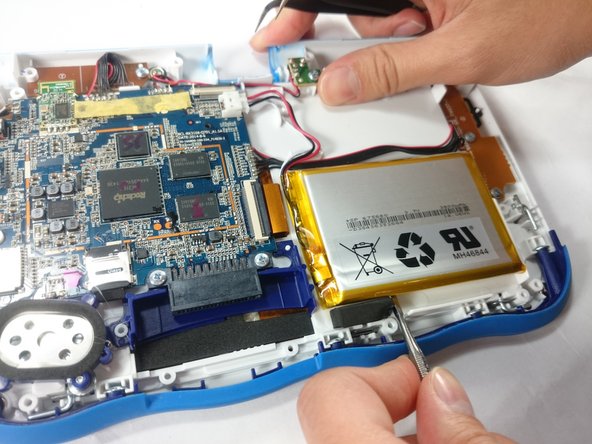
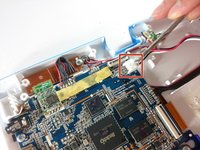
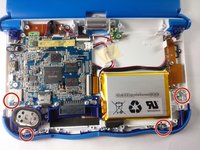
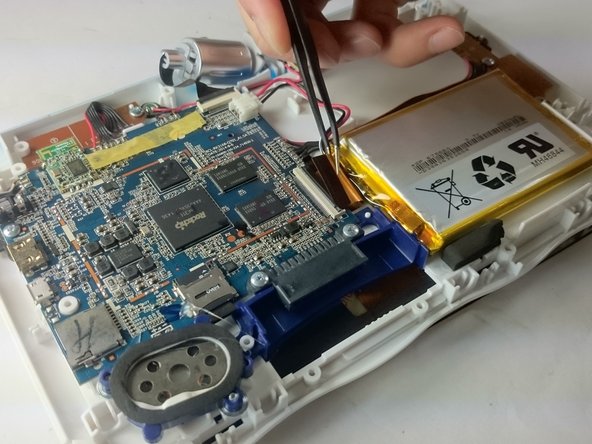
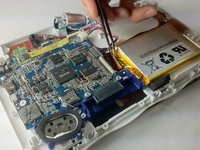
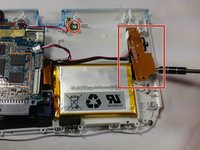
    • Once the back cover is removed the battery will be located in the bottom right as you can see in the image to the right.

  6. VTech InnoTab Max Motherboard Replacement: 步骤 6 中的图像 1,3 VTech InnoTab Max Motherboard Replacement: 步骤 6 中的图像 2,3 VTech InnoTab Max Motherboard Replacement: 步骤 6 中的图像 3,3
    在这个步骤中使用的工具:
    Plastic Cards
    $2.99
    购买
    • Remove the tape holding down the wires, and carefully pry the battery off of the base of the device.

    • Pry carefully to avoid damaging the battery. The battery may start to bend slightly, this is normal and not a cause for concern.

    • It is best to use a plastic card or nylon spudger to remove the battery. Metal tools can puncture a battery, potentially causing a fire.

  7. VTech InnoTab Max Motherboard Replacement: 步骤 7 中的图像 1,3 VTech InnoTab Max Motherboard Replacement: 步骤 7 中的图像 2,3 VTech InnoTab Max Motherboard Replacement: 步骤 7 中的图像 3,3
    • Now that the battery is free to be moved, unplug the wire connecting the battery to the motherboard.

  8. VTech InnoTab Max Motherboard Replacement: 步骤 8 中的图像 1,1
    • The battery is now fully disconnected.

  9. VTech InnoTab Max Motherboard Replacement, Camera: 步骤 9 中的图像 1,1
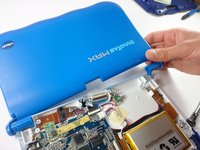
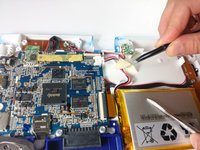
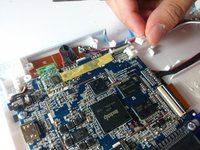
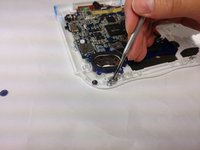
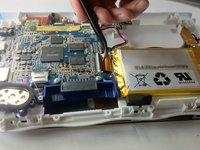
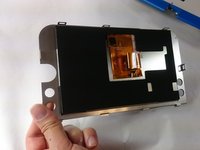
    • The camera is not held down by anything, so simply remove it from it's spot to prepare for unplugging it.

  10. VTech InnoTab Max Motherboard Replacement: 步骤 10 中的图像 1,2 VTech InnoTab Max Motherboard Replacement: 步骤 10 中的图像 2,2
    • Carefully remove the wire connecting the camera to the motherboard, using a tool to grip it if needed.

    • Be careful to only pull from the end of the connector (closest to the motherboard), as the strip is easy to tear.

  11. VTech InnoTab Max Motherboard Replacement: 步骤 11 中的图像 1,1
    • The camera is now removed completely removed from the device.

  12. VTech InnoTab Max Motherboard Replacement, Screen: 步骤 12 中的图像 1,2 VTech InnoTab Max Motherboard Replacement, Screen: 步骤 12 中的图像 2,2
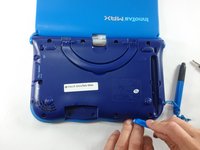
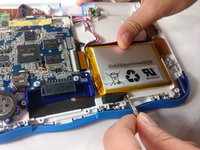
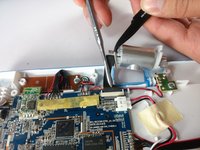
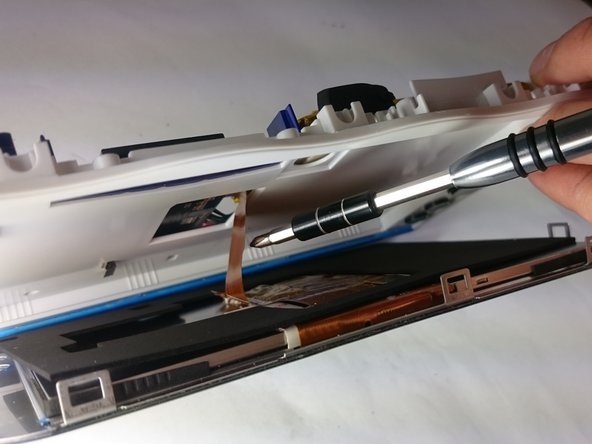
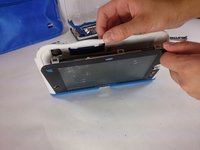
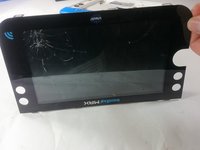
    • In order to unlock the screen you need to remove the 4 pins that can be seen in the picture.

    • To remove simply just turn and pull them out. Use a metal or nylon spudger if they are too small to grip.

  13. VTech InnoTab Max Motherboard Replacement: 步骤 13 中的图像 1,3 VTech InnoTab Max Motherboard Replacement: 步骤 13 中的图像 2,3 VTech InnoTab Max Motherboard Replacement: 步骤 13 中的图像 3,3
    • Once the pins are removed the screen should be loose from the frame and only connected by the brown film pictured.

  14. VTech InnoTab Max Motherboard Replacement: 步骤 14 中的图像 1,3 VTech InnoTab Max Motherboard Replacement: 步骤 14 中的图像 2,3 VTech InnoTab Max Motherboard Replacement: 步骤 14 中的图像 3,3
    在这个步骤中使用的工具:
    Tweezers
    $4.99
    购买
    • In order to completely remove the screen you need to unclip the film from the motherboard by simply using a pair of tweezers and gently pulling.

    • Be careful not to tear the film when pulling.

  15. VTech InnoTab Max Motherboard Replacement: 步骤 15 中的图像 1,2 VTech InnoTab Max Motherboard Replacement: 步骤 15 中的图像 2,2
    • Once unclipped from the motherboard the screen should be entirely free from the device

  16. VTech InnoTab Max Motherboard Replacement, Motherboard: 步骤 16 中的图像 1,1
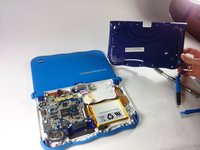
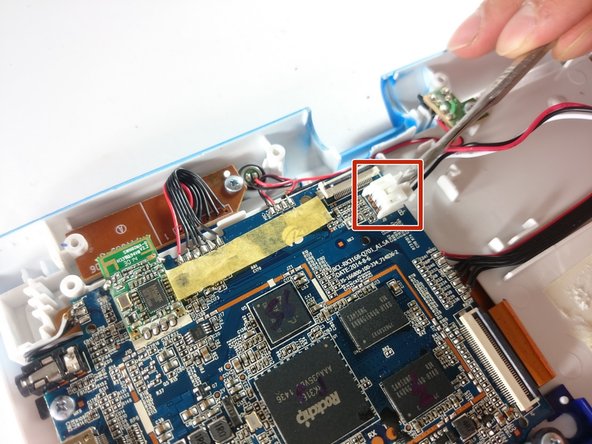
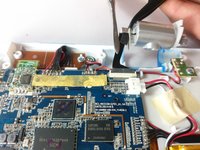
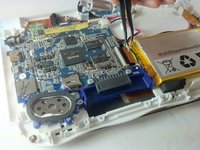
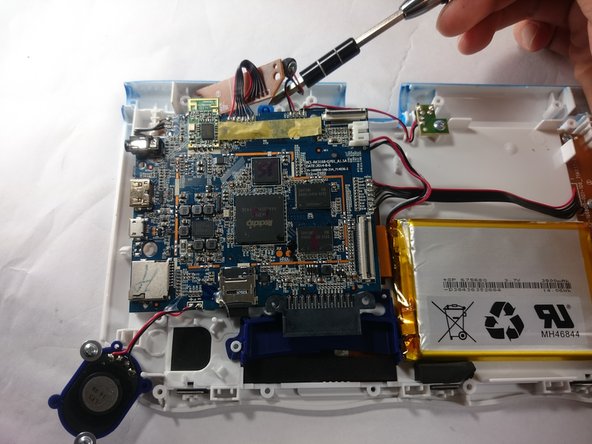
    • Remove the circled screws that are holding down the motherboard and components.

    • Every component that will need to be unscrewed will have wires running to it from the motherboard. These wires will not be disconnected.

  17. VTech InnoTab Max Motherboard Replacement: 步骤 17 中的图像 1,3 VTech InnoTab Max Motherboard Replacement: 步骤 17 中的图像 2,3 VTech InnoTab Max Motherboard Replacement: 步骤 17 中的图像 3,3
    • With all of the screws out, lift up the speaker, the two visible bronze plates, and the small green chip at the top.

    • Do not try to disconnect any of the wires running to these devices, as you will not be able to reconnect them.

    • All of these components can be located by following wires leaving the motherboard.

  18. VTech InnoTab Max Motherboard Replacement: 步骤 18 中的图像 1,1
    • With all of these components out of their place, lift up the motherboard to reveal one more bronze plate.

    • Remove the screws holding down this plate, and remove it with the rest of the motherboard.

  19. VTech InnoTab Max Motherboard Replacement: 步骤 19 中的图像 1,1
    • All components should be free from the device, and you can now completely remove the motherboard.

结论

To reassemble your device, follow these instructions in reverse order.

2等其他人完成本指南。

Jacob Schioppo

于02/15/17注册

539 声望

创作了4篇指南

团队

USF Tampa, Team S5-G5, Lacy Spring 2017 USF Tampa, Team S5-G5, Lacy Spring 2017 的会员

USFT-LACY-S17S5G5

3 名成员

创作了10篇指南

0条评论

添加评论

浏览统计数据:

过去 24 小时: 0

过去 7 天: 4

过去 30 天: 12

总计 1,938