简介
Welcome, fellow roboticists. If you are having a strange clicking noise coming from your VEX EDR 393 motor, odds are the gears are stripped and need to be replaced. Lucky for you, the following guide shows you how to safely and properly replace the gears inside. Please carefully read and follow the steps below and you will have your motor working like new in no time!
你所需要的
-
-
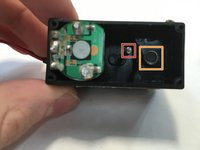
Disconnect the motor from any other connected devices or power sources.
-
Use a Small Phillips Head Screwdriver to unscrew the four screws from the black casing's corners.
-
-
-
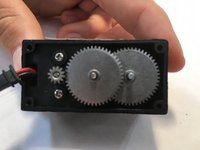
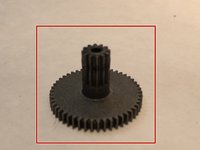
Select the replacement gears that match the gears you just removed.
-
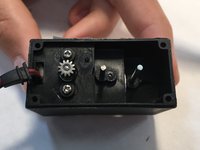
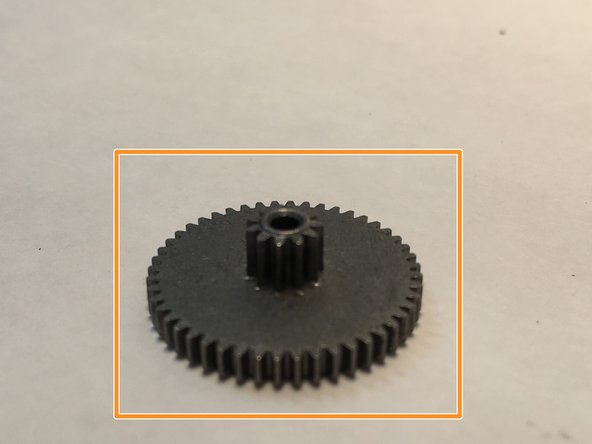
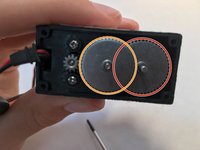
Take the gear that has teeth on its entire length and insert it onto the metal pin. Push it all the way into the bottom of the motor. It should connect with a small gear on the bottom.
-
Now, insert the larger gear with teeth on the base onto the circular plastic peg.
-
Replace the black bottom casing and screws.
-
-


Your motor should be working again. Before reinstalling it on your robot, test it either with a backup battery or by plugging it in to your cortex. If you hear more grinding or anything out of the ordinary, reopen the motor to make sure the gears are aligned.
You can also use this process to change the gear ratio of the motor for different functions.
另外一个人完成了本指南。

团队

Central Coast New Tech High, Team 4-6, Rushing Spring 2016 Central Coast New Tech High, Team 4-6, Rushing Spring 2016 的会员
CCNTH-RUSHING-S16S4G6
2 名成员
创作了1篇指南
1指南评论
does anyone sell repair kits from broken off wires. I have 30 motors with wires torn off (because of the 100 students)