简介
Unihertz Titan Pocket
你所需要的
-
-
Use a Torx T5 screwdriver to remove the 3 screws.
-
Remove the Sim tray.
-
Use a Torx T5 screwdriver to remove the 3 screws.
-
-
-
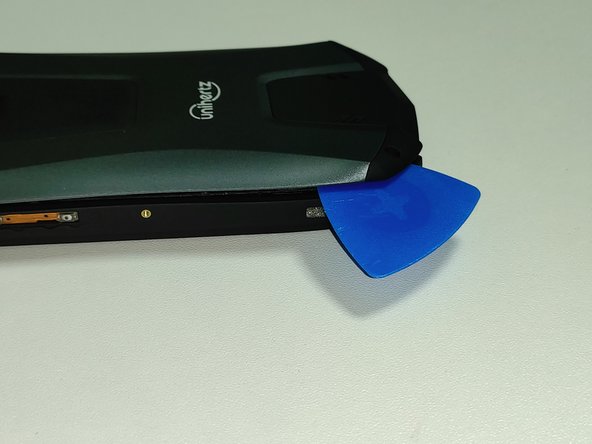
Insert the opening pick into the gap between the body and the back plate. Then open the gap so that the latch comes out.
-
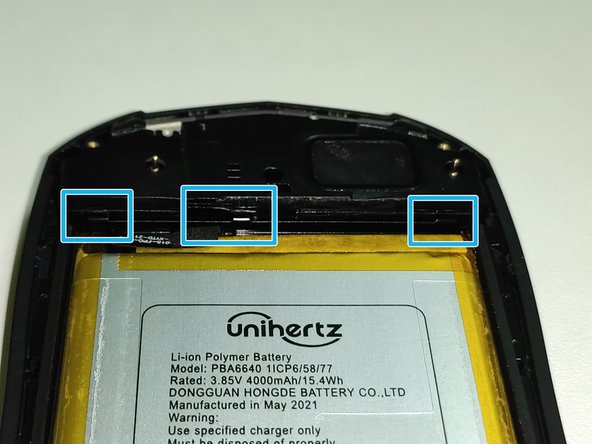
There are three latches on the left and right, one on the top and two on the bottom.
-
-
-
-
Remove the 3 screws using a Phillips #000 screwdriver.
-
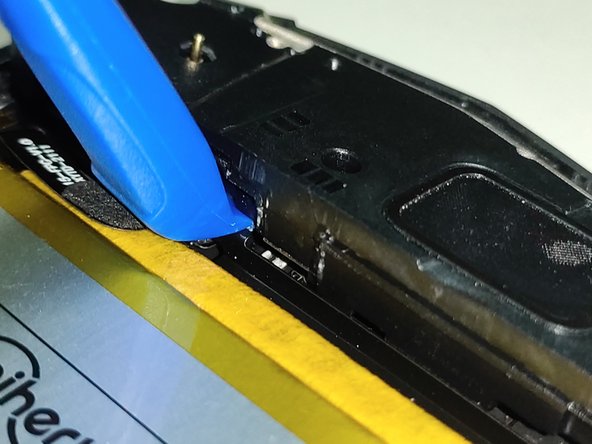
Use the opening tool to open the gap.
-
-
-
Remove the 2 screws using a Phillips #000 screwdriver.
-
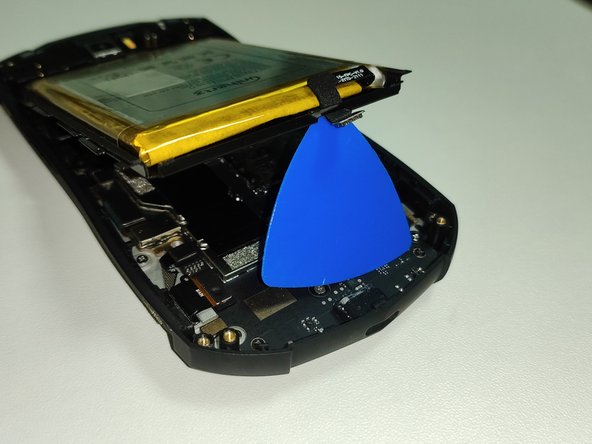
Lift the top part with the pointed part of the Spudger.
-
-
-
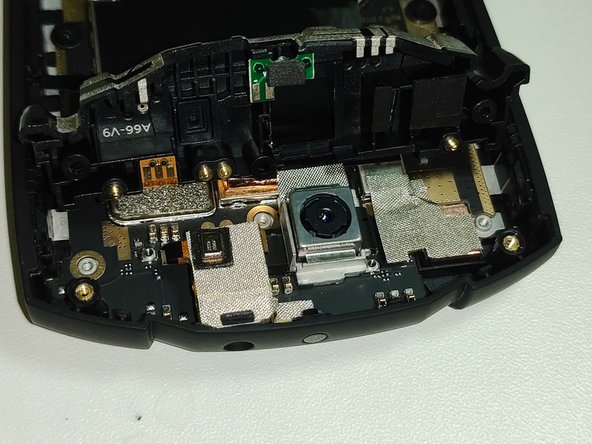
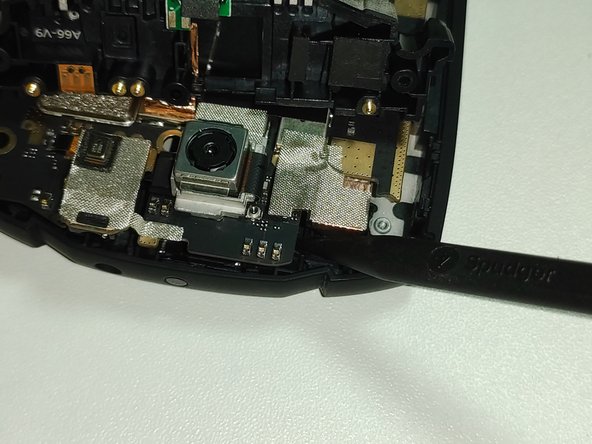
Disconnect the 6 connectors.
-
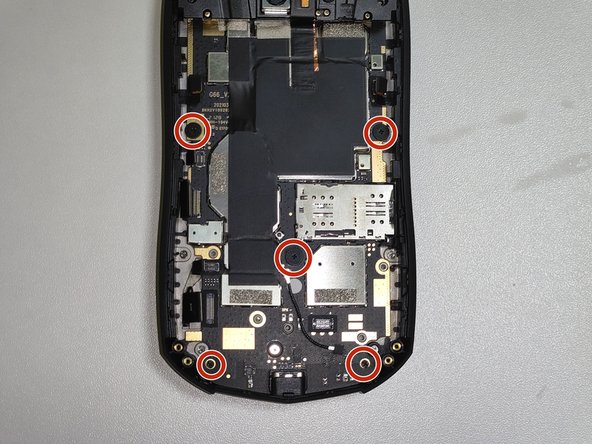
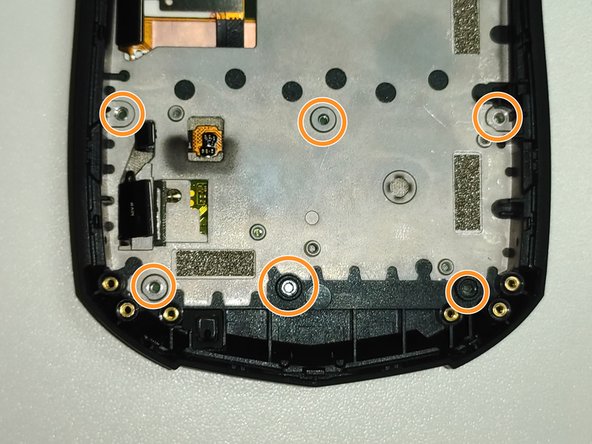
Remove the 5 screws using a Phillips #000 screwdriver.
-
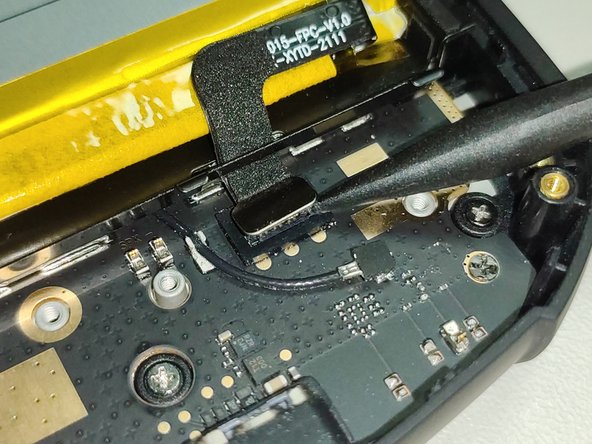
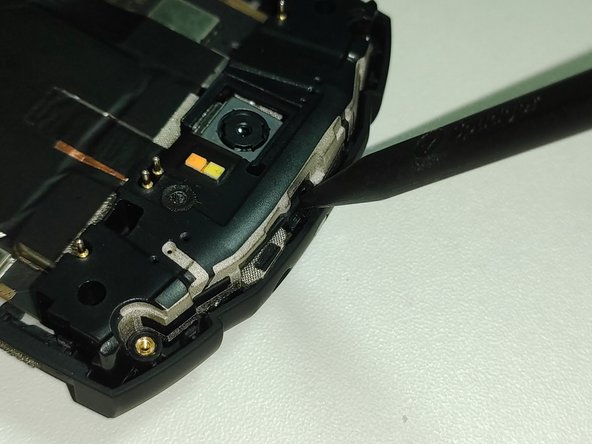
Use the Spudger to lift the top of the motherboard.
-
-
-
Remove the 5 screws using a Phillips #000 screwdriver.
-
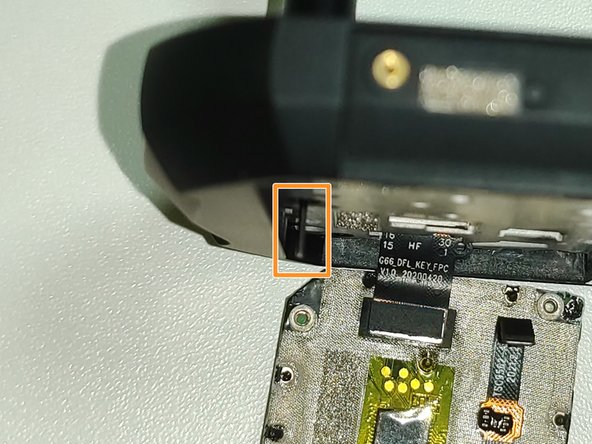
Insert a thin thing such as a Sim pin through the hole where the screw was removed and push the keyboard out.
-


To reassemble the device, follow the instructions in reverse order.
To reassemble the device, follow the instructions in reverse order.
另外一个人完成了本指南。