简介
This is a guide on how to replace the contact pins inside of the headset.
你所需要的
-
-
To remove the ear cushions, press firmly down and rotate them clockwise, it should twist about 2mm and release, allowing you to pull it off.
-
-
-
-
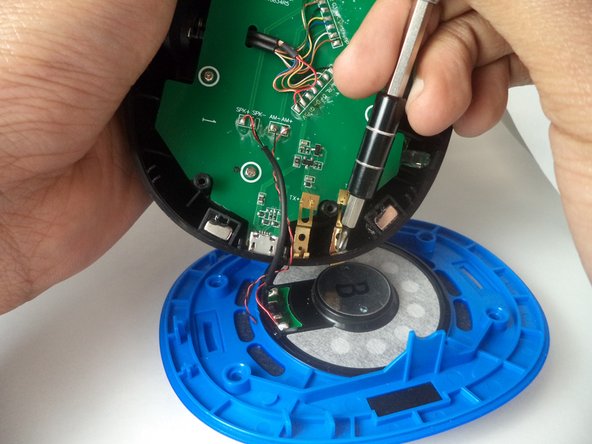
Use the Phillips #0 screw bit to remove the four screws (9.47 mm long) that have been revealed from removing the ear cup. Carefully take off the blue casing to reveal the audio board.
-


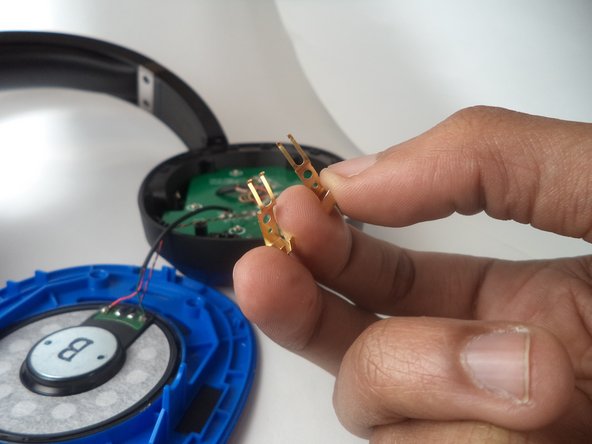
To reassemble your device, follow these instructions in reverse order.
To reassemble your device, follow these instructions in reverse order.

团队

Arkansas State University, Team 1-5, Chamberlain Spring 2017 Arkansas State University, Team 1-5, Chamberlain Spring 2017 的会员
ARSU-CHAMBERLAIN-S17S1G5
3 名成员
创作了10篇指南