当前版本的文档还未经巡查,您可以查看最新的已查核版本 。
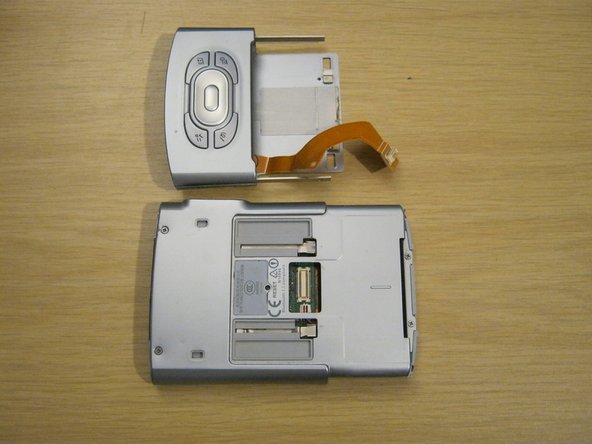
Slide out the function panel.
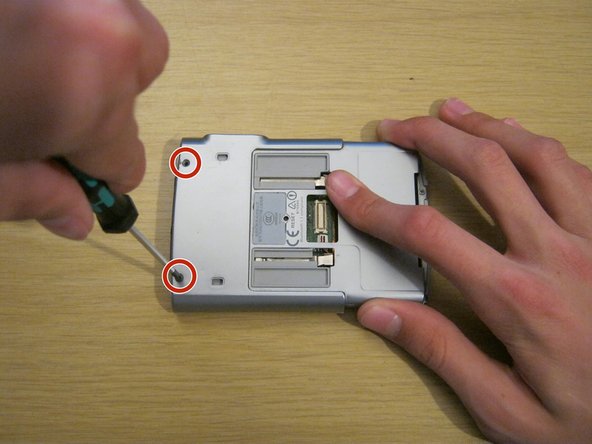
Insert a paper clip into the two marked small holes on the back and push downwards while pulling the function panel gently.
The connector for the buttons will be revealed.
Gently remove the function panel from the device.
Be careful - it's still connected by the button cable. Peel the cable from the device carefully with a spudger - it is attached with a little bit of adhesive.
Carefully remove the connector and set the panel aside.
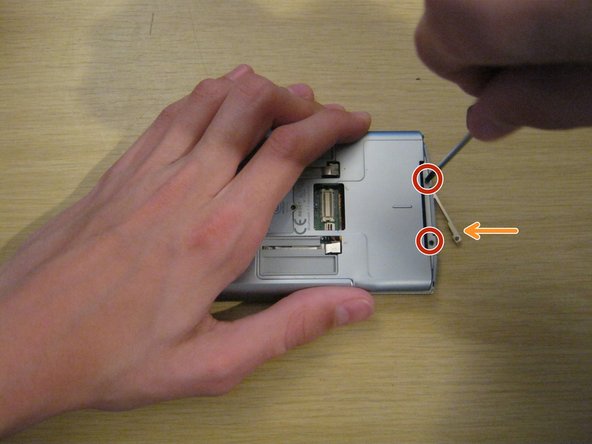
Remove the two small Phillips #00 screws at the other end of the device.
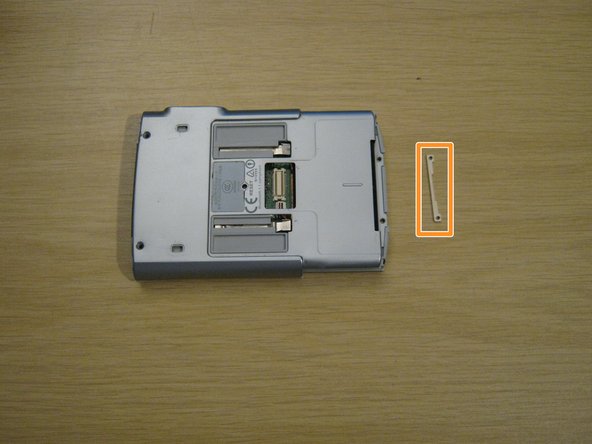
A small metal part will fall out of the device from the other side. Keep hold of this - you won't be able to put these screws back in without it.
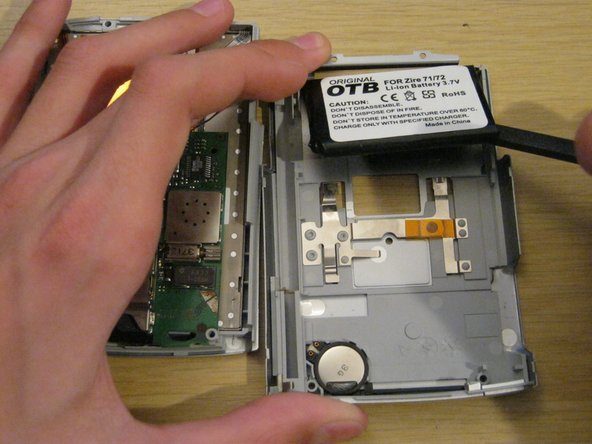
Using a spudger, gently separate the back casing from the rest of the device.
Be careful - the back casing contains the battery, which is connected by a very thin battery cable.
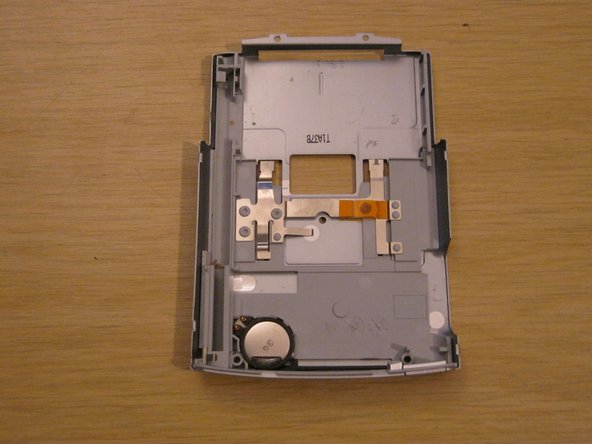
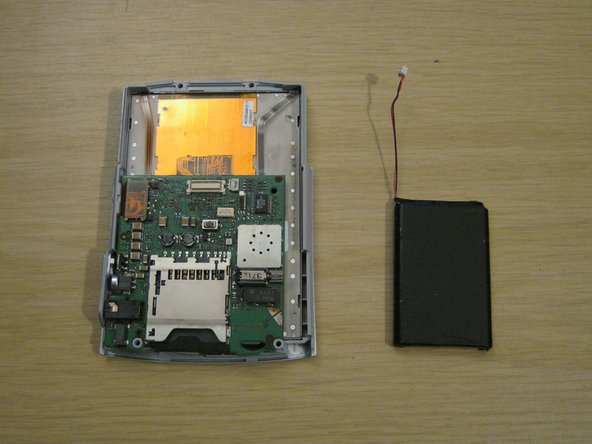
You should now be left with the front panel and the battery.
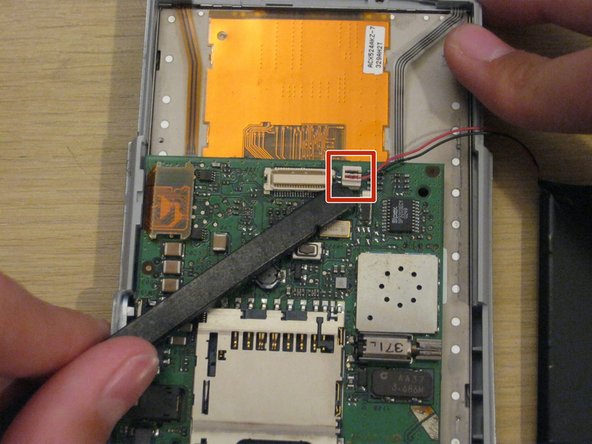
Gently disconnect the battery connector from the front panel. It's small and the pins are delicate, so be careful not to bend it.
When you install the new battery, you may find it useful to secure it to the back casing with some double-sided tape or even a small amount of glue.
When reassembling your device, remember to place the small metal part on the front of the device and hold it while you insert the two small screws.
The screws won't stay in unless they're screwed into this metal part.
嵌入本指南
选择一个尺寸并复制下面的代码,将本指南作为一个小插件嵌入到你的网站/论坛中。
单个步骤
完整指南
小——600像素
中——800像素
大——1200像素
预览