简介
This guide will show you how to replace your tablet's screen.
你所需要的
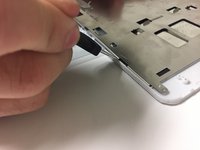
-
在这个步骤中使用的工具:Plastic Cards$2.99
-
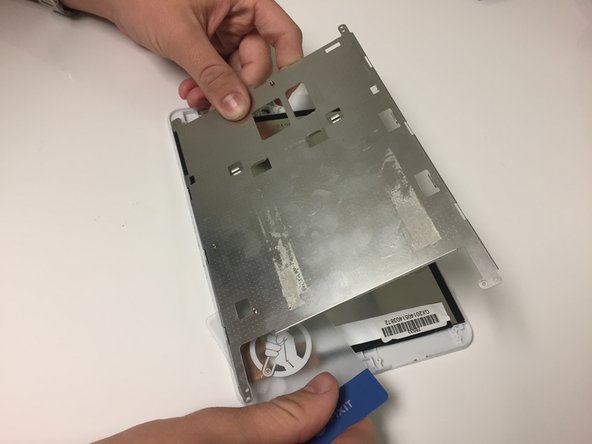
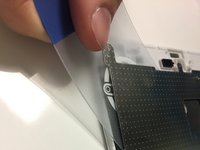
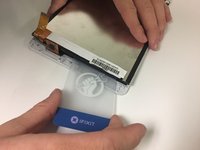
Use the plastic card to pry the battery away from the device.
-
-


结论
To reassemble your device, follow these instructions in reverse order.
团队

University of North Texas, Team S7-G6, Thomas Fall 2017 University of North Texas, Team S7-G6, Thomas Fall 2017 的会员
UNT-THOMAS-F17S7G6
3 名成员
创作了12篇指南