本指南有最近更改,您可查看未经巡查的最新版本。
简介
Usually when the screen no longer works, the area behind the screen is also damaged. This guide removes the screen and its components so you can send it in for repairs.
你所需要的
-
-
Placing your finger on the raised grip, push the battery casing to the right. It will slide over.
-
-
-
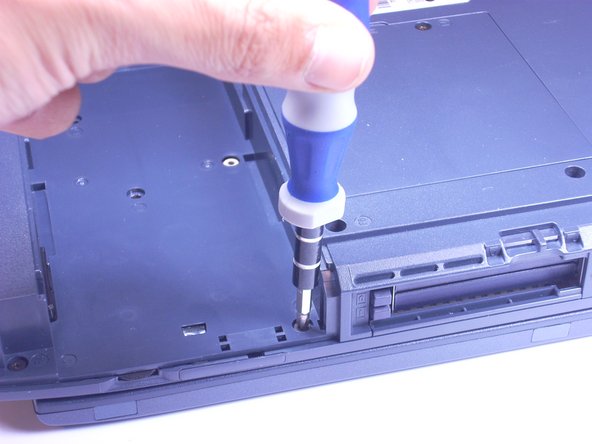
Look at the bottom of the laptop. Using a Phillips screwdriver, unscrew and remove the screw labeled F4, located on the cover of the hard drive.
-
-
-
Stick a spudger in one of the sides of the top panel. Lift slowly from one side to the other and it will pop off.
-
-
-
-
Using a Phillips Screwdriver, unscrew and remove the one F4 screw closest to the center of the laptop.
-
-
-
Using a Phillips screwdriver, unscrew and remove 5 screws labeled F6, located on the metal piece on the left side of the keyboard area.
-


To reassemble your device, follow these instructions in reverse order.
To reassemble your device, follow these instructions in reverse order.
2等其他人完成本指南。
团队

Cal Poly, Team 3-5, Johann Summer 2010 Cal Poly, Team 3-5, Johann Summer 2010 的会员
CPSU-JOHANN-R10S3G5
4 名成员
创作了24篇指南