跳转到主内容

Toilet Flange Replacement

你所需要的

  1. Toilet Flange Replacement, Flange: 步骤 1 中的图像 1,1
    • Spread a towel a bit behind you or beside if you have enough space, as this is where you will be placing the toilet.

  2. Toilet Flange Replacement: 步骤 2 中的图像 1,3 Toilet Flange Replacement: 步骤 2 中的图像 2,3 Toilet Flange Replacement: 步骤 2 中的图像 3,3
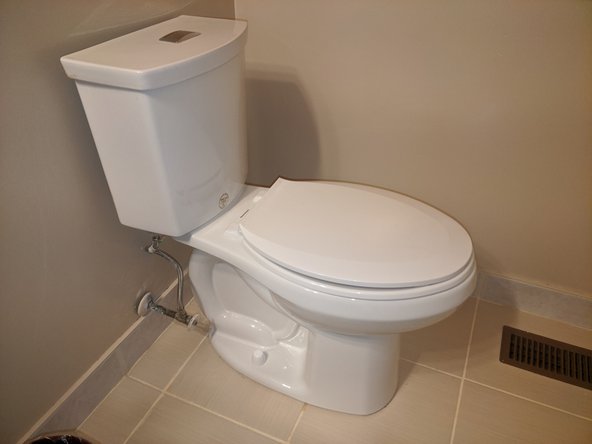
    • Turn off the water line using the valve.

    • Disconnect the toilet water line from the back of the toilet (this looks like a hose).

    • Flush the toilet a few times to drain the tank.

  3. Toilet Flange Replacement: 步骤 3 中的图像 1,2 Toilet Flange Replacement: 步骤 3 中的图像 2,2
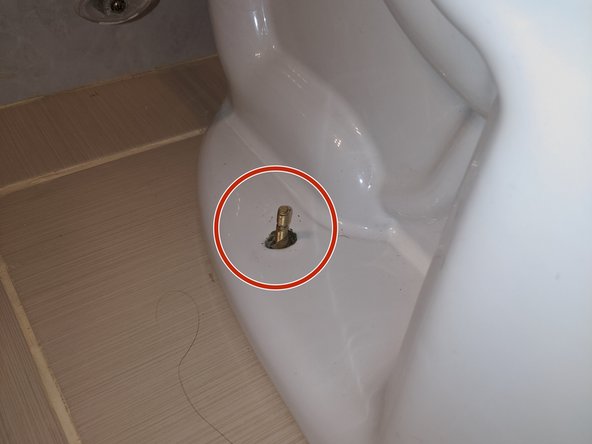
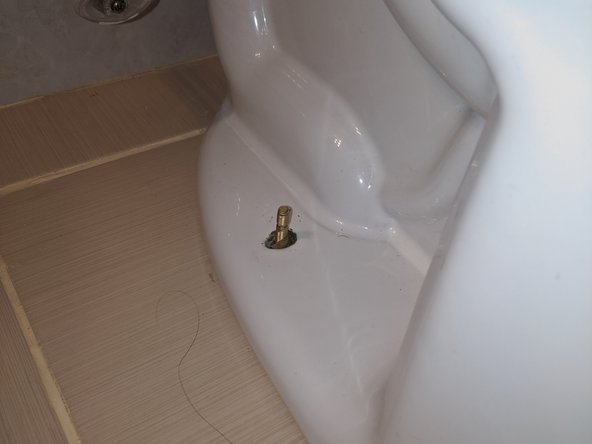
    • Remove the bolts on either side of the toilet, then gently remove it and lay it on the side. If there is not enough space, place it on a towel elsewhere. Take care as to ensure you do not accidentally scratch anything.

    • I used a monkey wrench to remove one of my bolts as they were held in place by excessive wax, but generally you should be able to remove them by hand.

  4. Toilet Flange Replacement: 步骤 4 中的图像 1,2 Toilet Flange Replacement: 步骤 4 中的图像 2,2
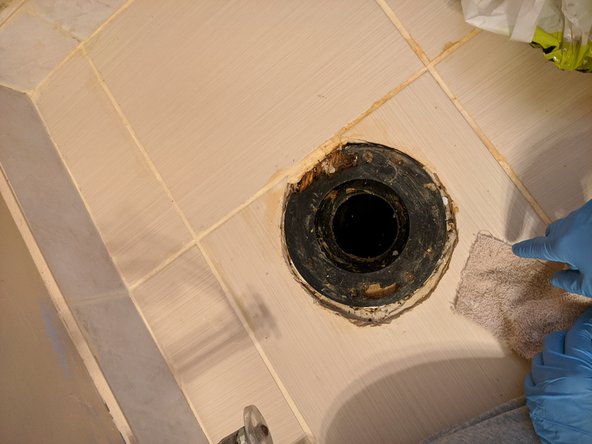
    • Scrape off the existing gasket (the wax ring at the bottom).

    • Optional: Place the new gasket where the previous gasket was after cleaning the spot where it originally was.

  5. Toilet Flange Replacement: 步骤 5 中的图像 1,1
    • Drop in the new plate, and slide it until it is firmly in place. Make sure the bolts are standing up straight, and are not loose.

    • The kit I am using only repairs the holes for the bolts, but if you remove the whole flange, the new one simply drops and screws down into place.

  6. Toilet Flange Replacement: 步骤 6 中的图像 1,2 Toilet Flange Replacement: 步骤 6 中的图像 2,2
    • Once you have put back on the gasket, line up the toilet over the bolts, then slowly lower it down until both bolts clear their respective holes. Set it down and ensure the toilet is level and straight.

  7. Toilet Flange Replacement: 步骤 7 中的图像 1,1
    • Slowly tighten the bolts on both sides with the washer and nuts included in the kit, making sure the toilet does not shift.

    • Some kits have overly long bolts, so once you have secured the toilet, you can gently saw the bolts to a more appropriate size with a handsaw.

    • Do NOT over-tighten the bolts, as doing so might damage the toilet!

  8. Toilet Flange Replacement: 步骤 8 中的图像 1,2 Toilet Flange Replacement: 步骤 8 中的图像 2,2
    • Clean up the area, and reconnect the waterline. Once connected, turn back on the valve.

    • If water leaks out, the toilet is not positioned properly and needs to be readjusted. Restart from step 7, after undoing the bolts and lifting the toilet back up.

    • If there are no leaks, reconnect the waterline and clean up any excess wax. Congratulations, you have successfully replaced your toilet flange!

终点

另外一个人完成了本指南。

Syeed Hamid

于05/16/20注册

157 声望

撰写一个指南

团队

0条评论

添加评论

浏览统计数据:

过去 24 小时: 0

过去 7 天: 7

过去 30 天: 15

总计 951