简介
In this disassembly, we’ll take a closer look at the Thymio II’s internal components and how you can completely remove every part of it. Whether you're looking to repair, modify, or simply understand how this little robot is built, this guide will walk you through every step of disassembly.
你所需要的
-
-
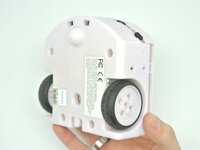
The first step is to remove the four M3x10 Phillips screws from the bottom of the Thymio chassis.
-
-
-
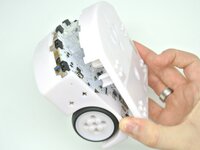
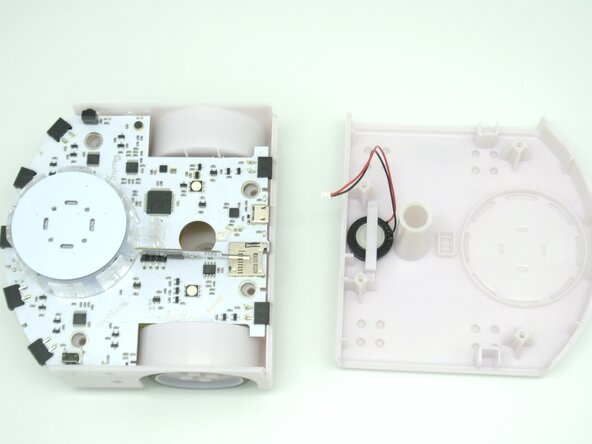
Once the screws are removed you simply need to turn the thymio around and pop the top part of the case.
-
-
-
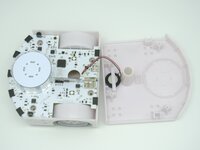
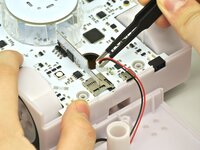
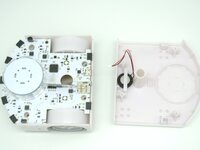
Now grab some tweezers or with your fingers disconnect the speaker cable. You should now have two seperate pieces, the top case and the bottom one.
-
-
-
-
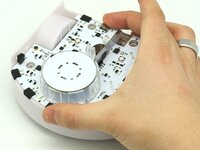
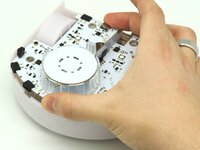
To remove the PCB, take it between your hands or with one finger in the pen hole.
-
Tilt and lift the PCB.
-
-
-
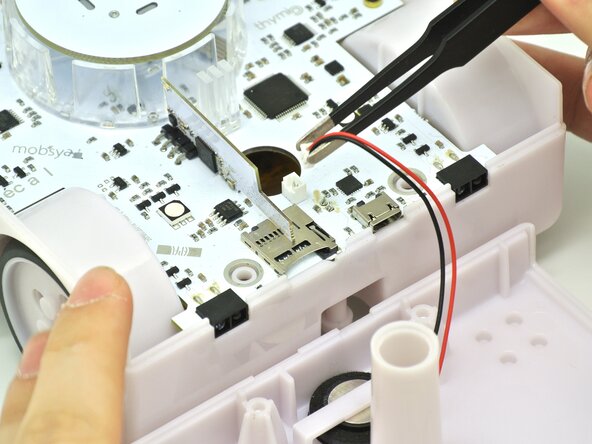
After lifting the PCB, carefully remove the cables one by one with tweezers or your fingers.
-
-
-
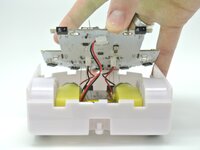
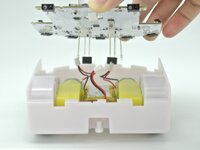
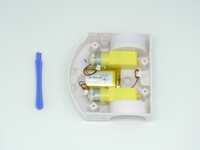
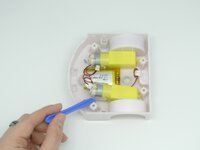
Now that the PCB is out of the way, we can see the motors and the battery.
-
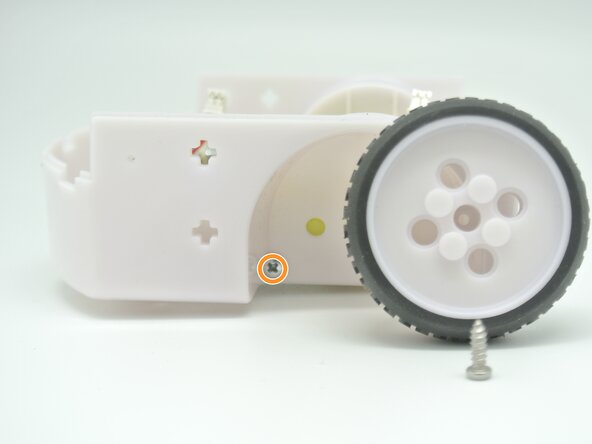
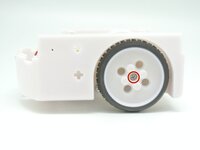
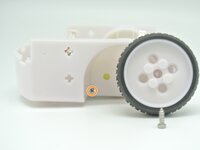
First we need to remove the main M2x8 Phillips screw that holds the wheel.
-
This will reveal the M3x20 Phillips screw that holds the motor to the chassis which needs to be removed in order to remove the motors.
-
-
-
Now that the motors are free, we can simply take a prying tool and twist the motor free.
-
-
-
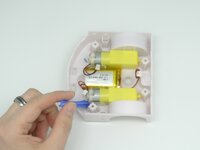
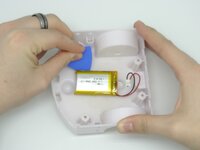
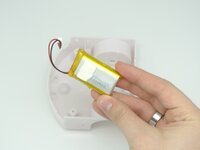
The battery is glued to the chassis with an adhesive pad. To remove the battery, use a prying tool to get under the adhesive pad and remove it.
-
-
-
This concludes the Thymio II assembly as shown here with all its parts.
-


另外一个人完成了本指南。